About Online Course?
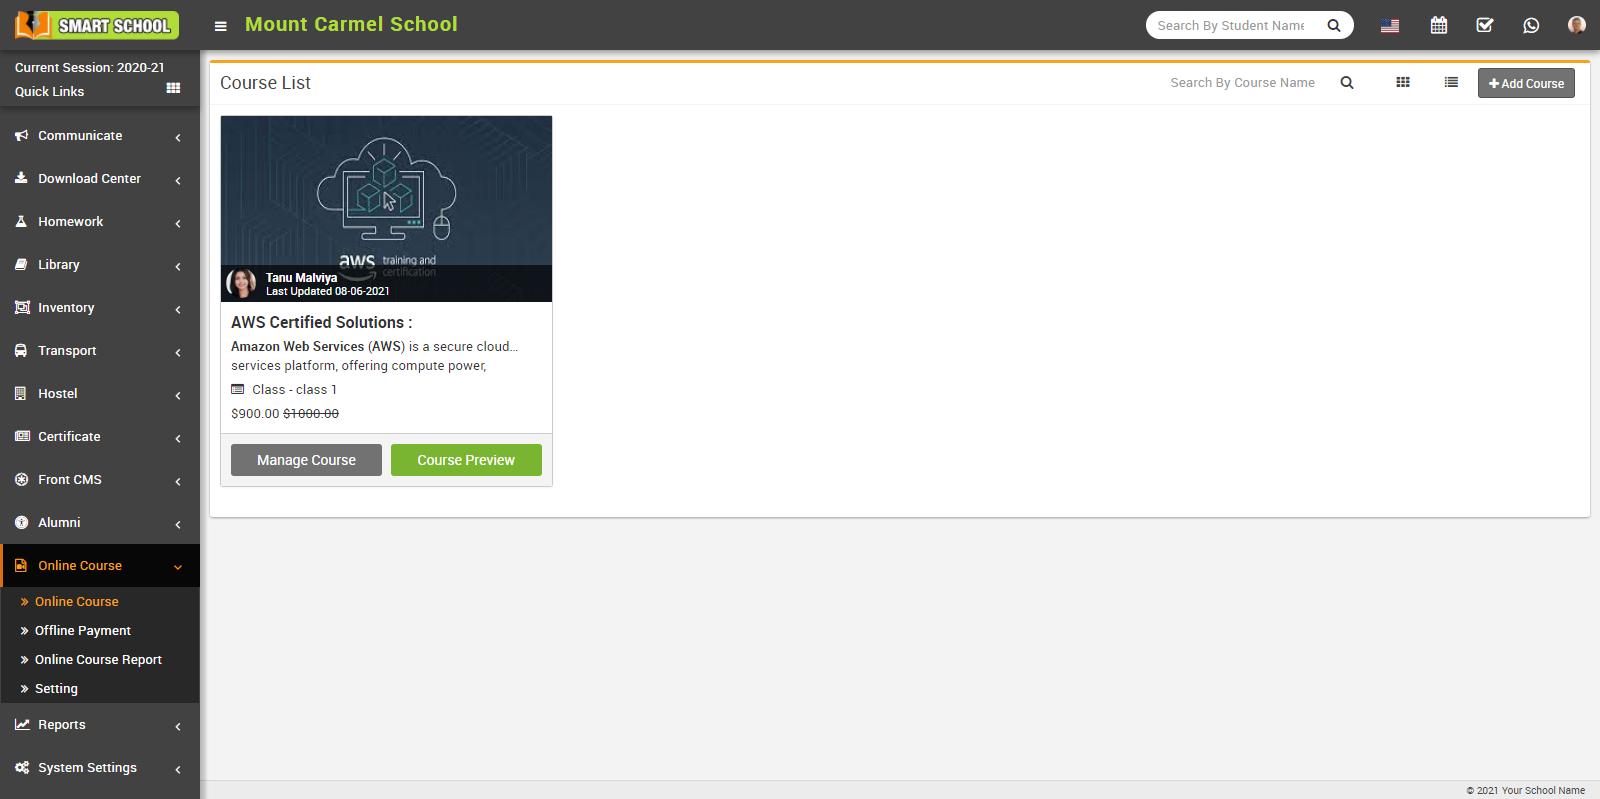
How to add Course?
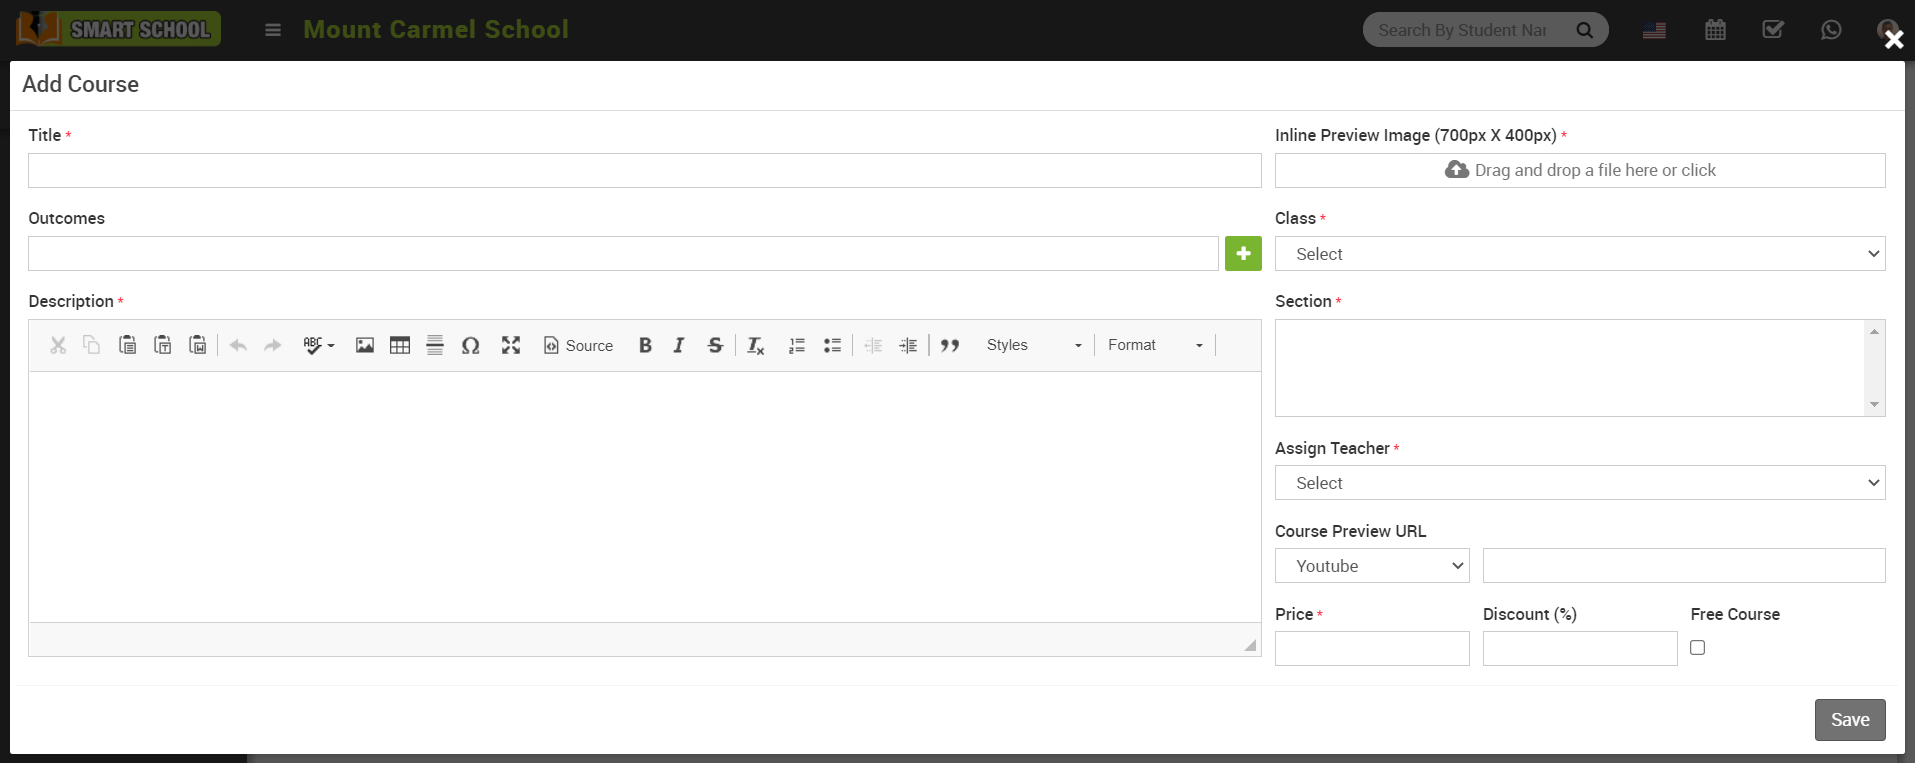
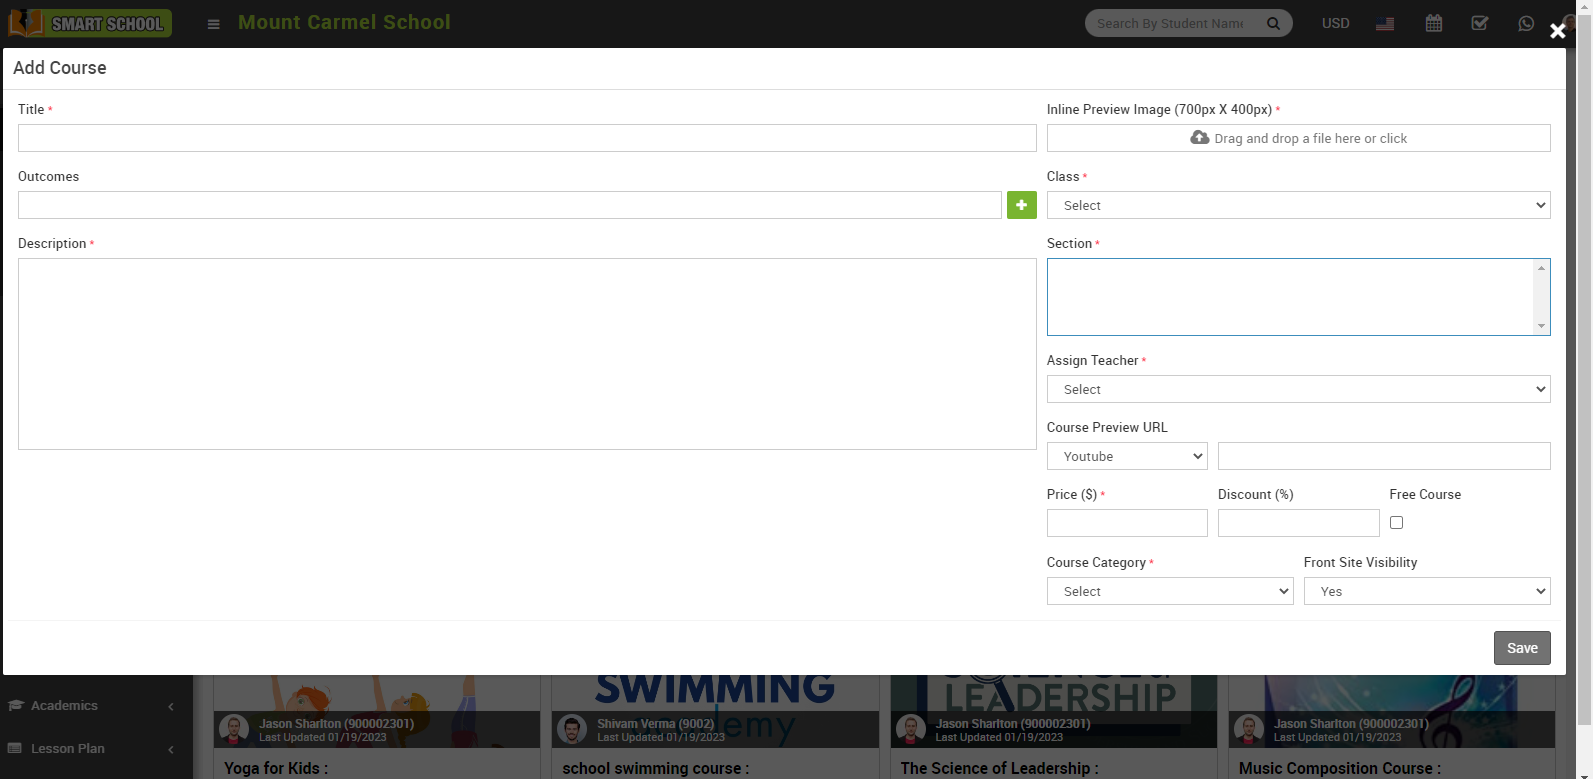
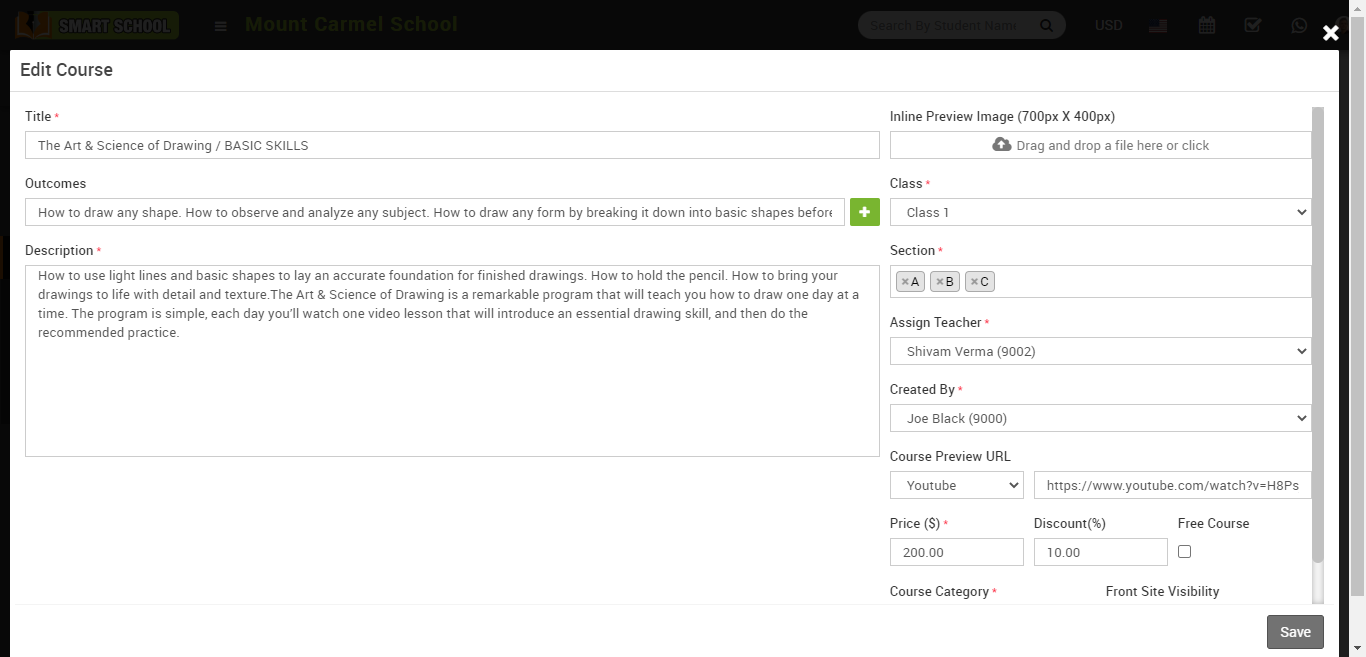
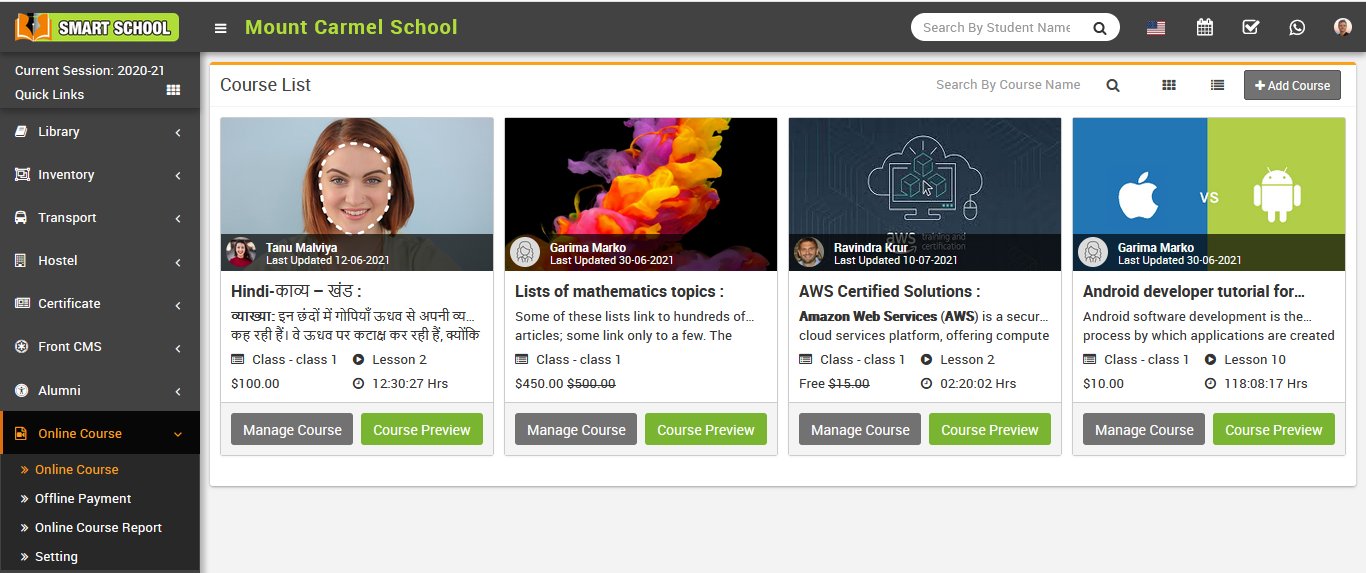
then click on the + Add Course button the enter Title, Outcomes, Description, Inline Preview Image, Class, Section, Assign Teacher, Course Preview URL, Price, Discount, Free Course (if you want to upload course free of cost) Course Category, Front Site Visibilty ( you can manage the front side visibility of online course if you select the Yes, the online course, which you added, will be show in front side of smart school, and if you select No, online course will not be visible in front side of smart school ) then finally click on the Save button present at the top right corner.
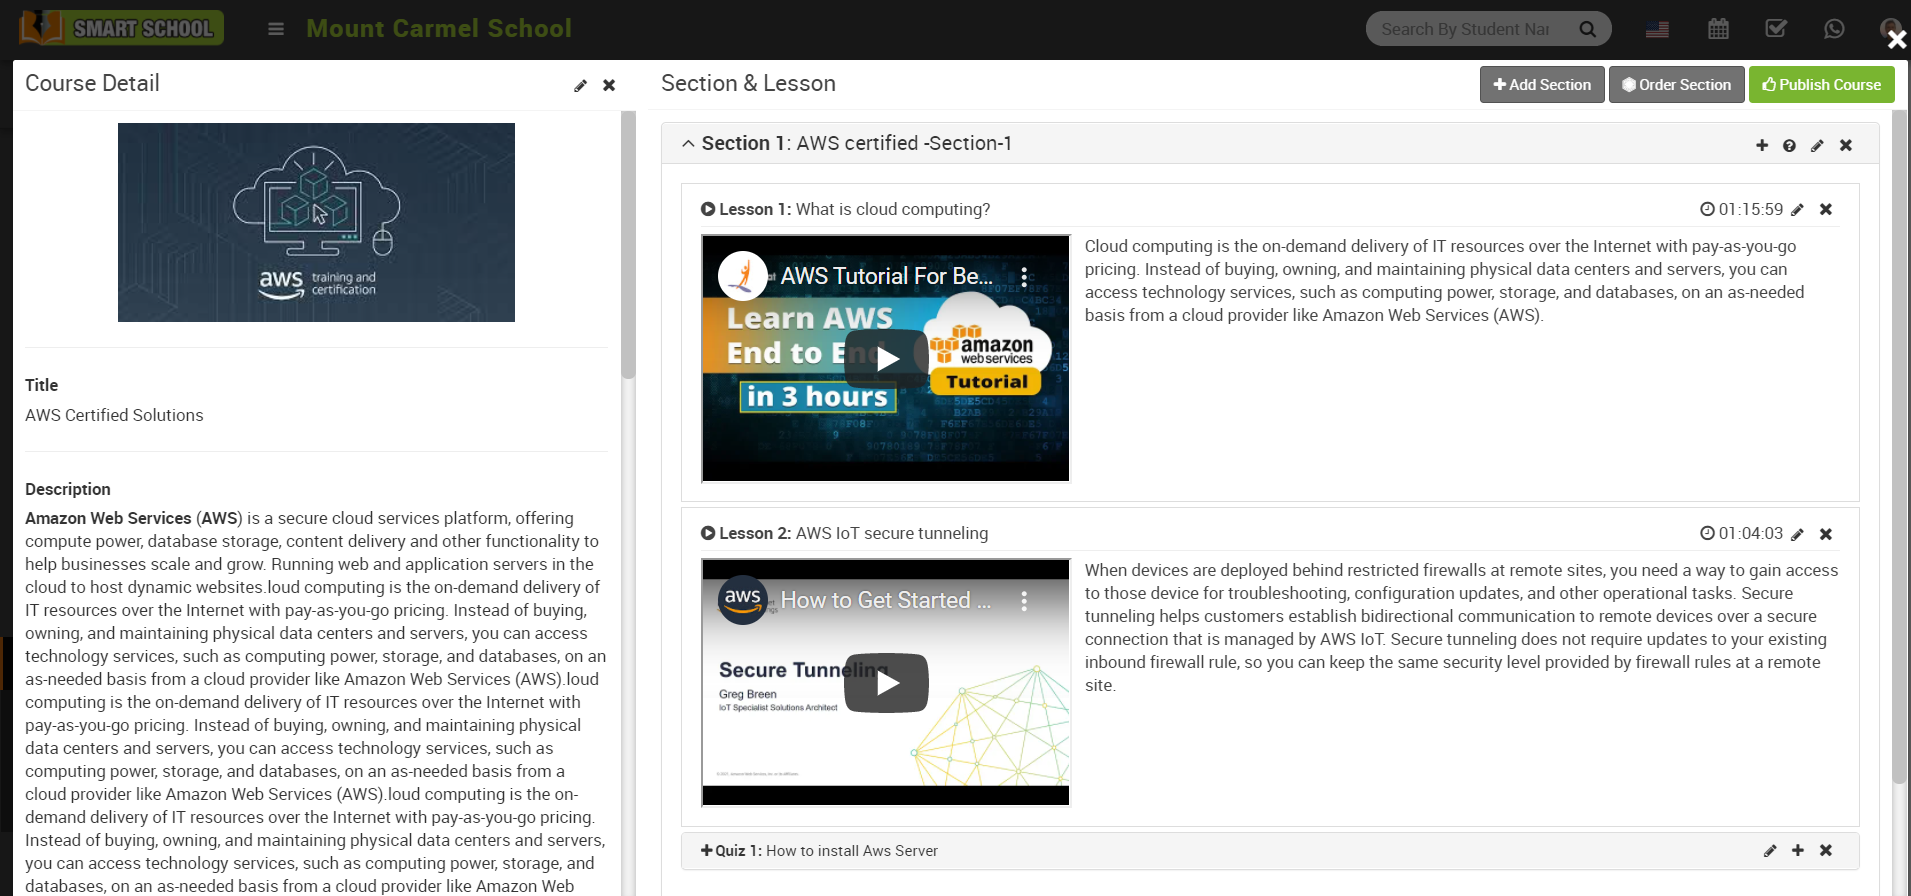
Once course is created course detail modal will open, here you will see three option Add Section, Order Section and Publish Course.
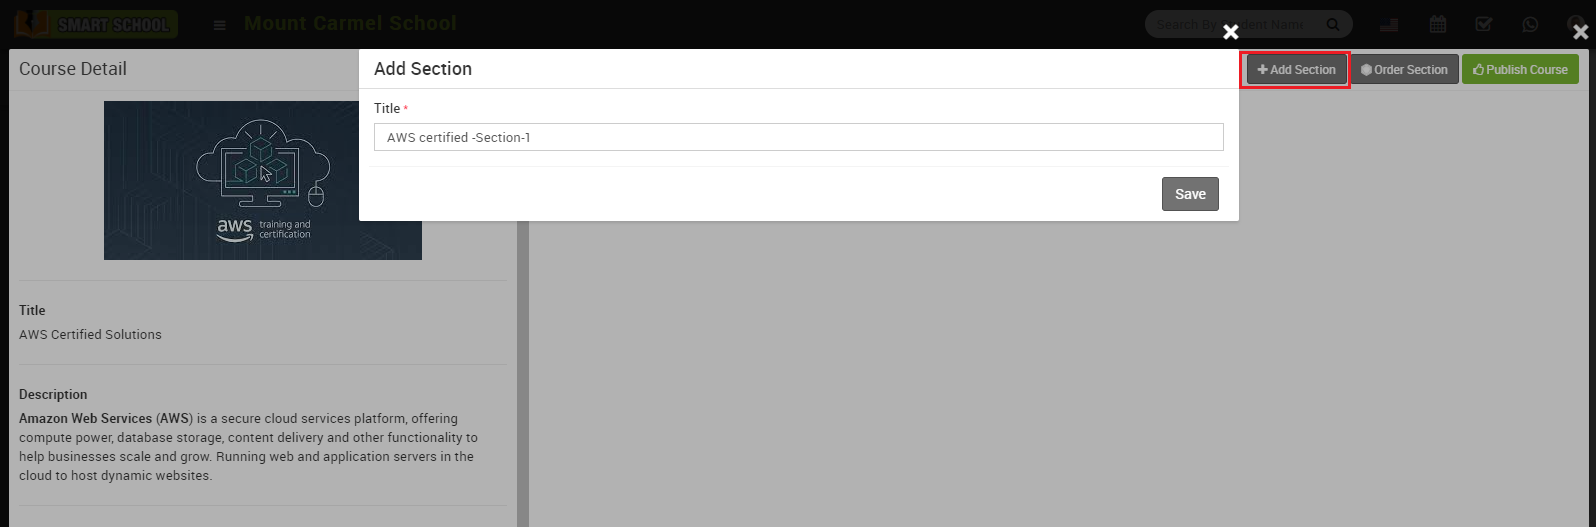
Add Section –
To add sections click on the Add Section button present on the top of the page then enter Title in Add Section modal then click on the Save button.
Once Section is created you can check it on the course details modal. You can create multiple sections in a single course.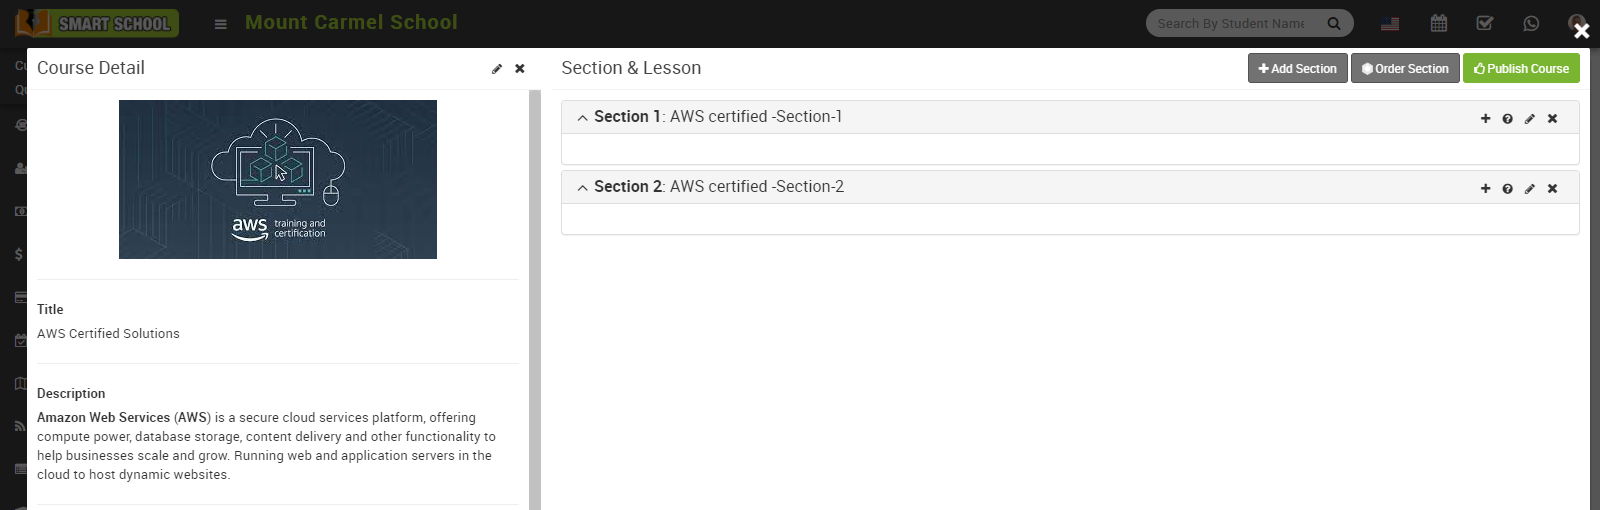
Add Lesson –
To add lesson click on the + icon present in front of the section title, at click of this icon a Add Lesson modal will be open, here enter Title, Lesson Type (Video, PDF, Text, Document) , Video Provider, Video URL, Duration, Inline Preview Image, Summary and then click on the Save button.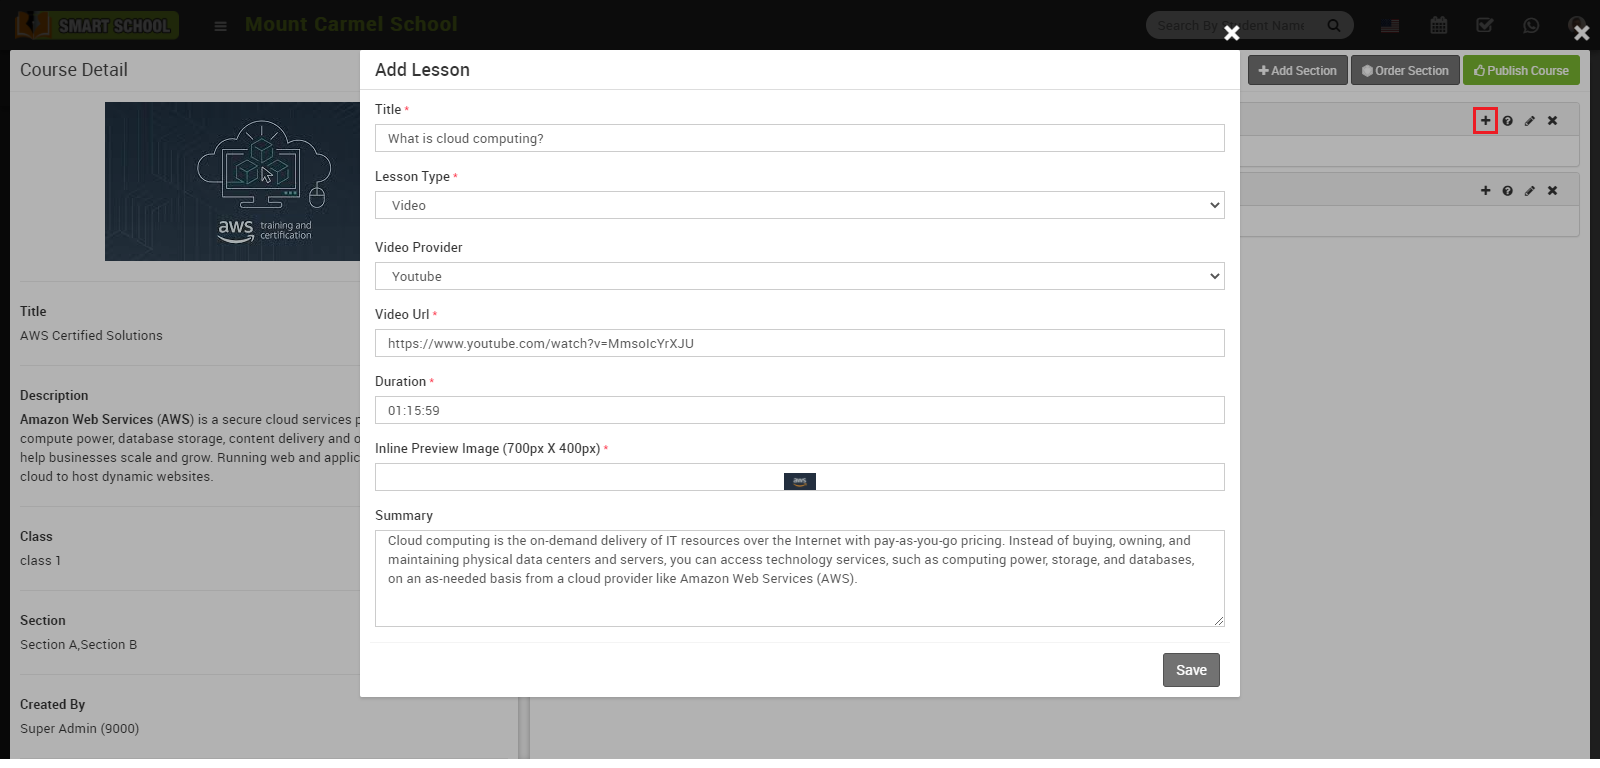
Once lesson is created, you can check it in it’s section block .You can create multiple lesson in a single section.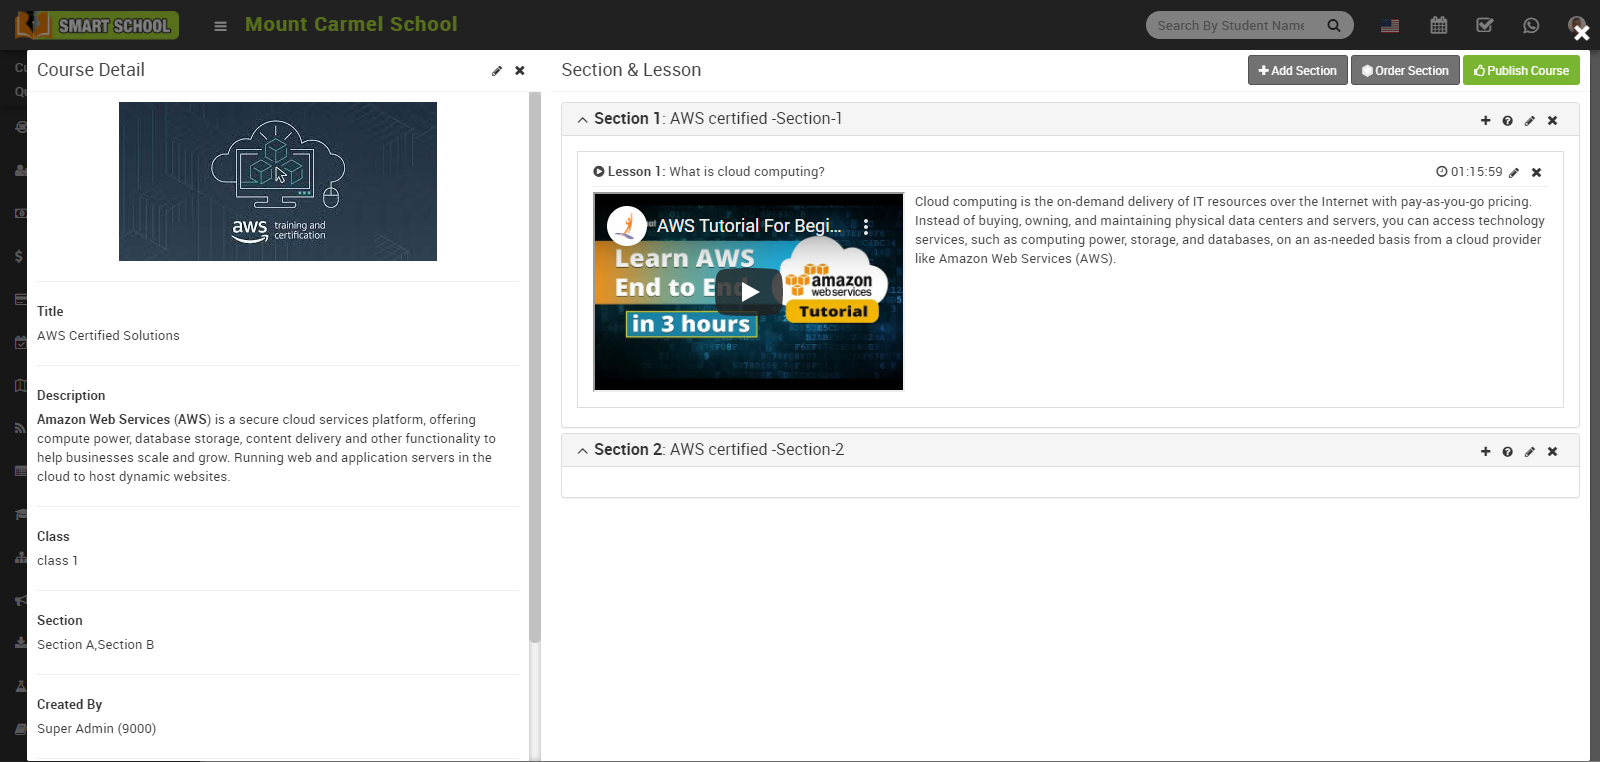
Add Quiz -
To add quiz click on the question icon (?) present in front of the section title, at click of this icon a Add New Quiz modal will open, here enter Quiz Title, Instruction and then click on the Save button.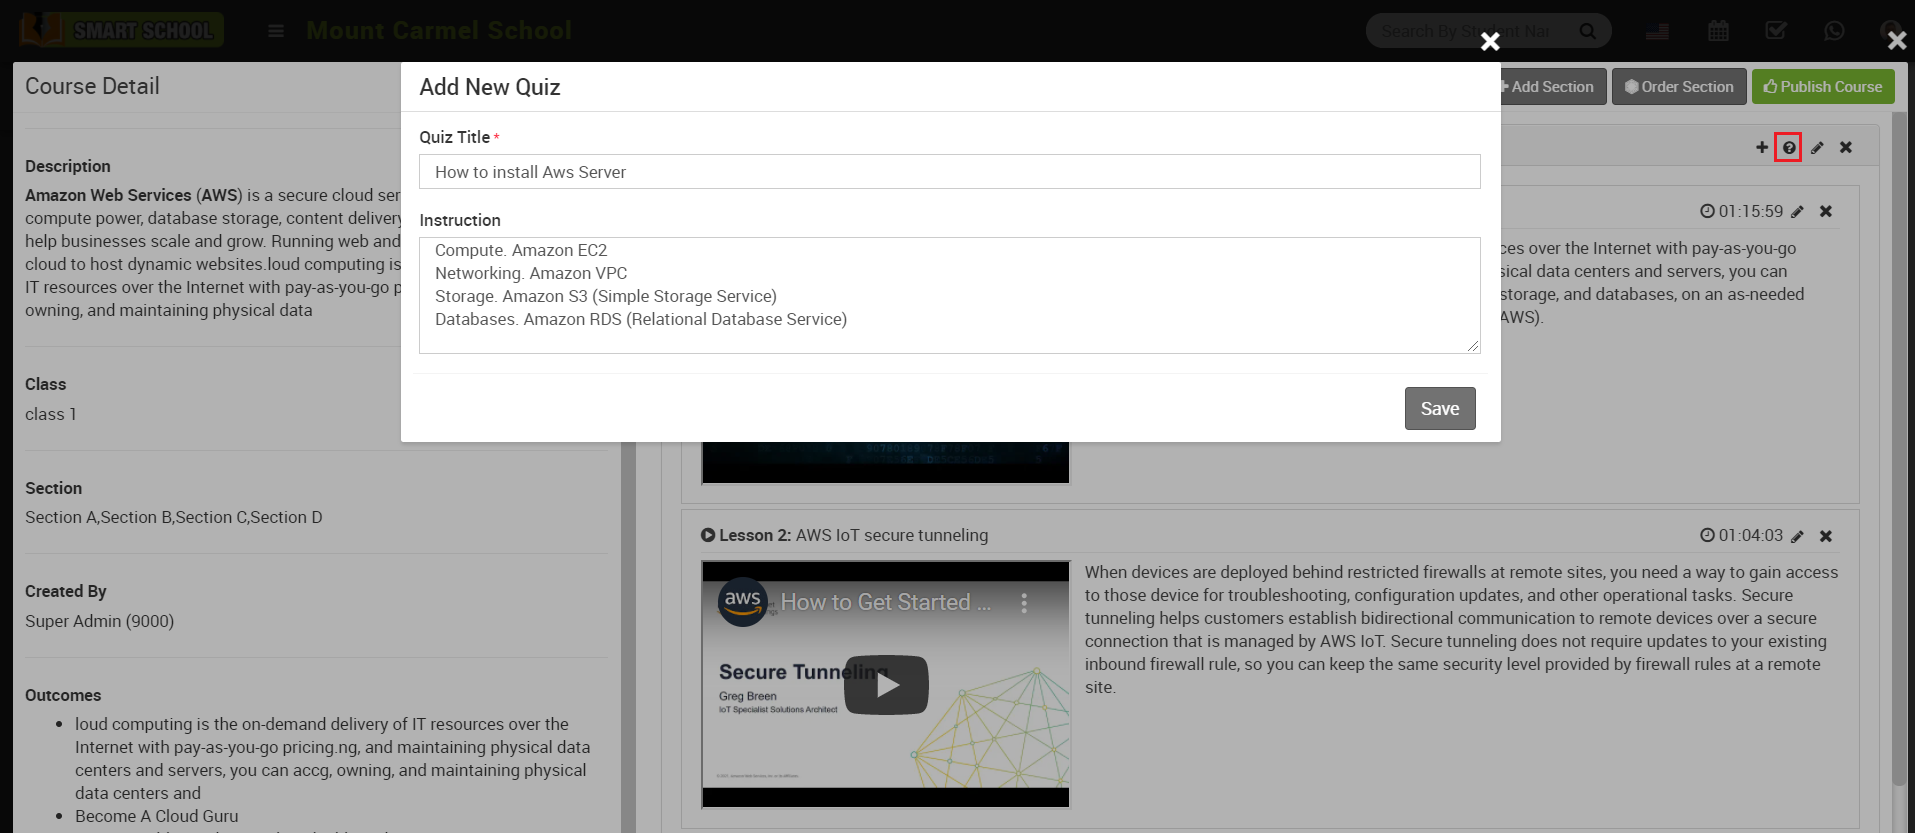
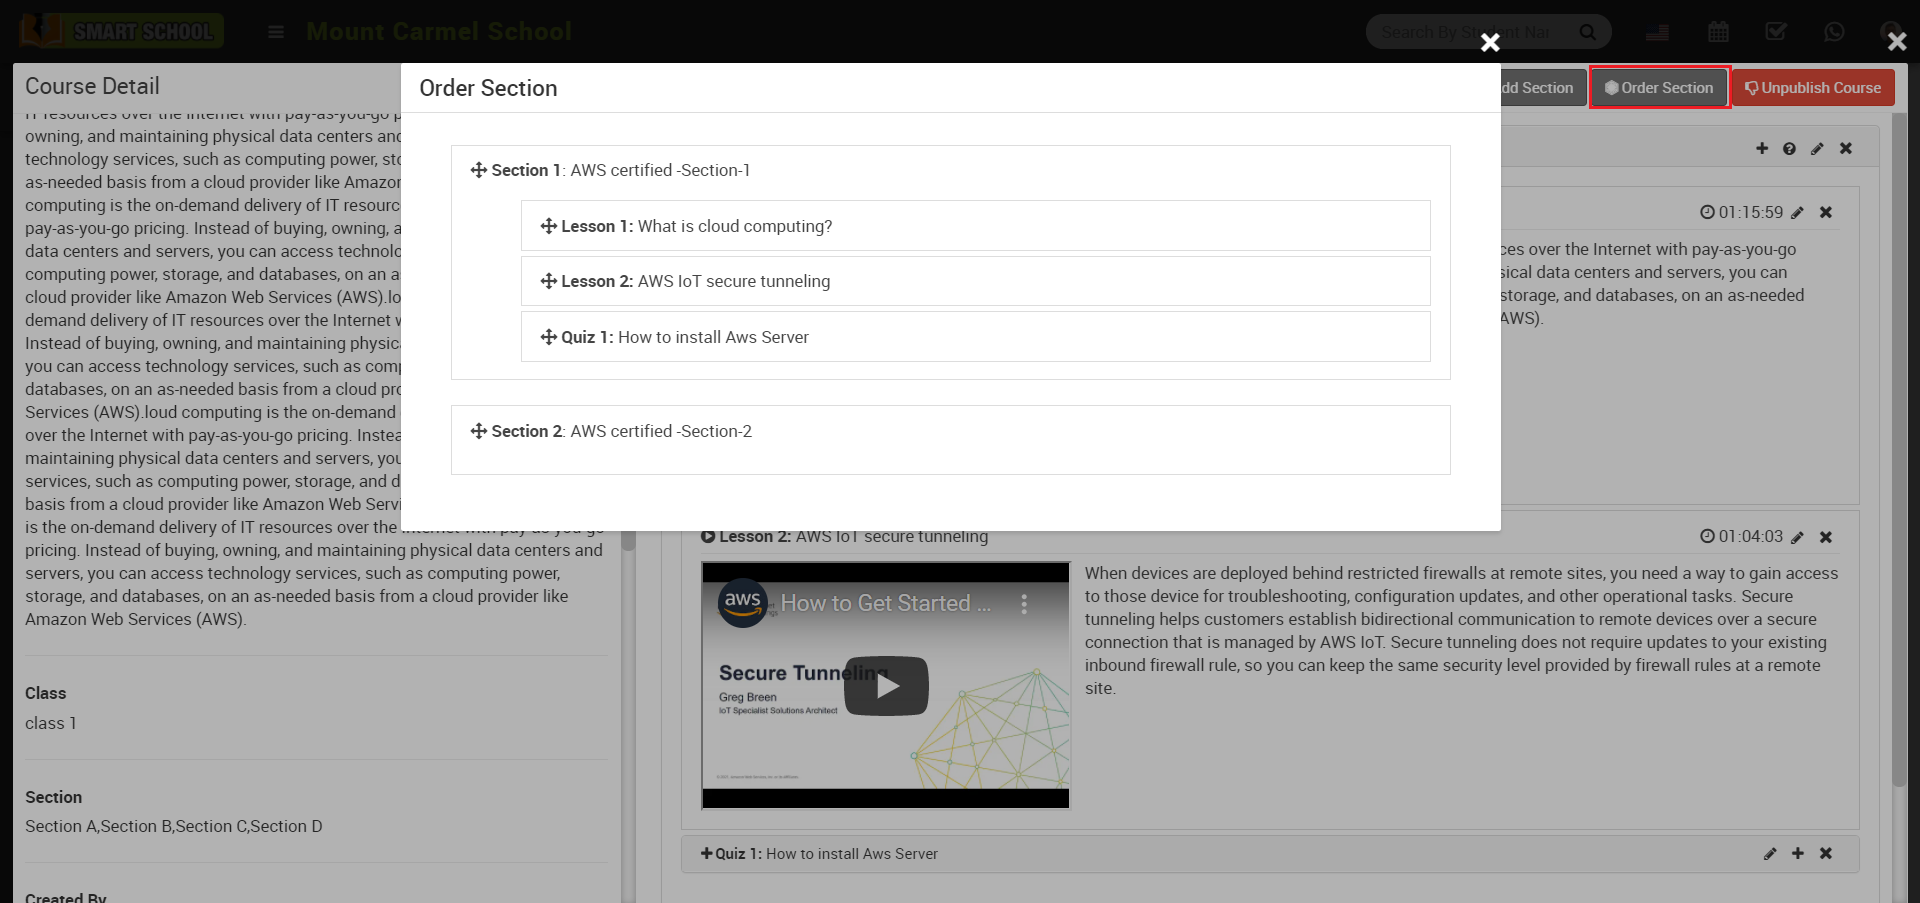
By default created quiz will be shown on the below of the section block, you can change its order from order section, for this follow article https://smart-school.in/article/how-to-order-section.
To add questions in quiz, click on the + icon present in the front of quiz title, at click of Quiz Question modal will be open, here enter Question and enter Option A, B, C, D and E and check the option which is correct and then finally click on the Save button. Here option A and B are required.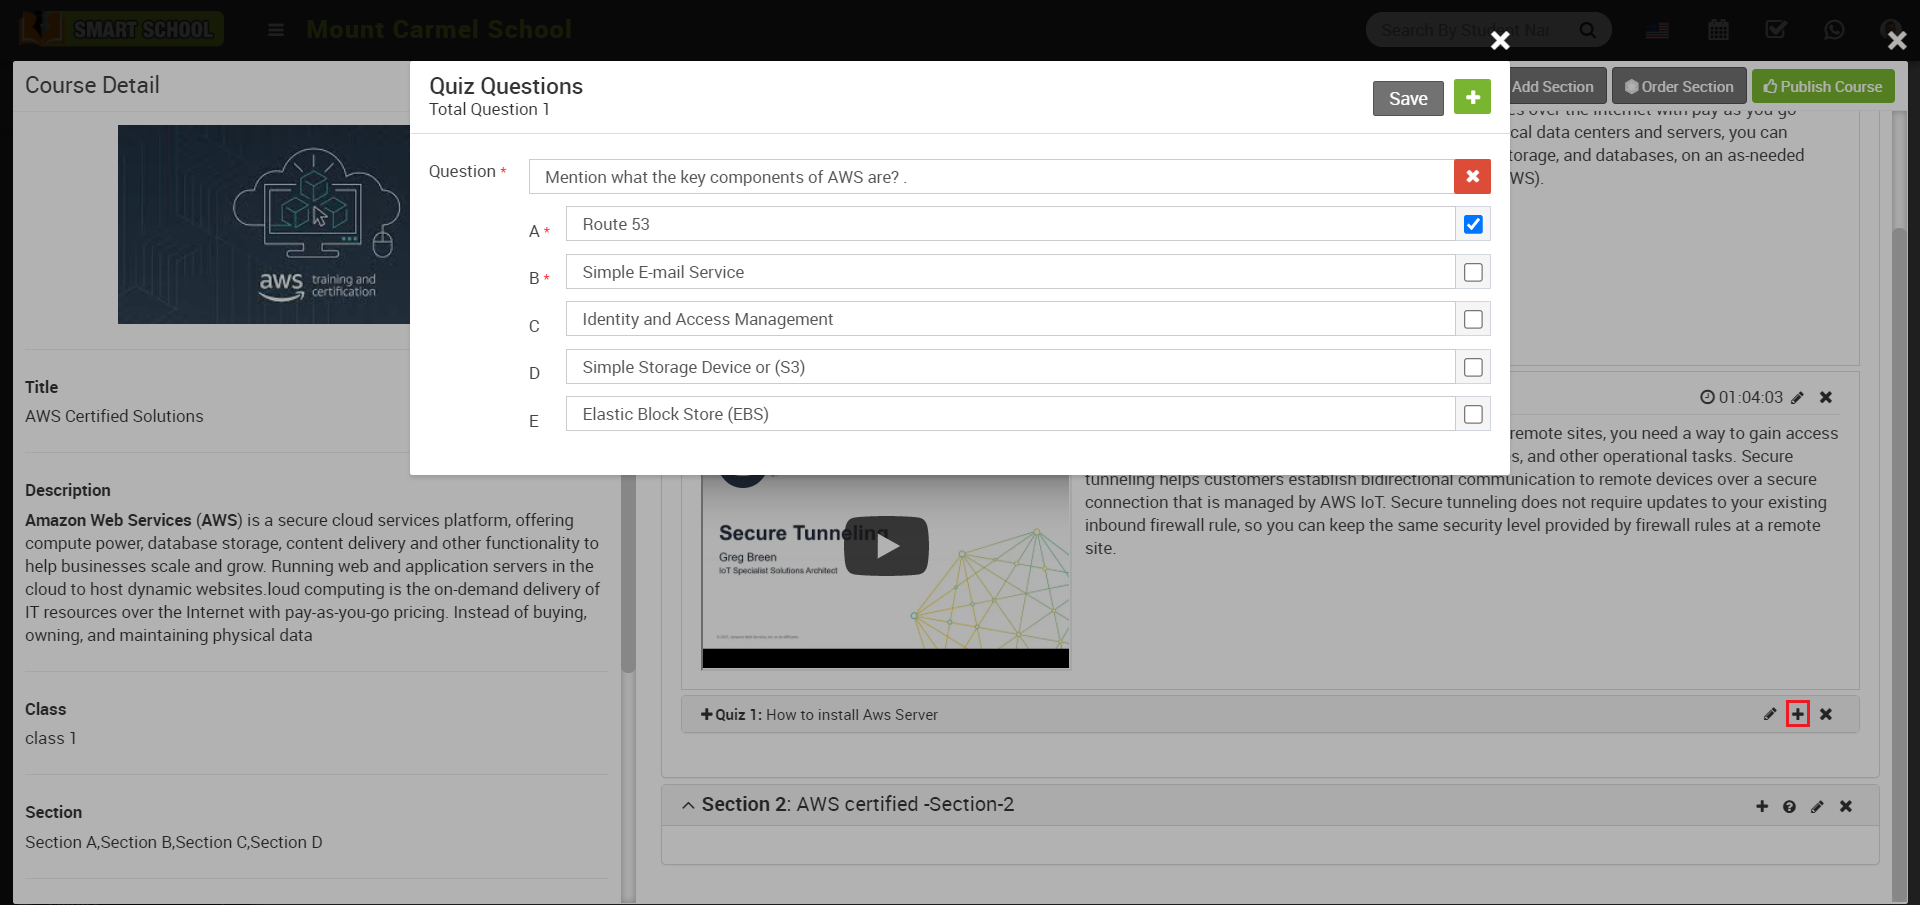
To check created course, close Course Details modal by clicking Remove icon present in the top left corner, now you can check created course.
Edit Course –
To edit course, click on the Manage Course button, at click of this button Course Detail modal will open, now click on the Edit icon present in the top left corner, at click of this icon an Edit Course modal will open, here update the detail and then click on the Save button present in the top right corner.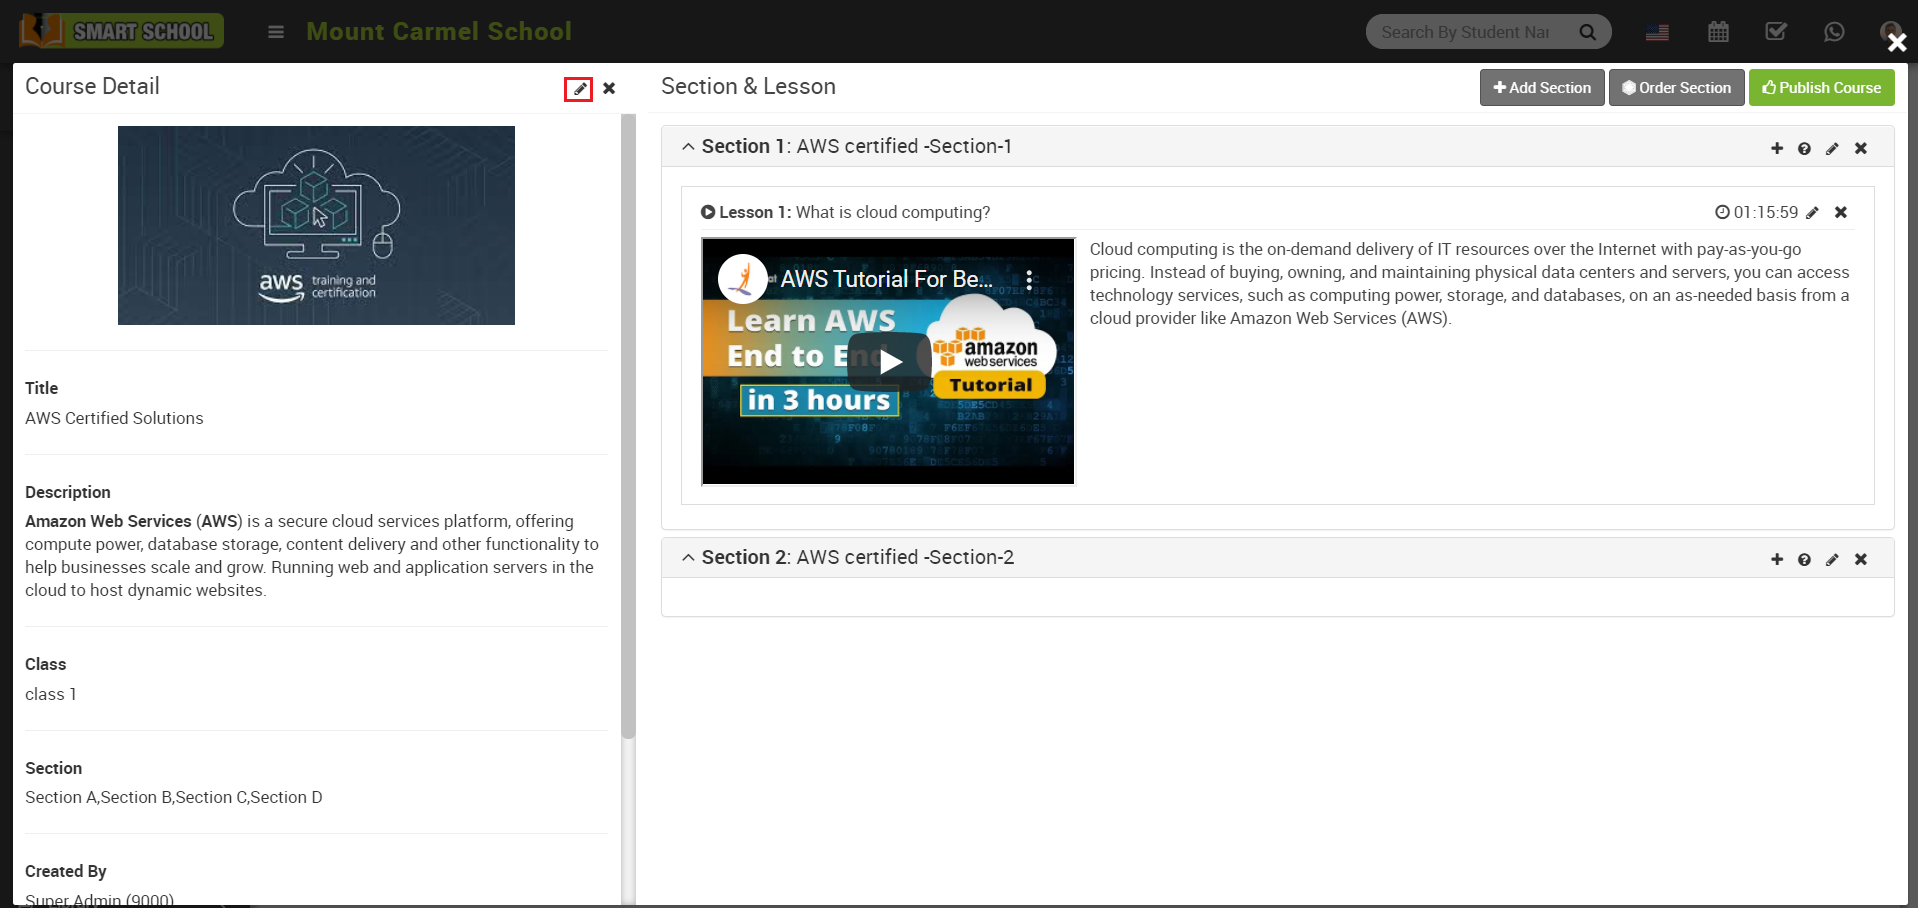
Edit Section-
To edit section click on the Edit icon present in the front of section title, at the click of this edit icon an edit modal will open, here edit the section Title and click to Save button.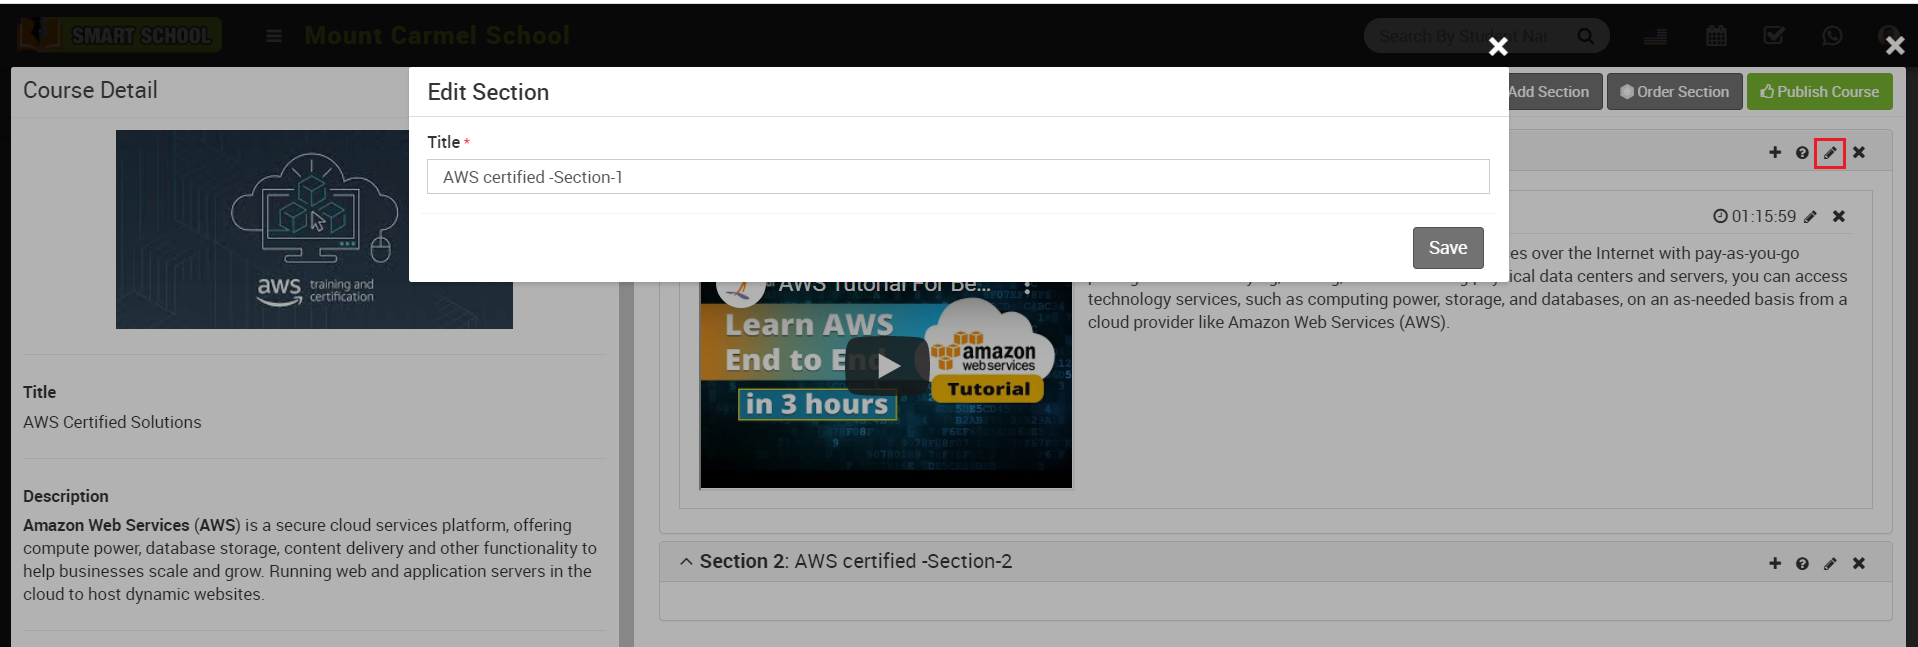
Edit Lesson –
To edit lesson, click on the Edit icon button present at the top right corner in front of lesson title, at the click of this icon an edit modal will be open with the previously filled value, here edit the details and then click on the Save button.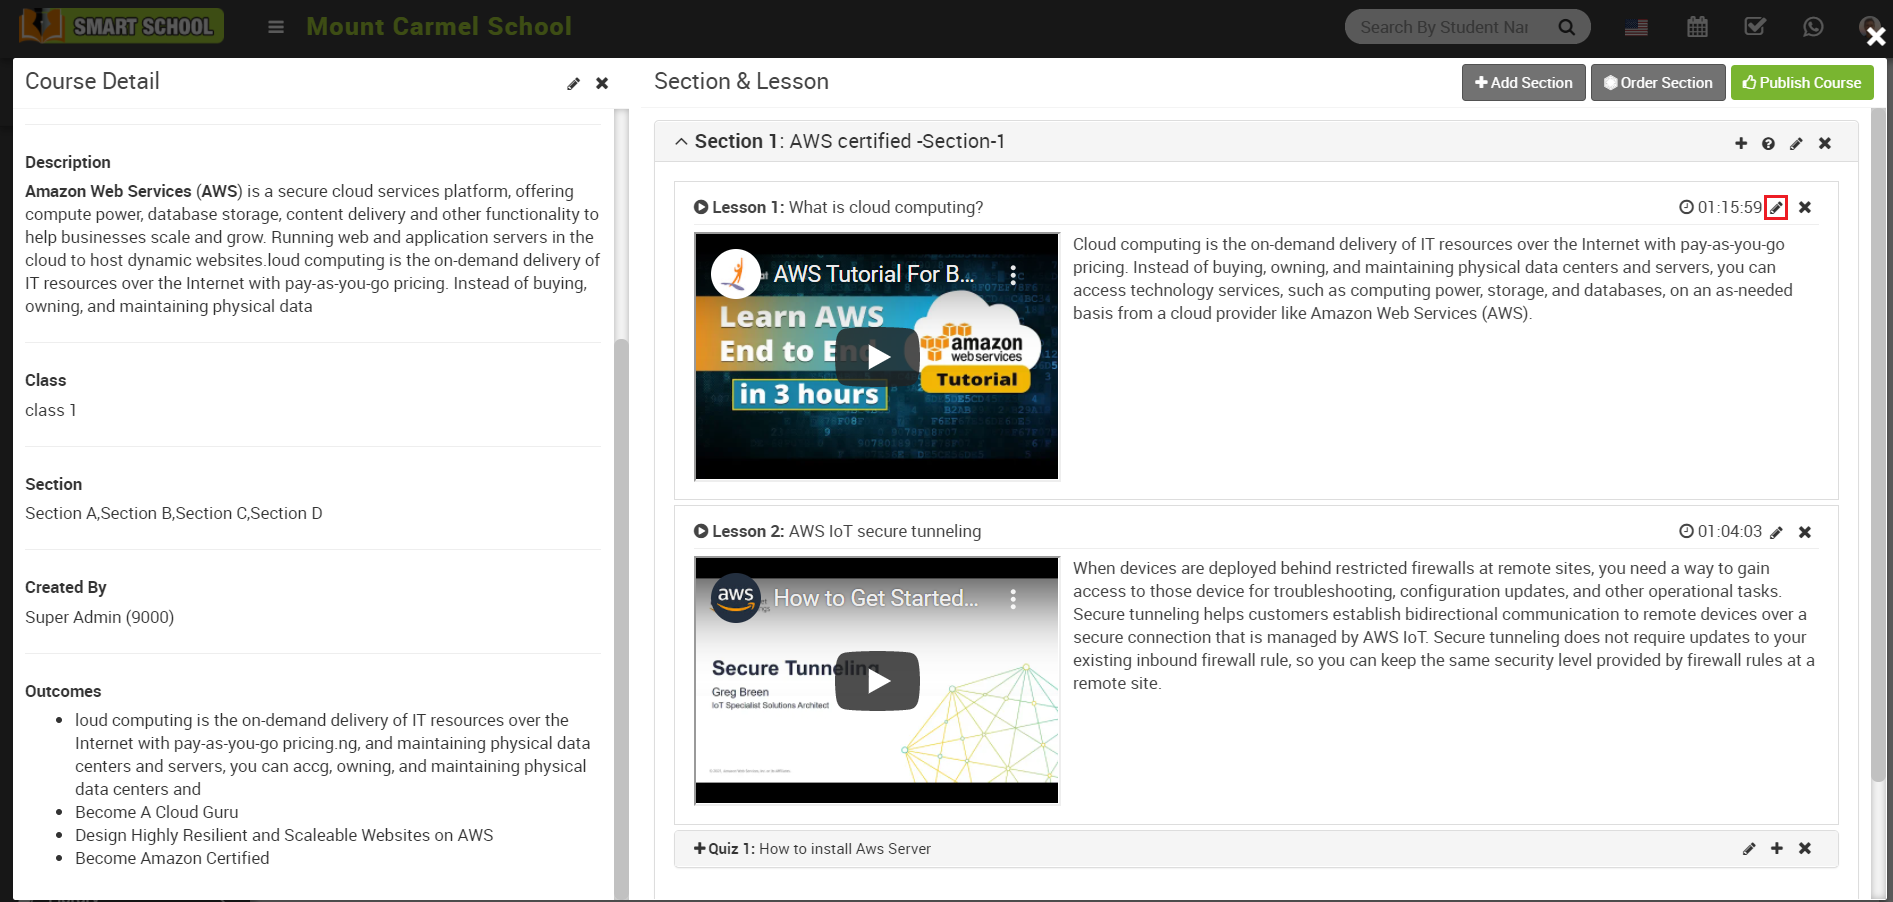
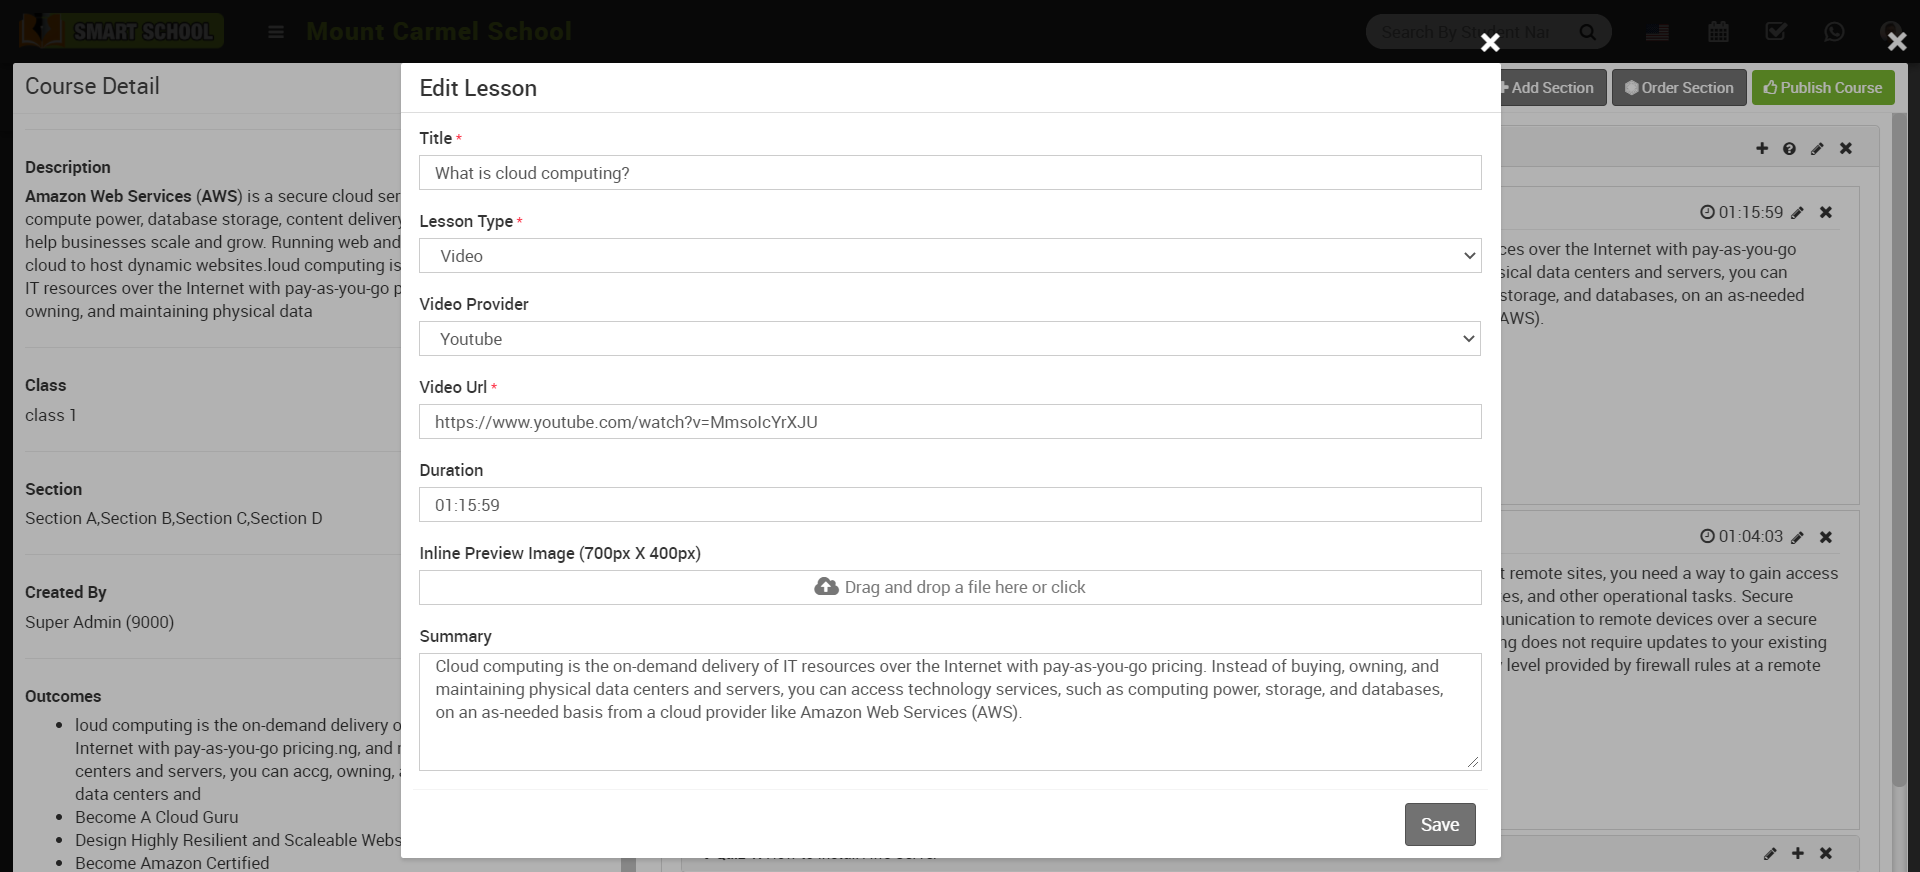
Edit Quiz-
To edit quiz, click on the Edit icon present in the front of quiz title, here edit details and then click on the Save button.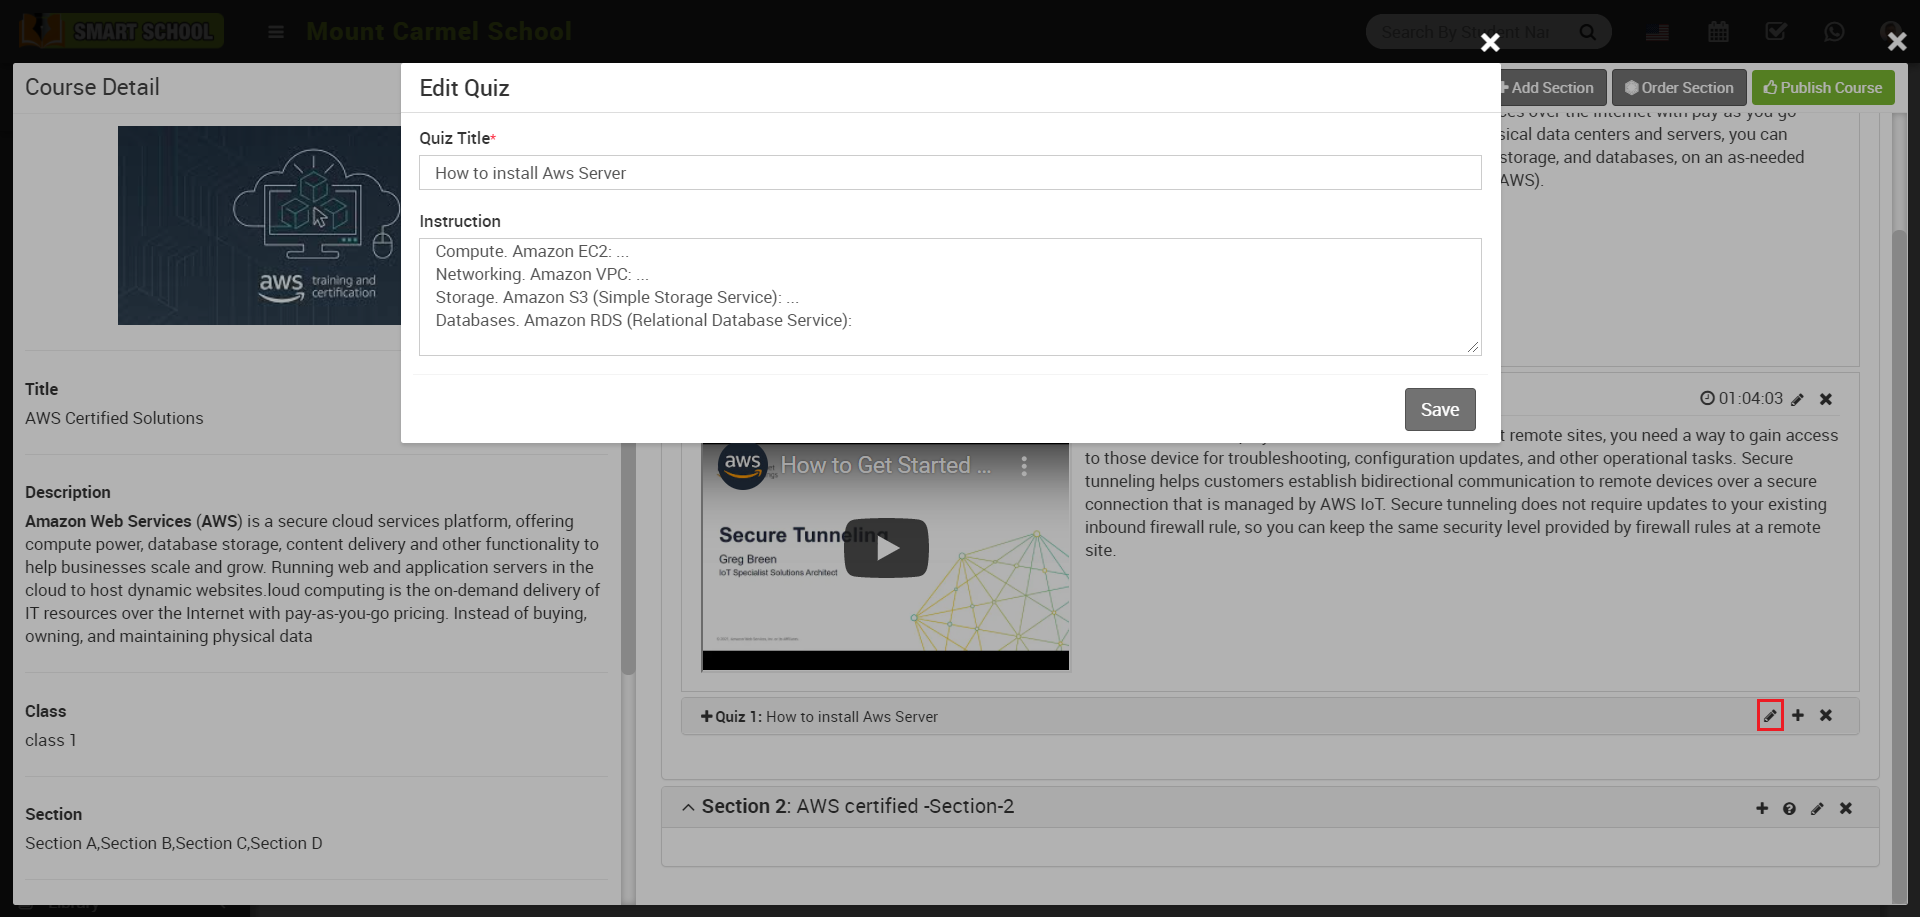
Delete Lesson -
To delete lesson, click on the Delete icon present at top right corner in front of lesson title, at click of this delete icon it will ask you to confirm after your confirmation lesson will be deleted.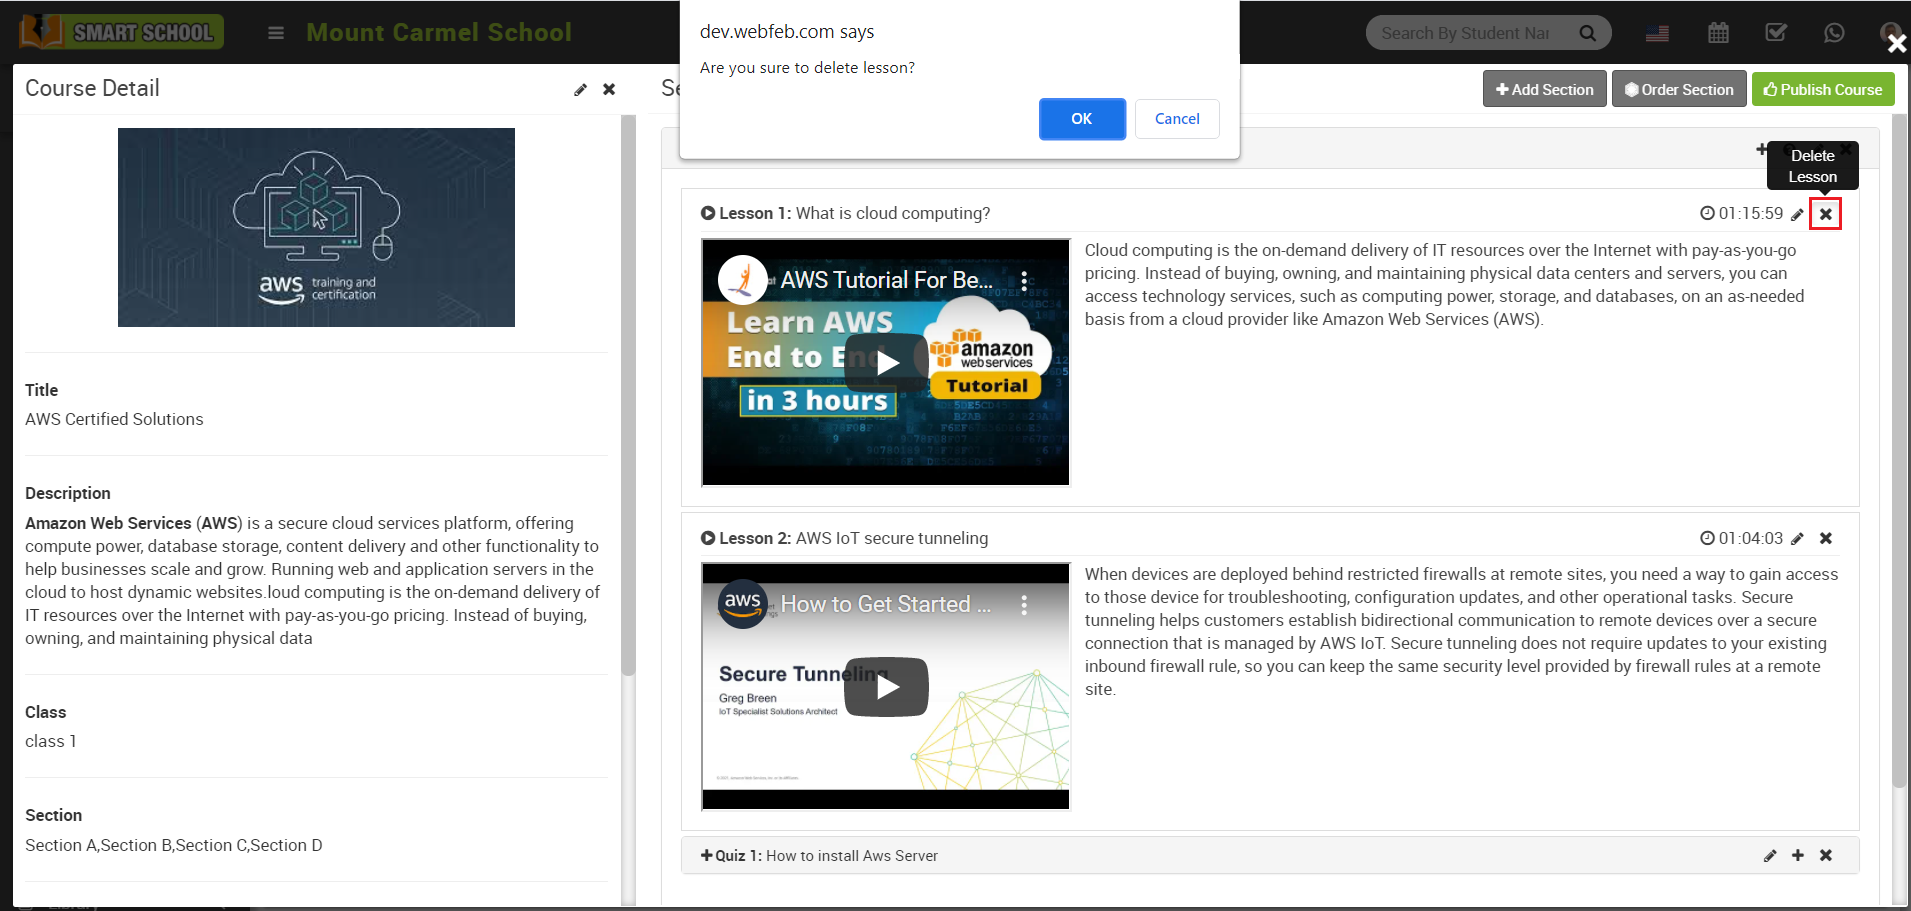
Delete Quiz-
To delete quiz, click on the Delete icon present in the front of quiz title.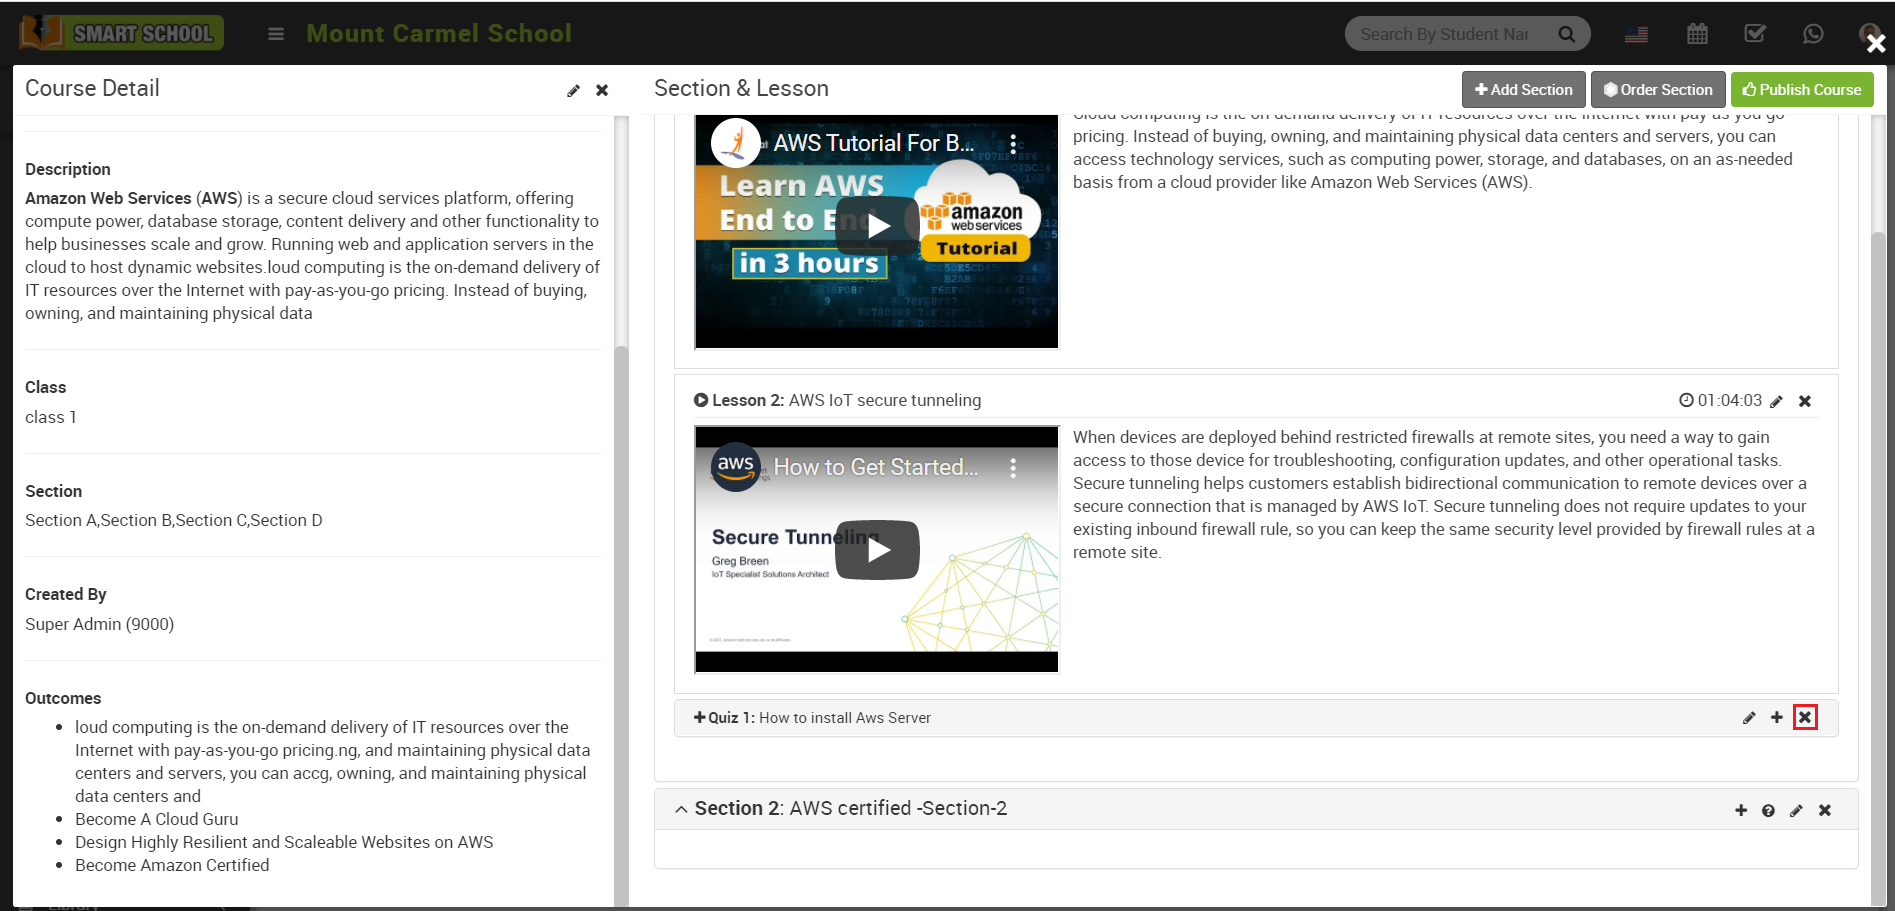
Delete Section -
To delete section, click on the Remove icon present at top right corner in front of section title, at click of this icon it will ask you to confirm after the confirmation section will be deleted.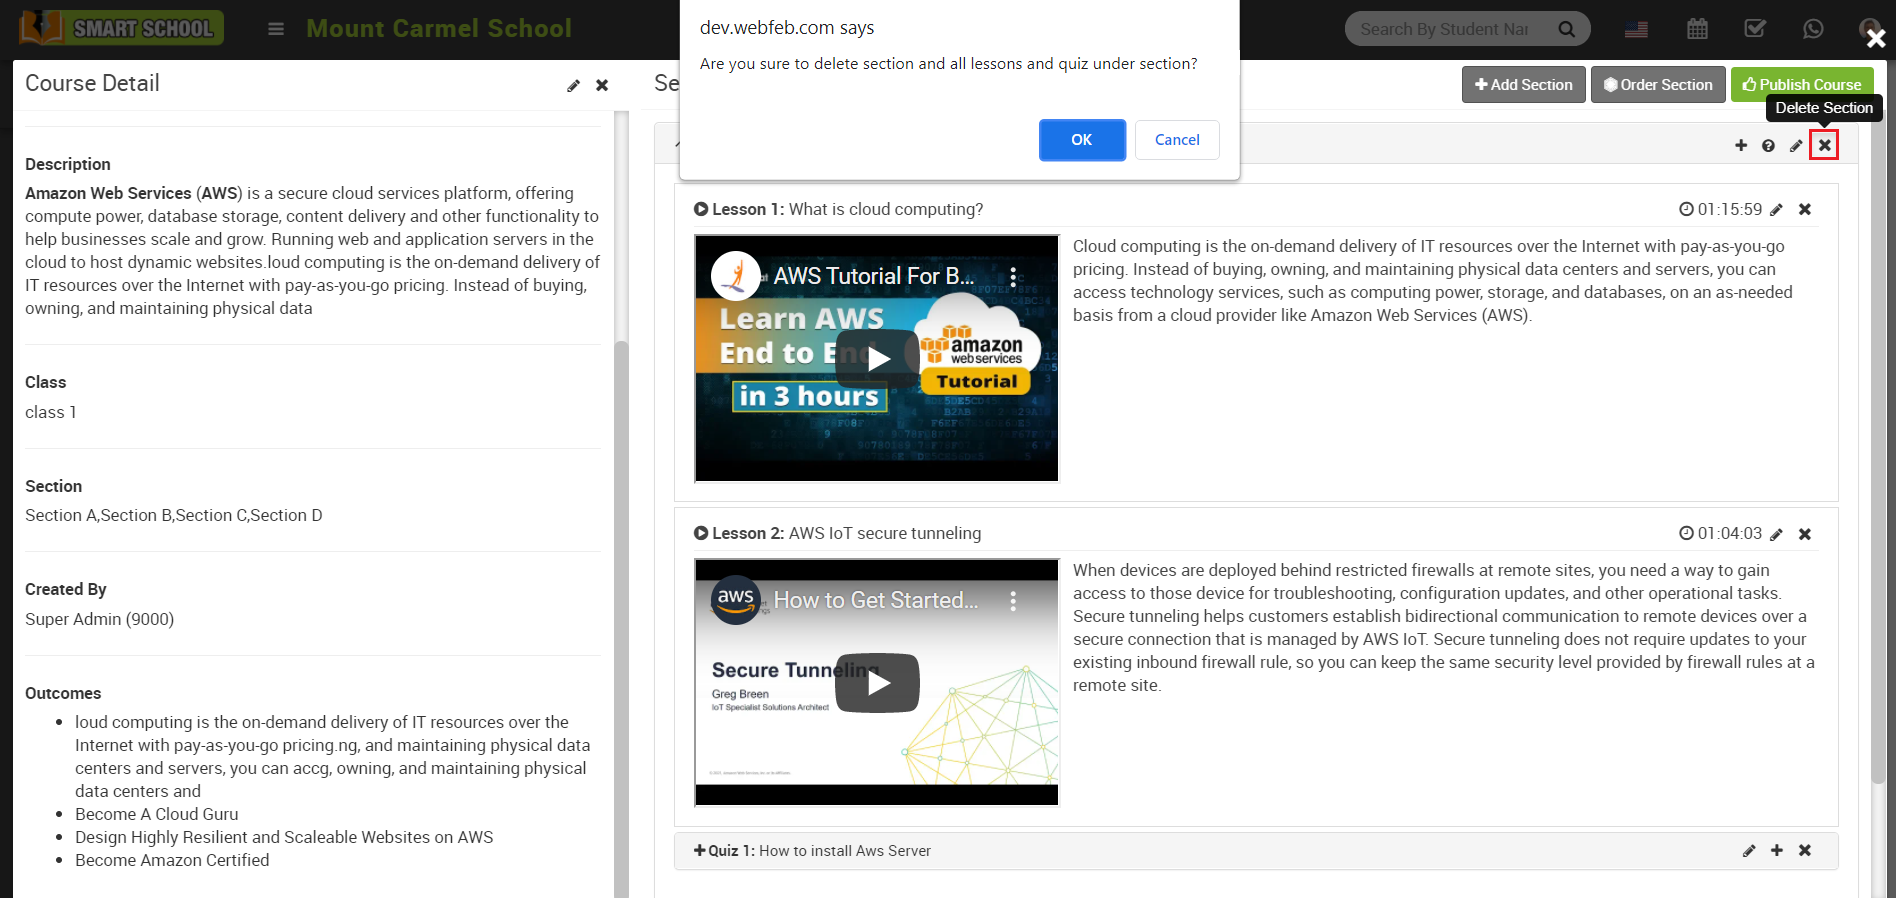
Note - If you delete section then related lesson and quiz will also be deleted.
Delete Course -
To delete the course, click on the Delete icon present at the top left side of the Course Details modal, at click of this icon it will ask you to confirm after the confirmation course will be deleted.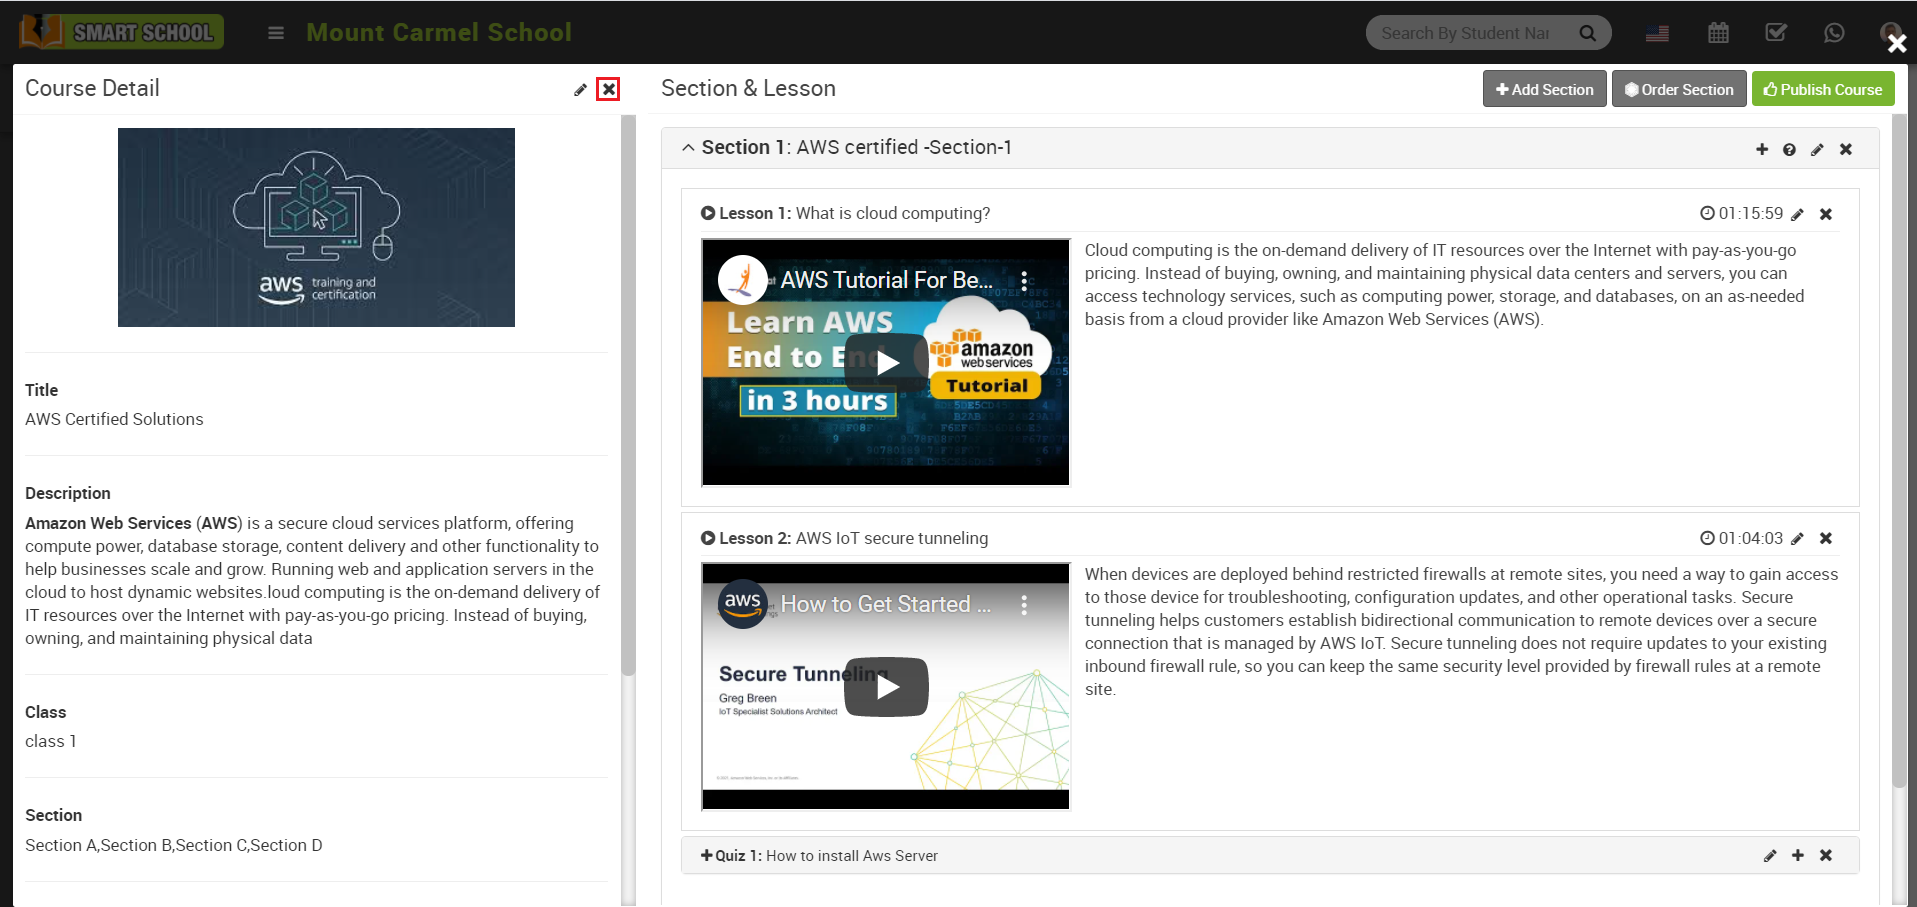
Note - If you delete any course then related section and lesson and quiz will also be deleted.
How to order section?
How to publish/unpublish course?
How to check online course from student panel?

How to check online course from parent panel?
How to purchase course from student panel?
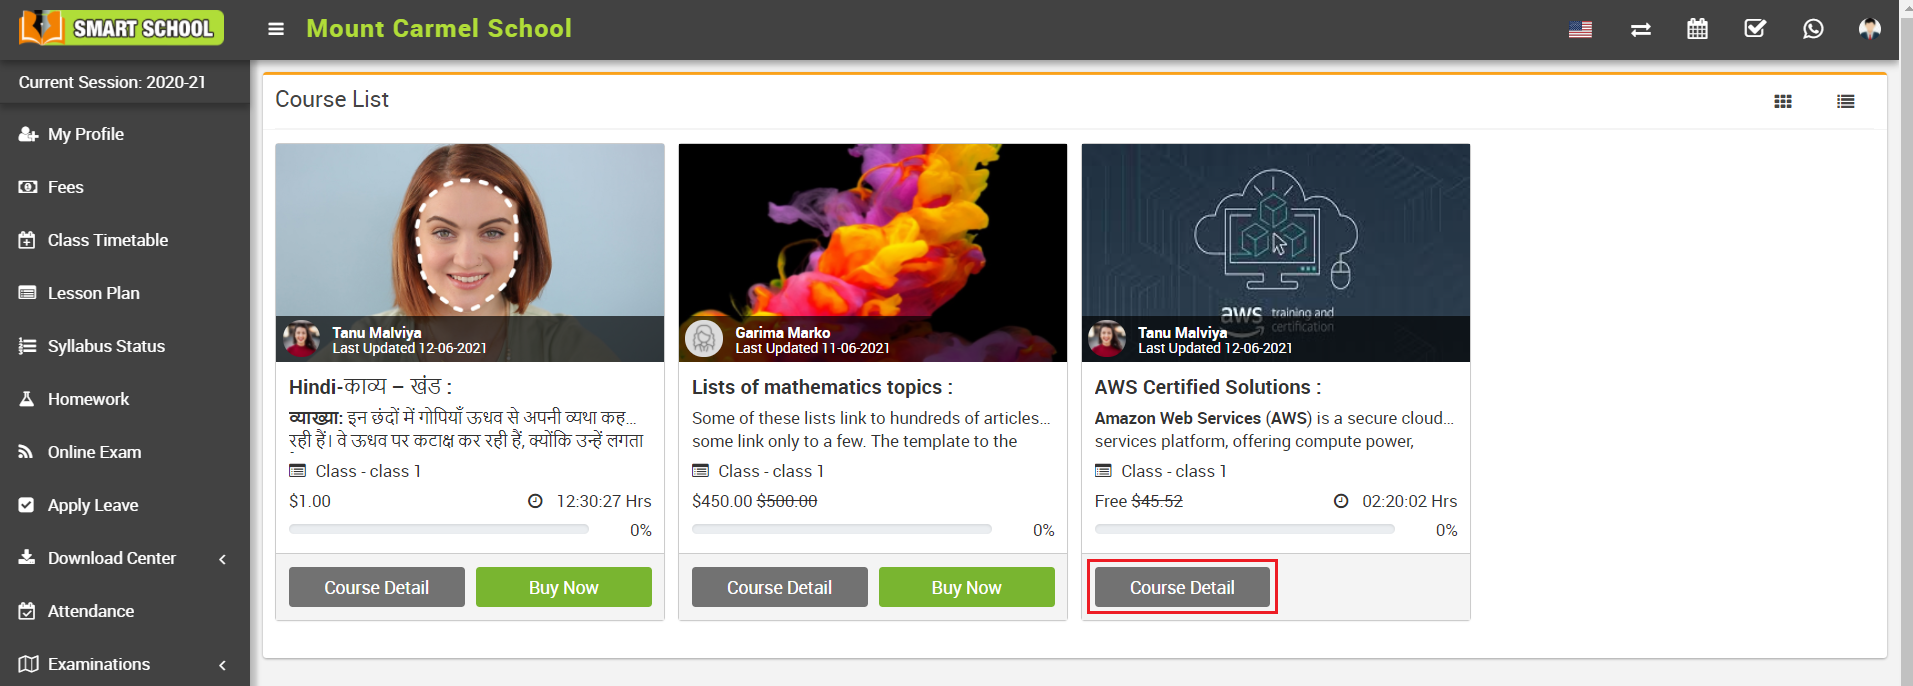
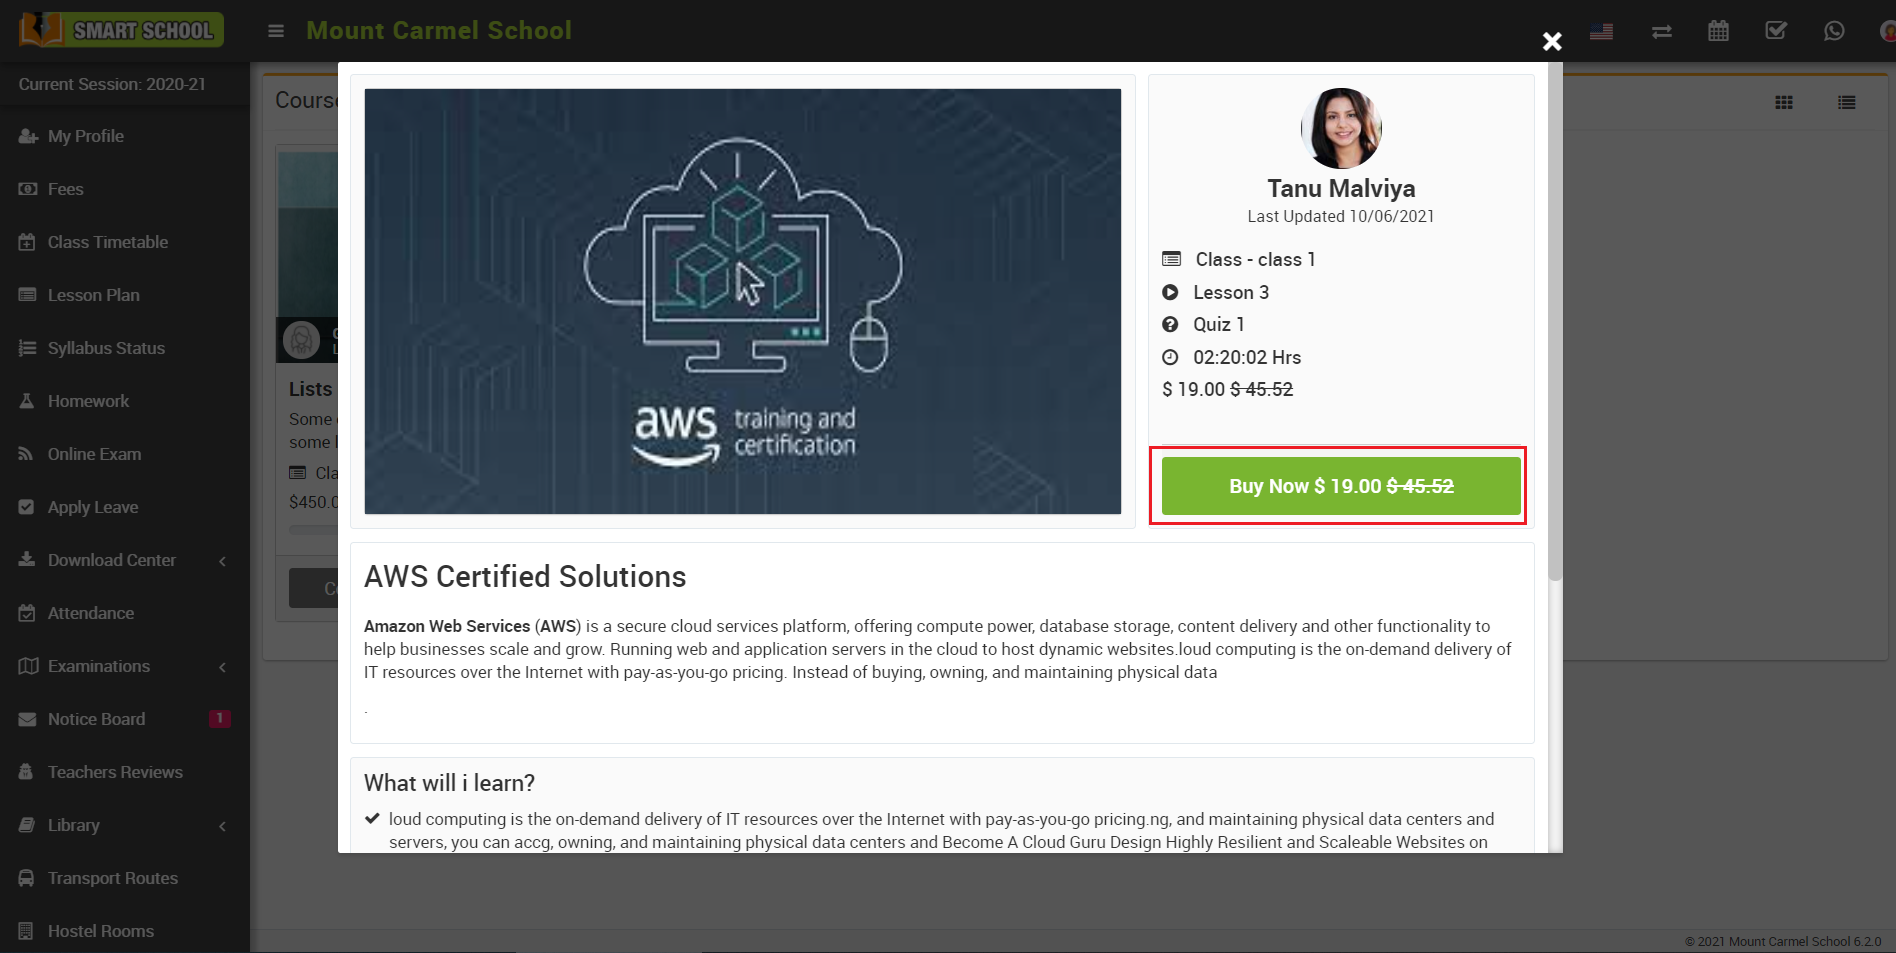
You can also purchase course from course details modal, for this click on the Course Detail button, by clicking this button you can view all details of the course, now click on the Buy Now button present in the right section of the modal.
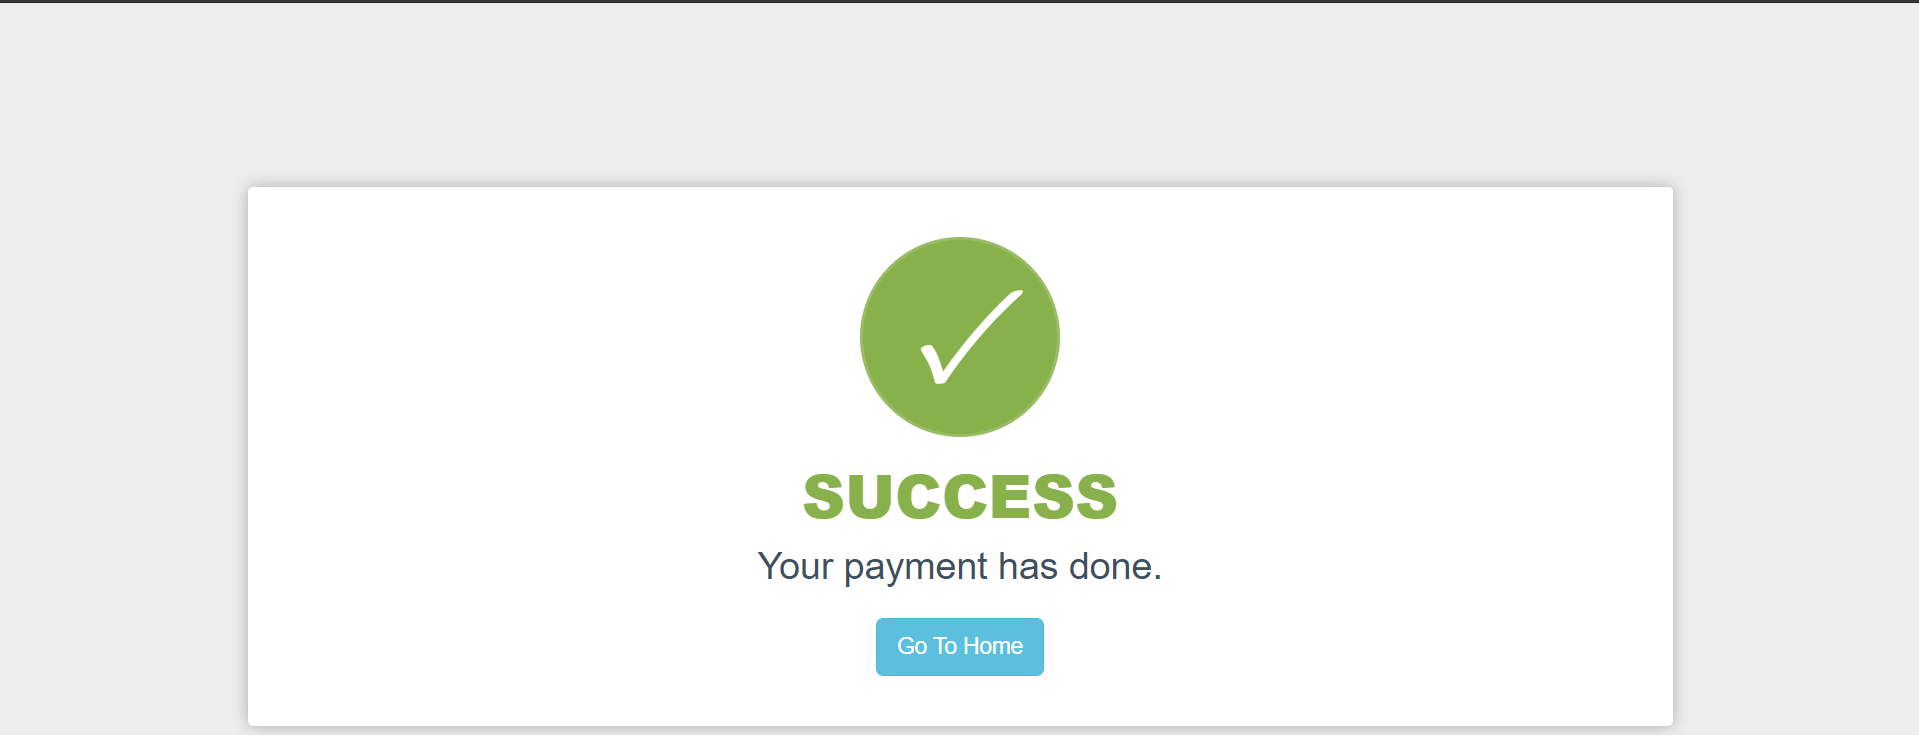
This will redirect you activated payment gateway page

Once your transaction is completed, you will be redirected to payment success page.
To start lesson, go to online course page, and then click on the Start button of the course
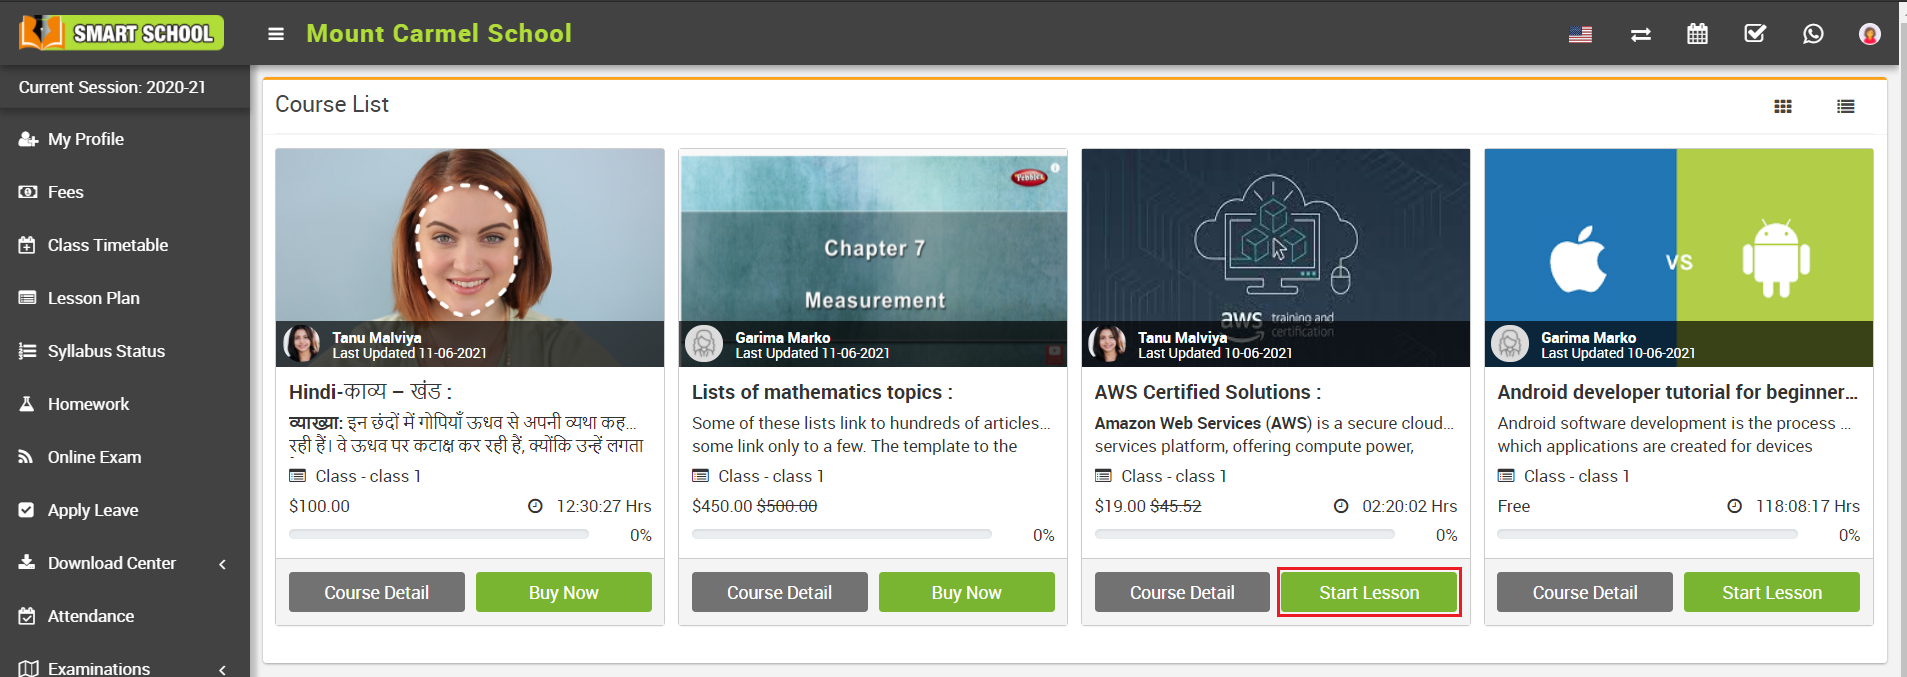
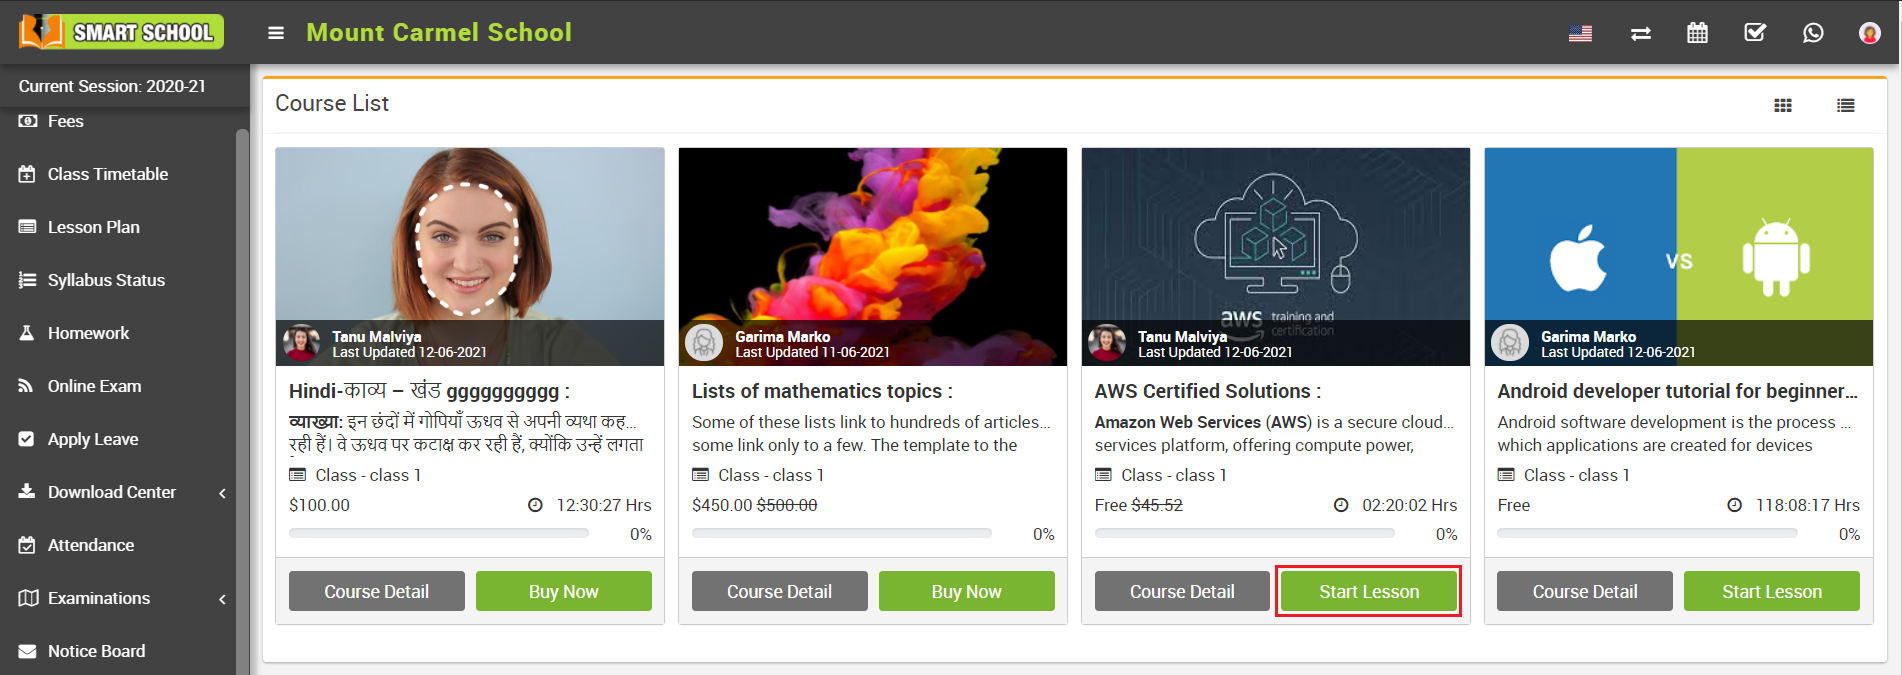
Note – If course is Free then you will see Start Lesson button instead of Buy Now button, now you can start lesson by clicking this Start Lesson button.
You can see number of lesson and quiz by clicking section collapse bar.
You can start quiz by clicking on Start Quiz button.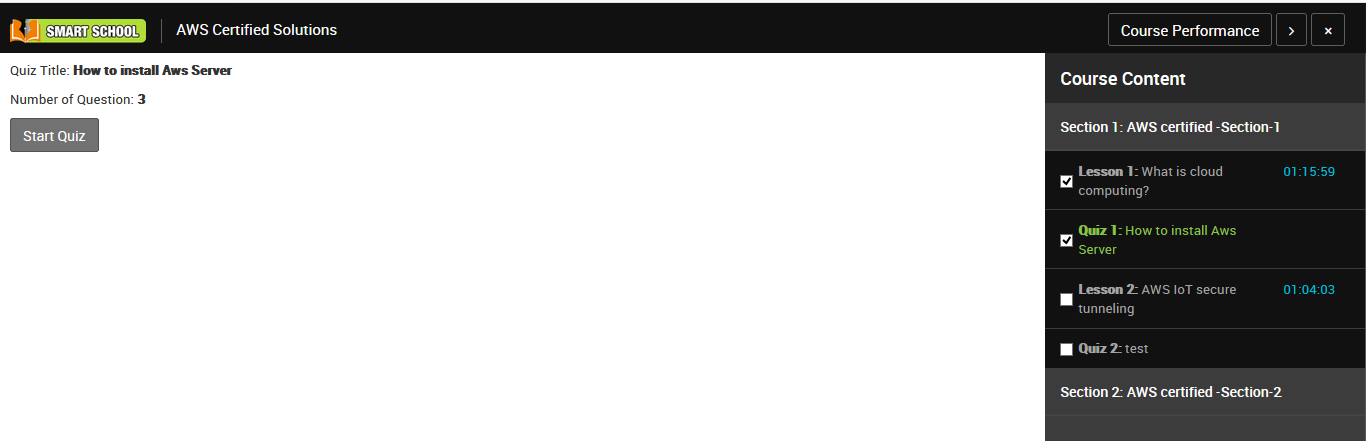
Once you start quiz all the question related to that quiz will be listed one by one.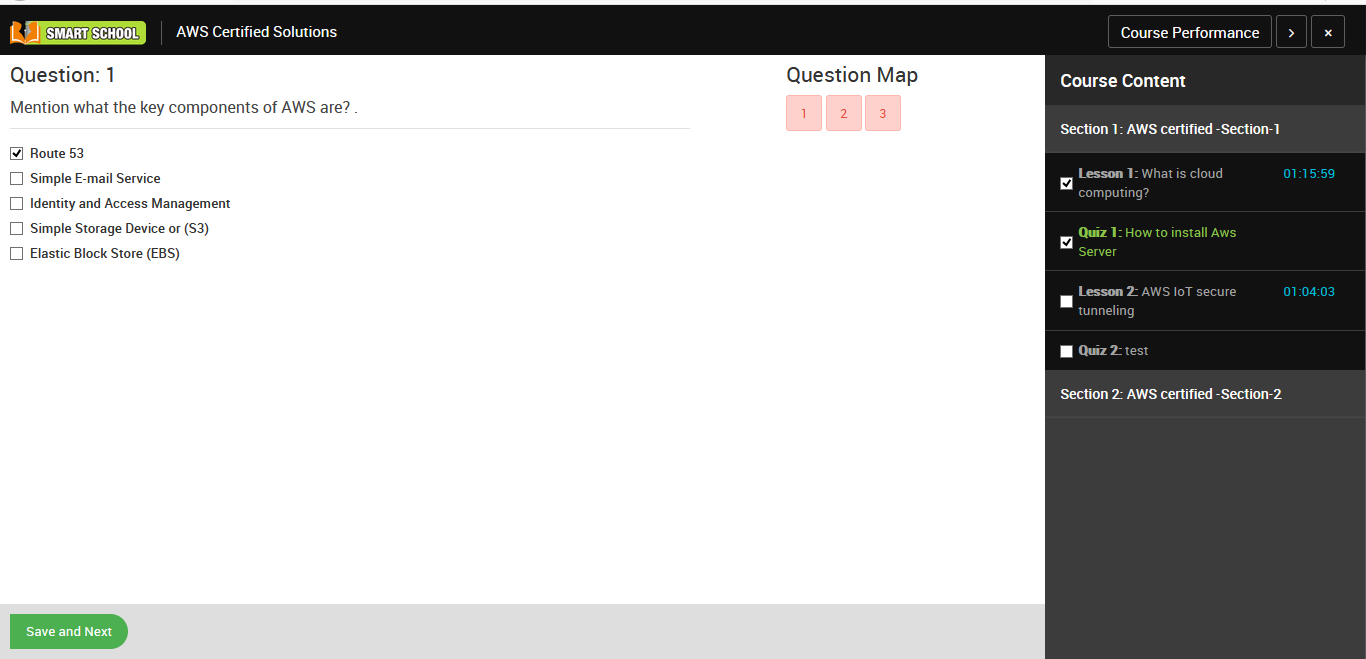
Once you submit your quiz you can check your quiz performance.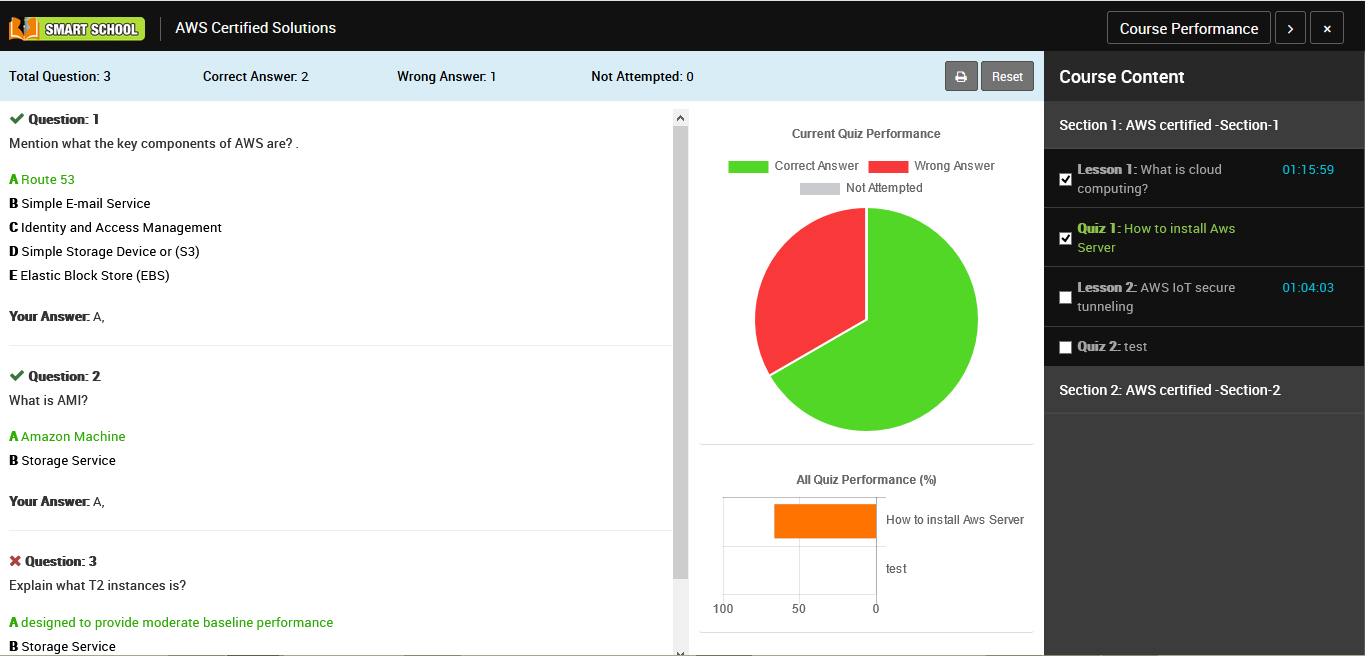
You can also check course performance by clicking Course Performance button present in the top right corner.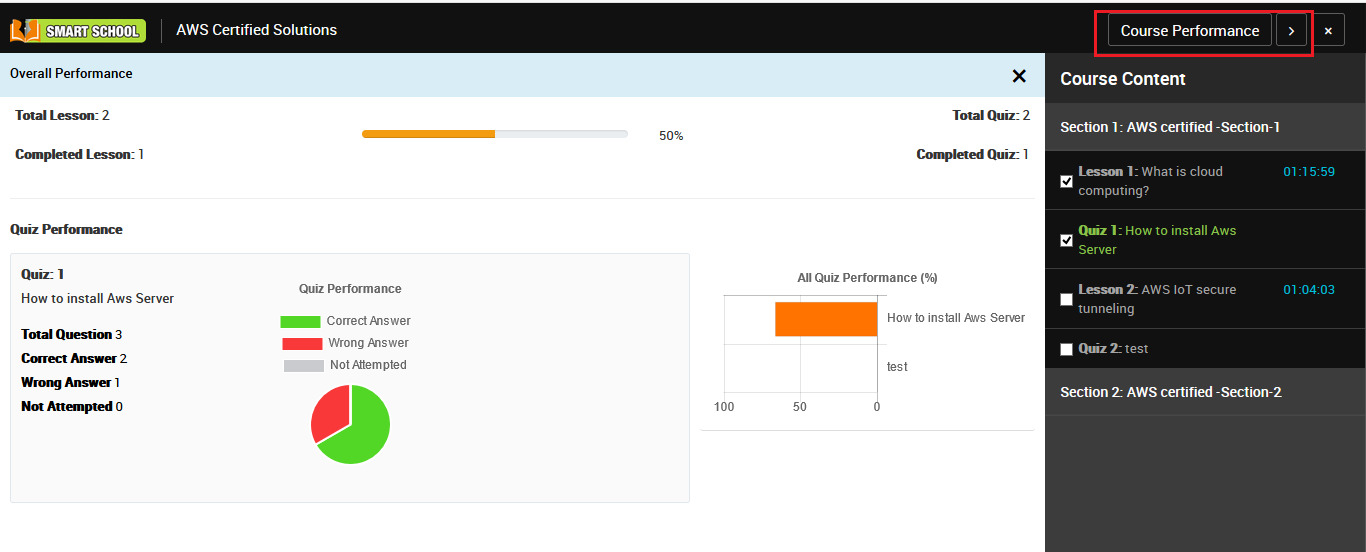
You can also check your course performance in course list page, here you will see progress bar which is representing your course completion percentage.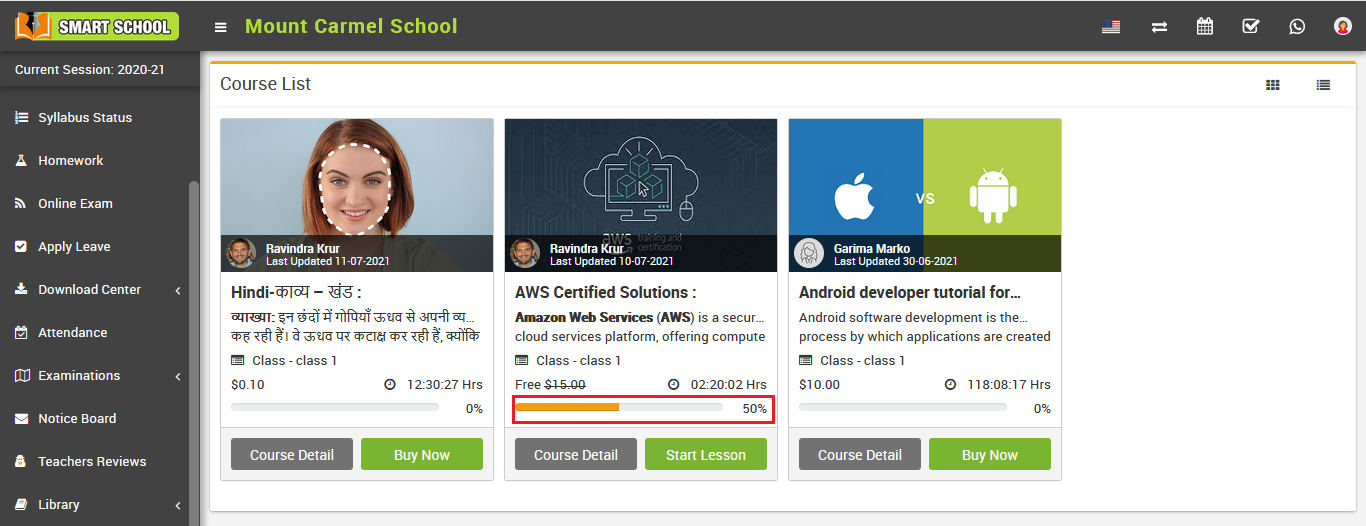
Note –
1. If the student has completed any lesson or quiz of free course and after that the course gets paid from free, then that course will still be free for the student.
2. If a student purchases a course, then that course is available to him forever.
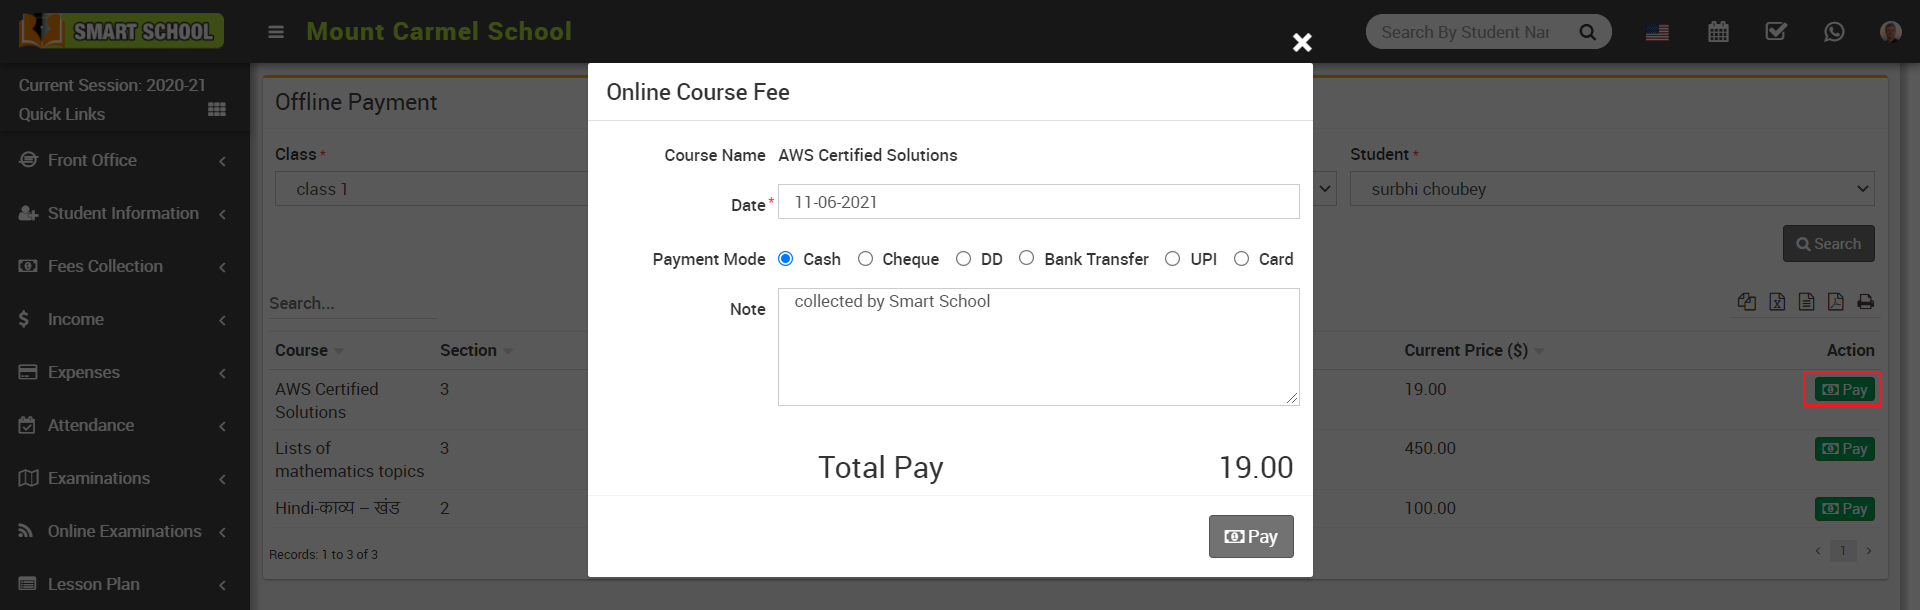
How to collect offline payment for paid online course?
Now click on the Pay button of the course for which you want to collect payment, at click of this button Online Course Fee modal will open, here enter select Date, Payment mode and click on the Pay button.
Once payment is collected you will see Revert button instead of Pay button, by clicking this Revert button you can revert fee amount.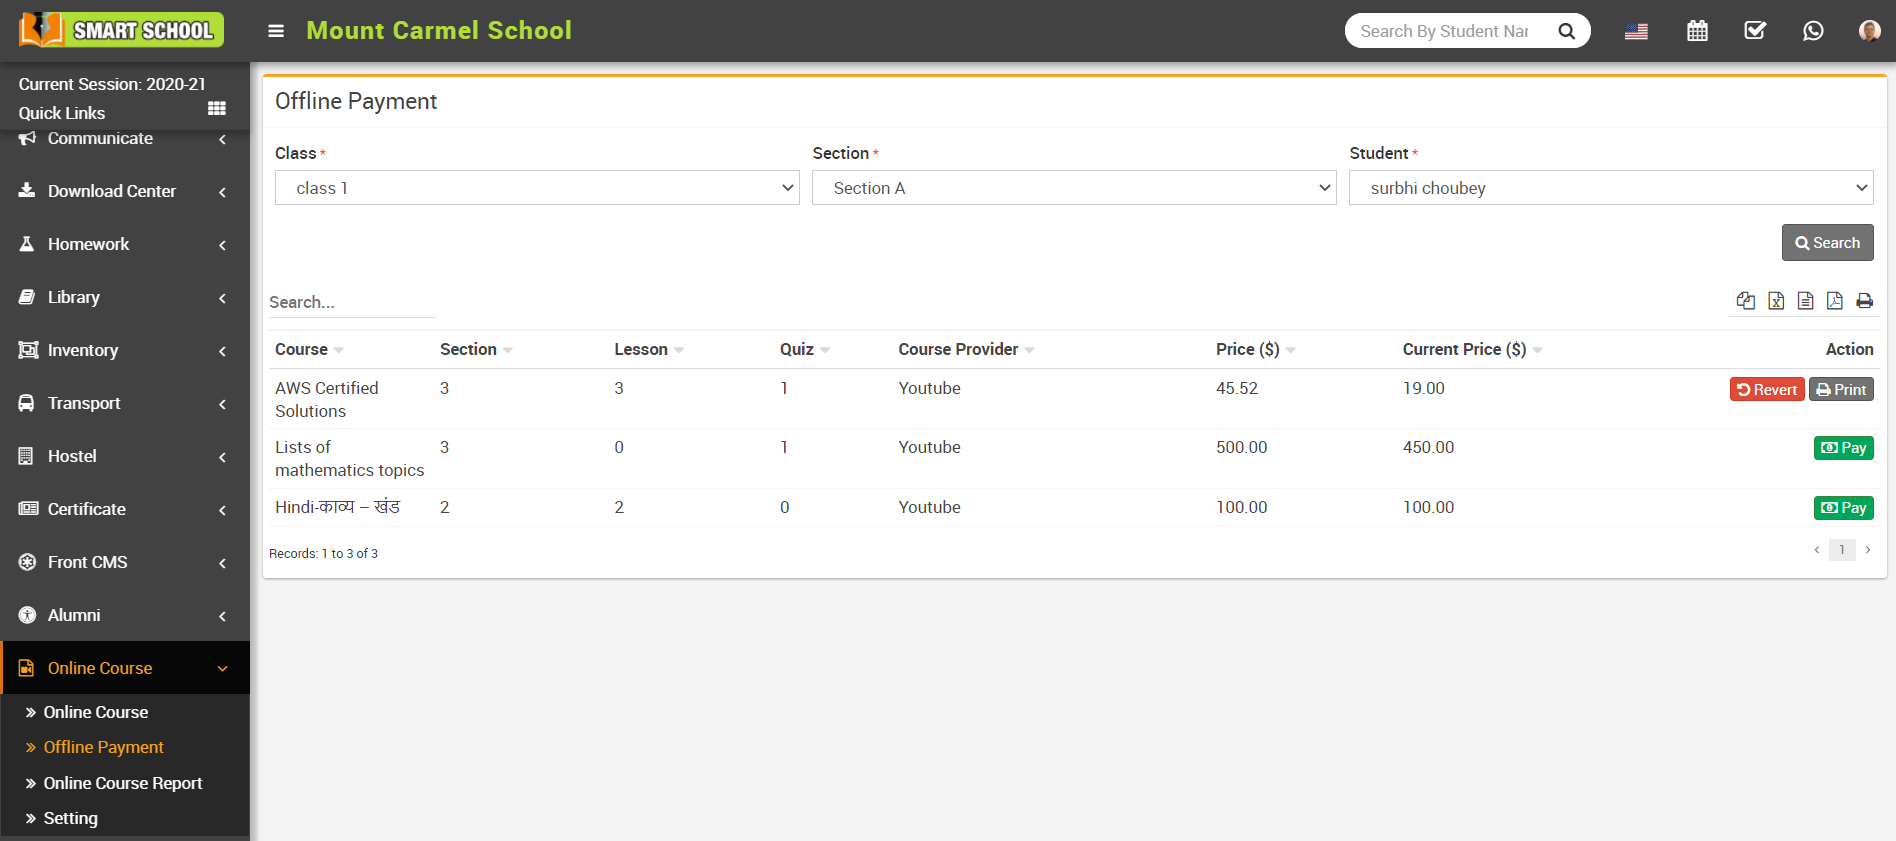
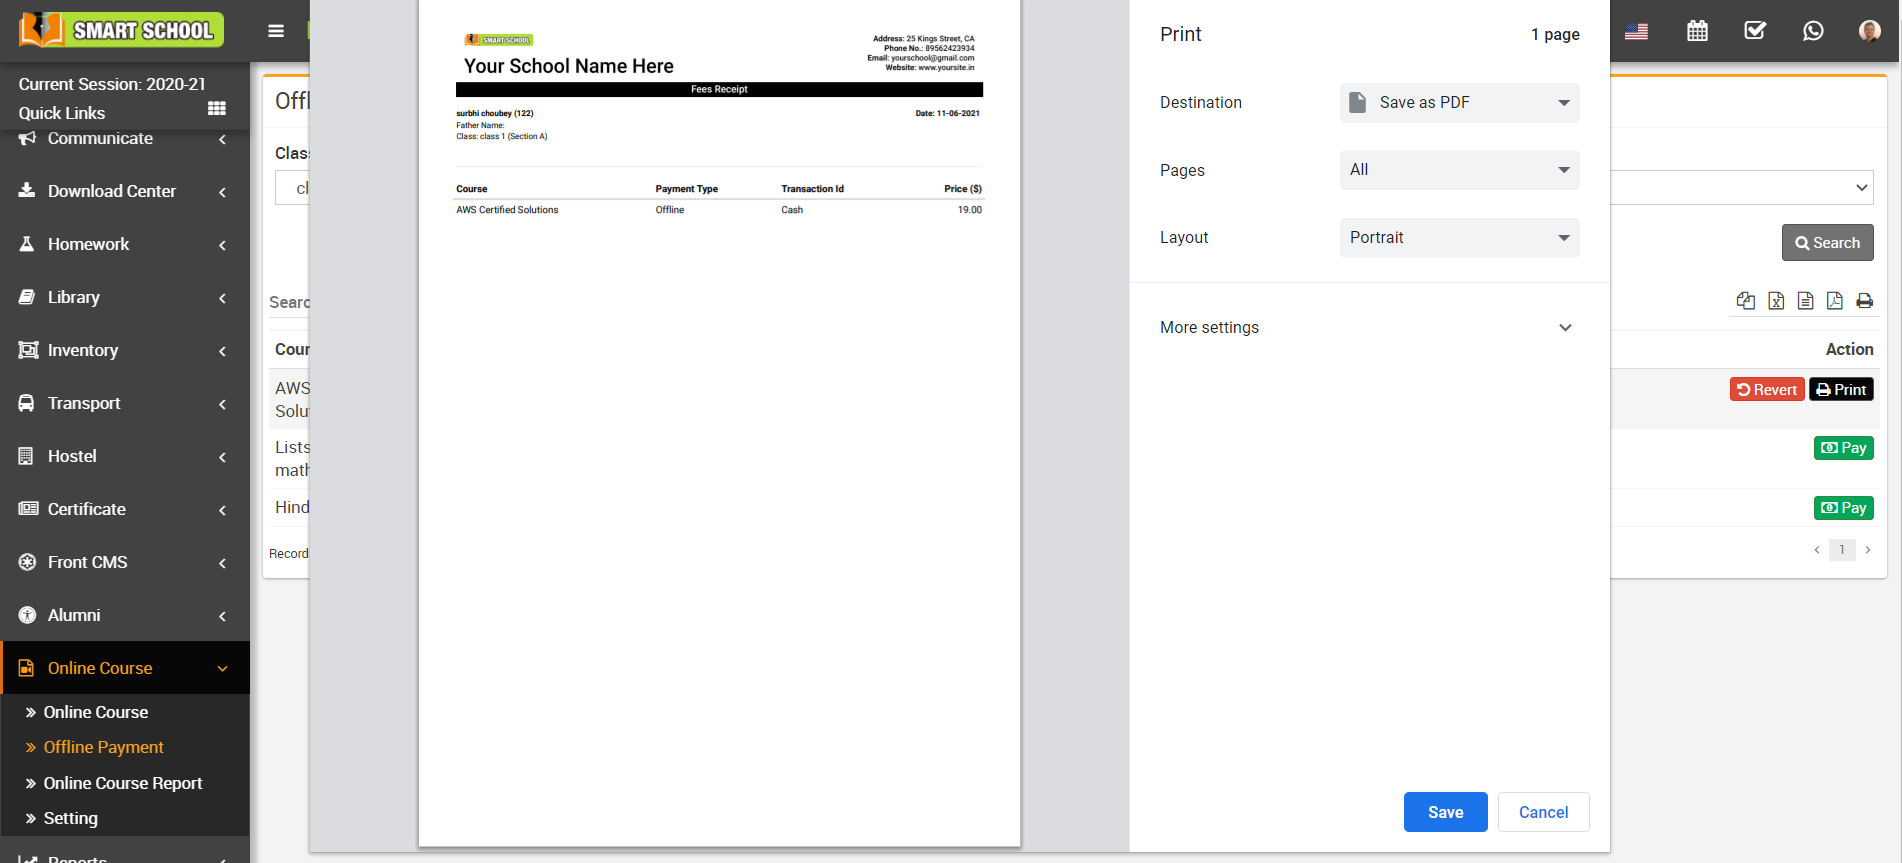
Note – If you revert the course then student progress will be 0.
How to check online course reports?
To check all reports, login from superadmin/admin panel then go to Online Course > Online Course Report.
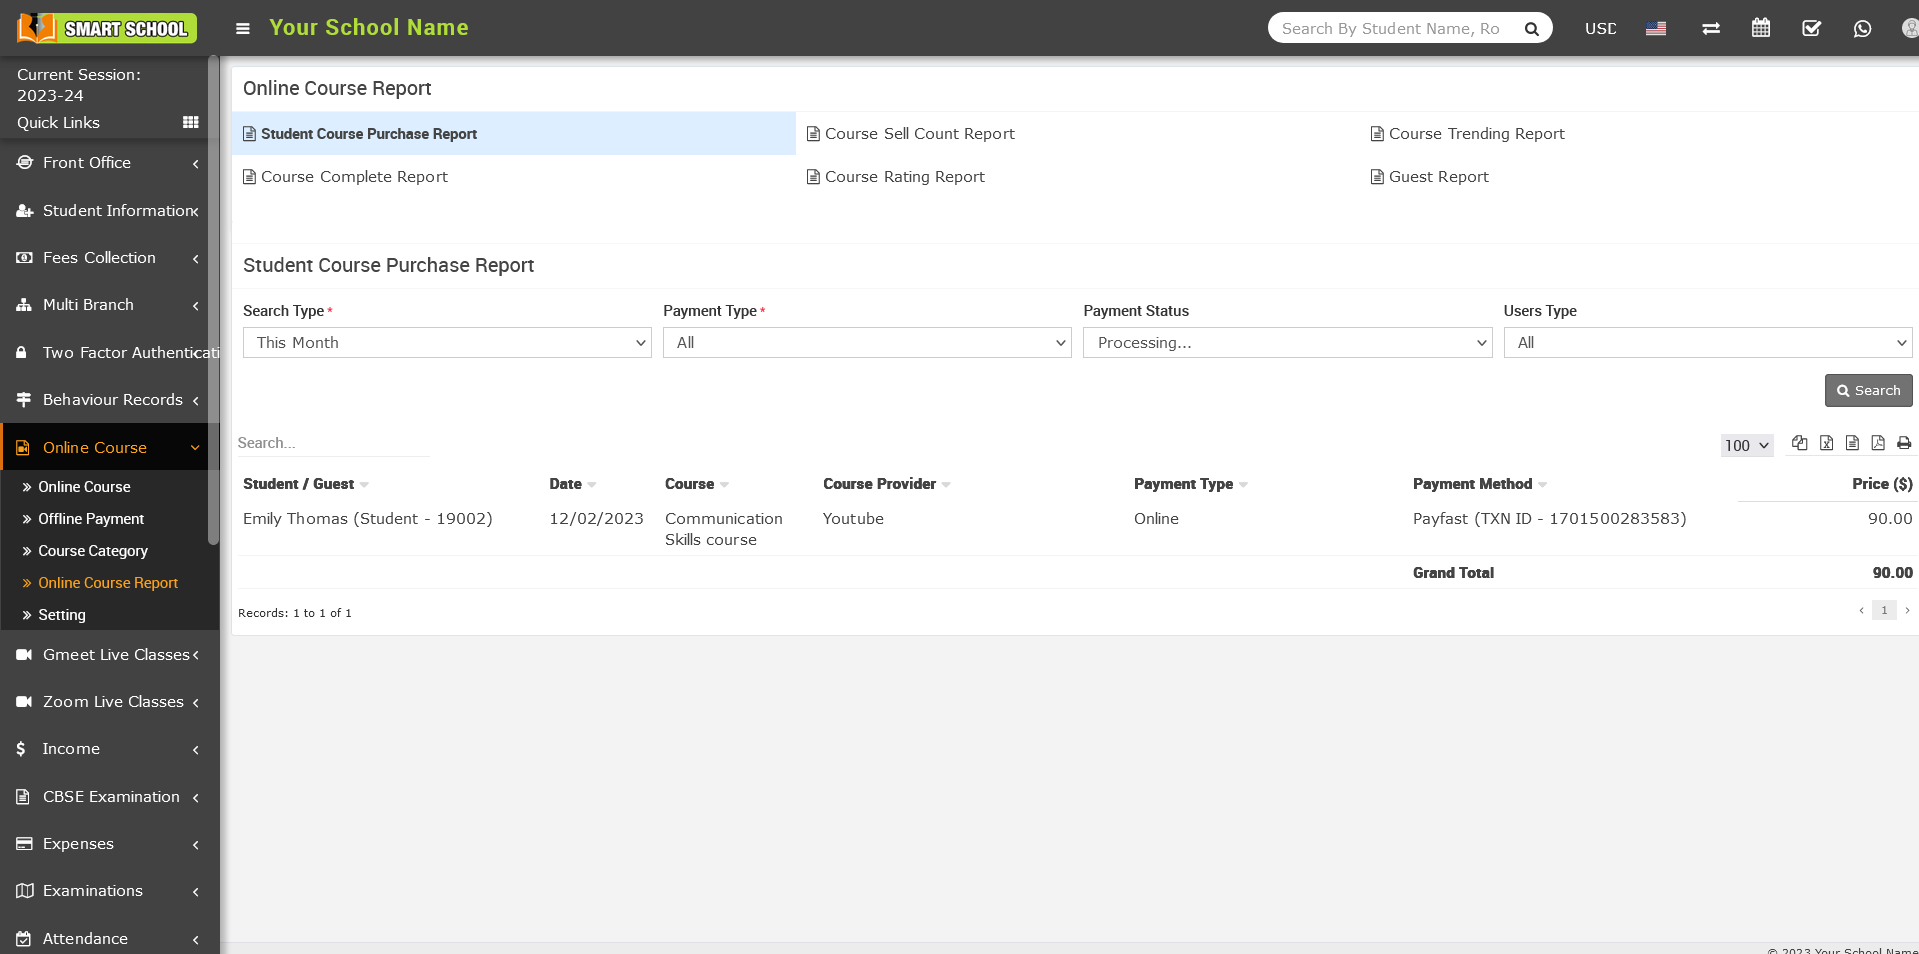
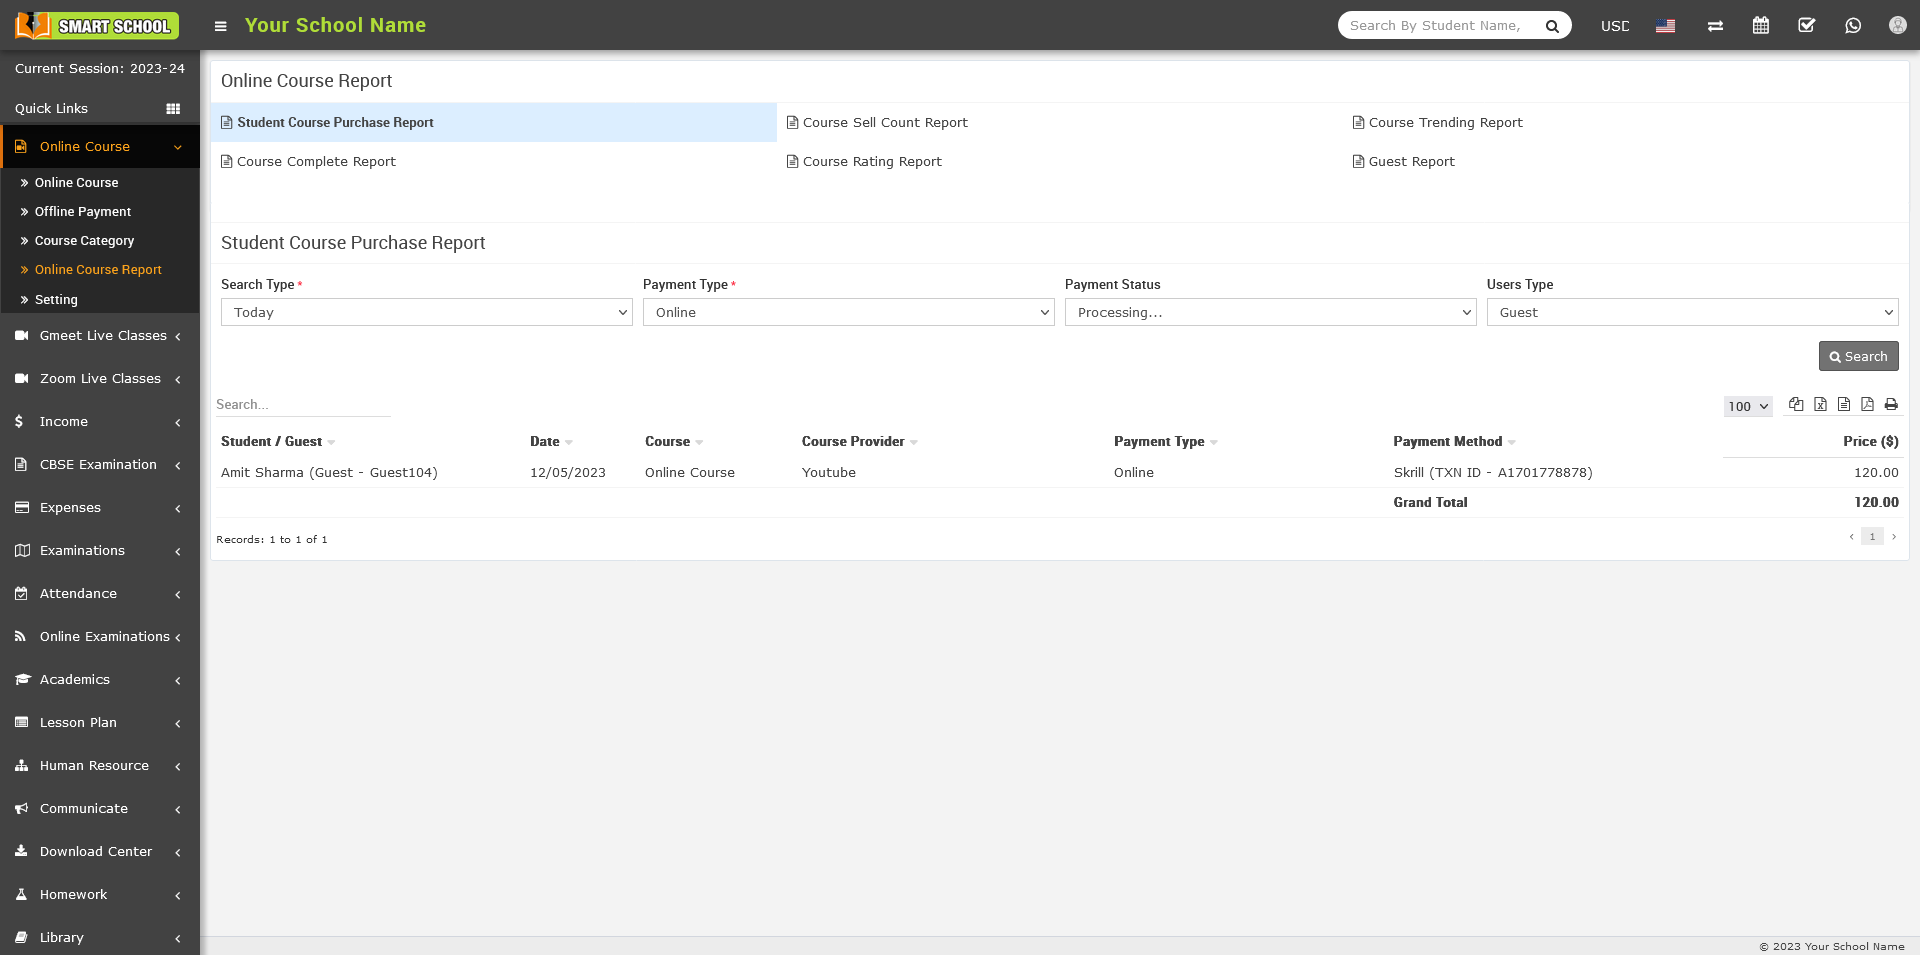
Student Course Purchase Report -
To check student course purchase report click on the Student Course Purchase Report, here select Search Type, Payment Type (offline/online), Payment Status (Success/ processing), Users Type (Student/ Guest) and then click on the Search button, at click of this button searched record will be shown on the below of the page.
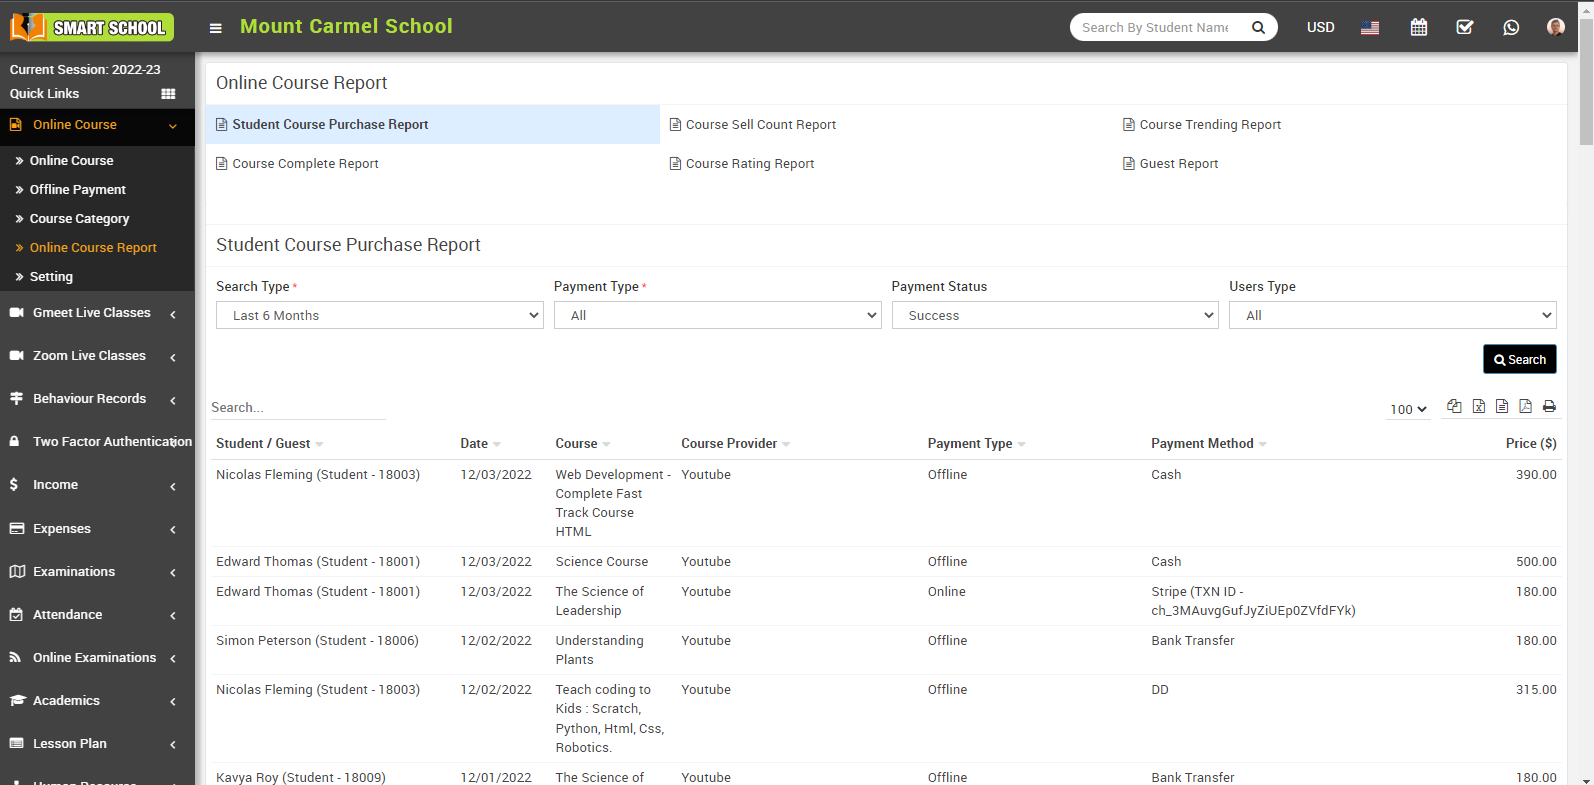
Student course purchase report, while processing the transection along with transection id.
Student course purchase report, Guest purchase the course and processing the transection along with transection id.
Course Sell Count Report -
To check course sell count report, go to Online Course > Course Sell Count Report link here you can check total number of sell count for each course.

Course Trending Report -
To check course trending report, go to Online Course > Course Trending Report link, here you can check most trending courses.

Course Complete Report -
To check student course trending report, go to Online Course > Course Complete Report link then select Class, Section, Course and then click on the Search button, at click of this button searched record will be shown on the below of the page, here you can check completed courses of each student.
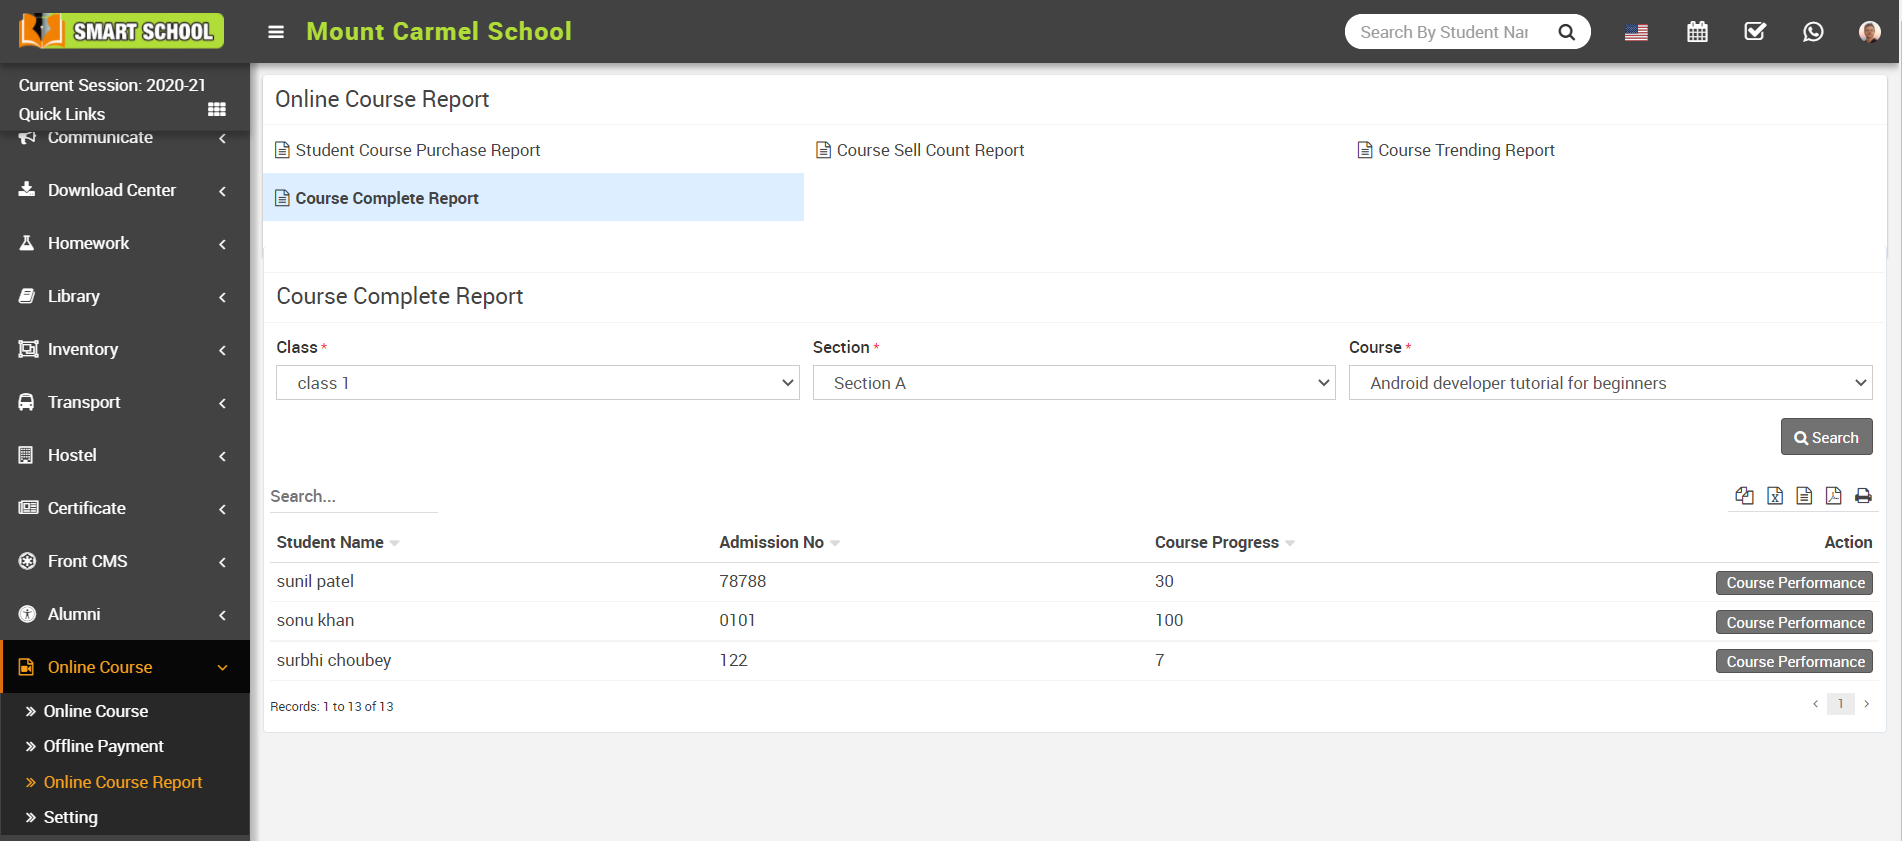
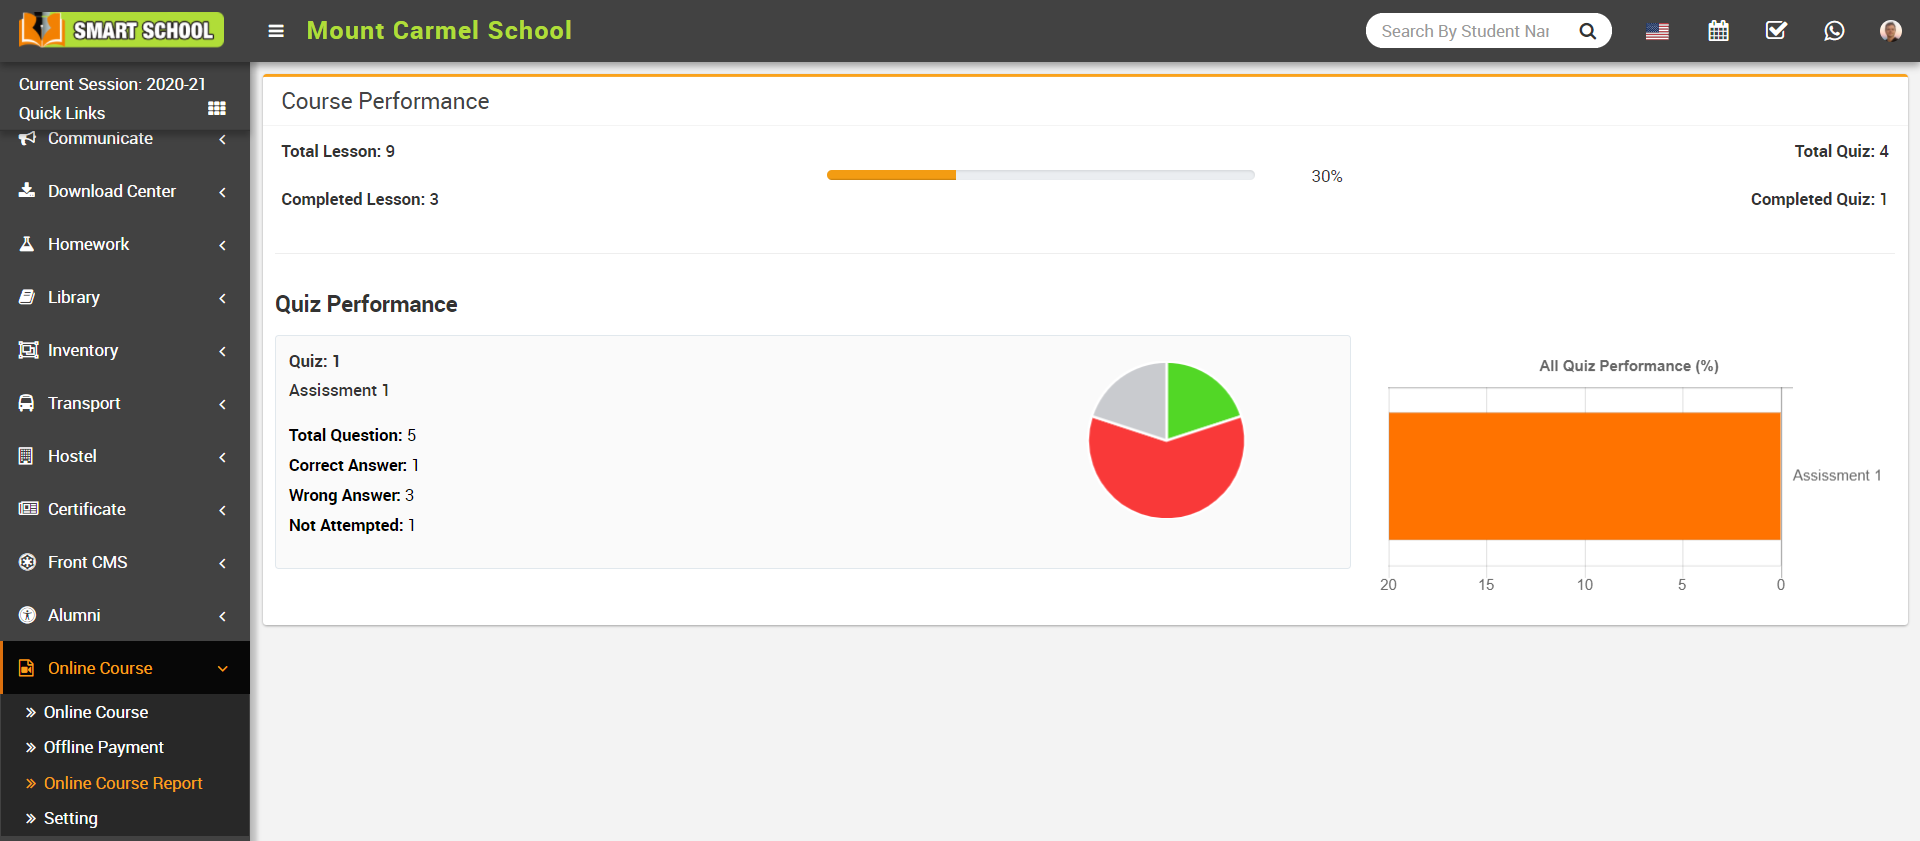
To check student’s Course performance click on the Course Performance button present in the Action column, this will redirect you in the Course Performance page, here you can check course and quiz performance of the student.
Course Rating Report-
To check the course rating report, click on Course Rating Report. Here you can view course Title, Class & section, Rating, Review Count, and Action.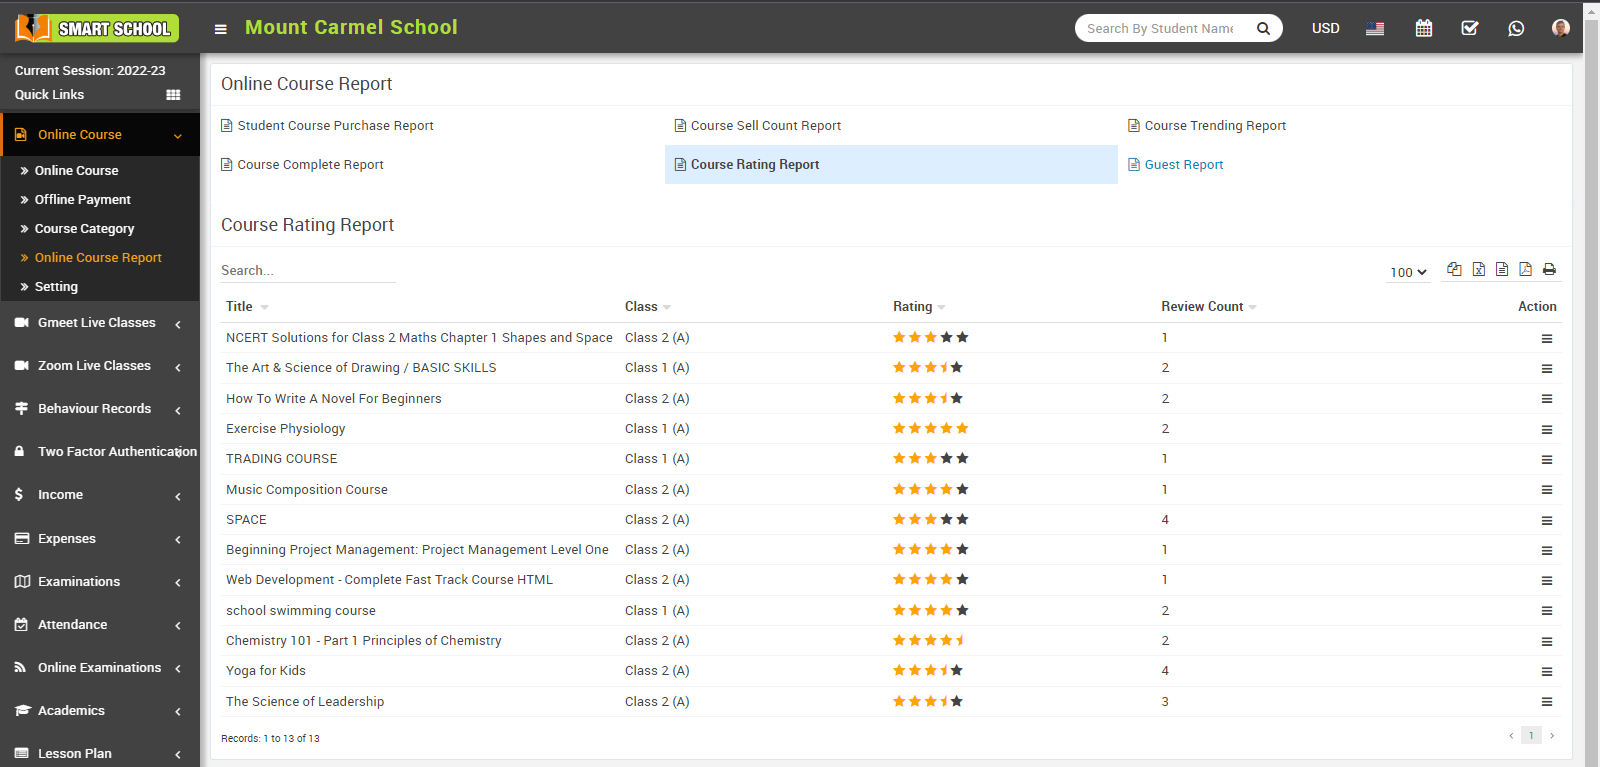
The title displays the title of the course, the class displays which student is from which class and section, the rating displays the rating given by the student or guest, the review count is showing the count how many times review that course and in action column, you can see the view option available, click on view icon, rating details, module will be open. In student name, you can see the student name as well as the guest name which will be define in bracket.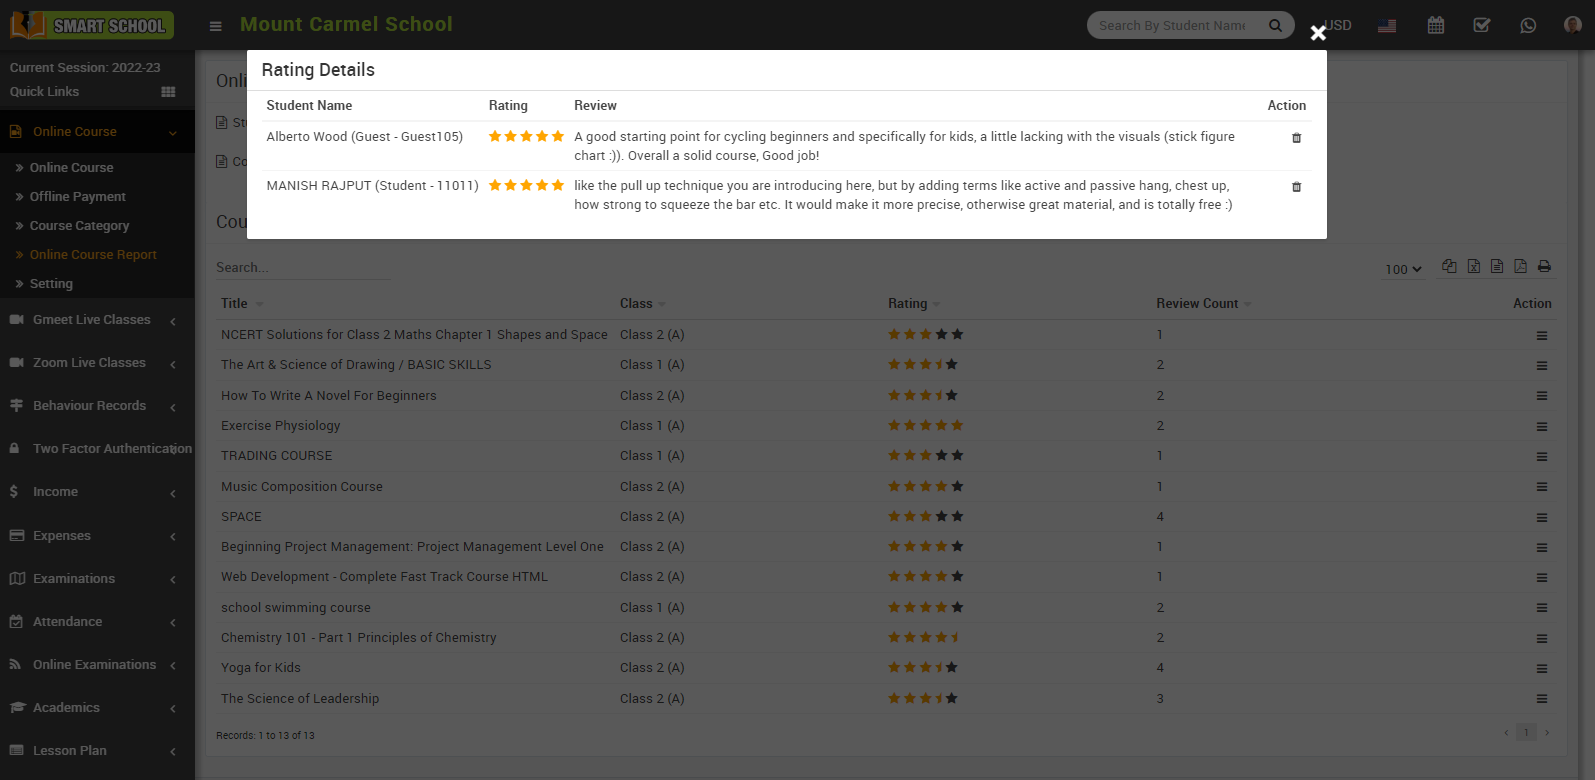
Here you can view the student or guest name, the rating given by the student or guest, and the student and guest review. In the action column, you can also view the delete option and delete the rating and review.
Guest Report-
To check the guest report, click on the Guest Report. Here you can view the Guest Image, Guest Name, Admission Number, Email, Mobile Number, Date of Birth, Gender, Address and Action Column.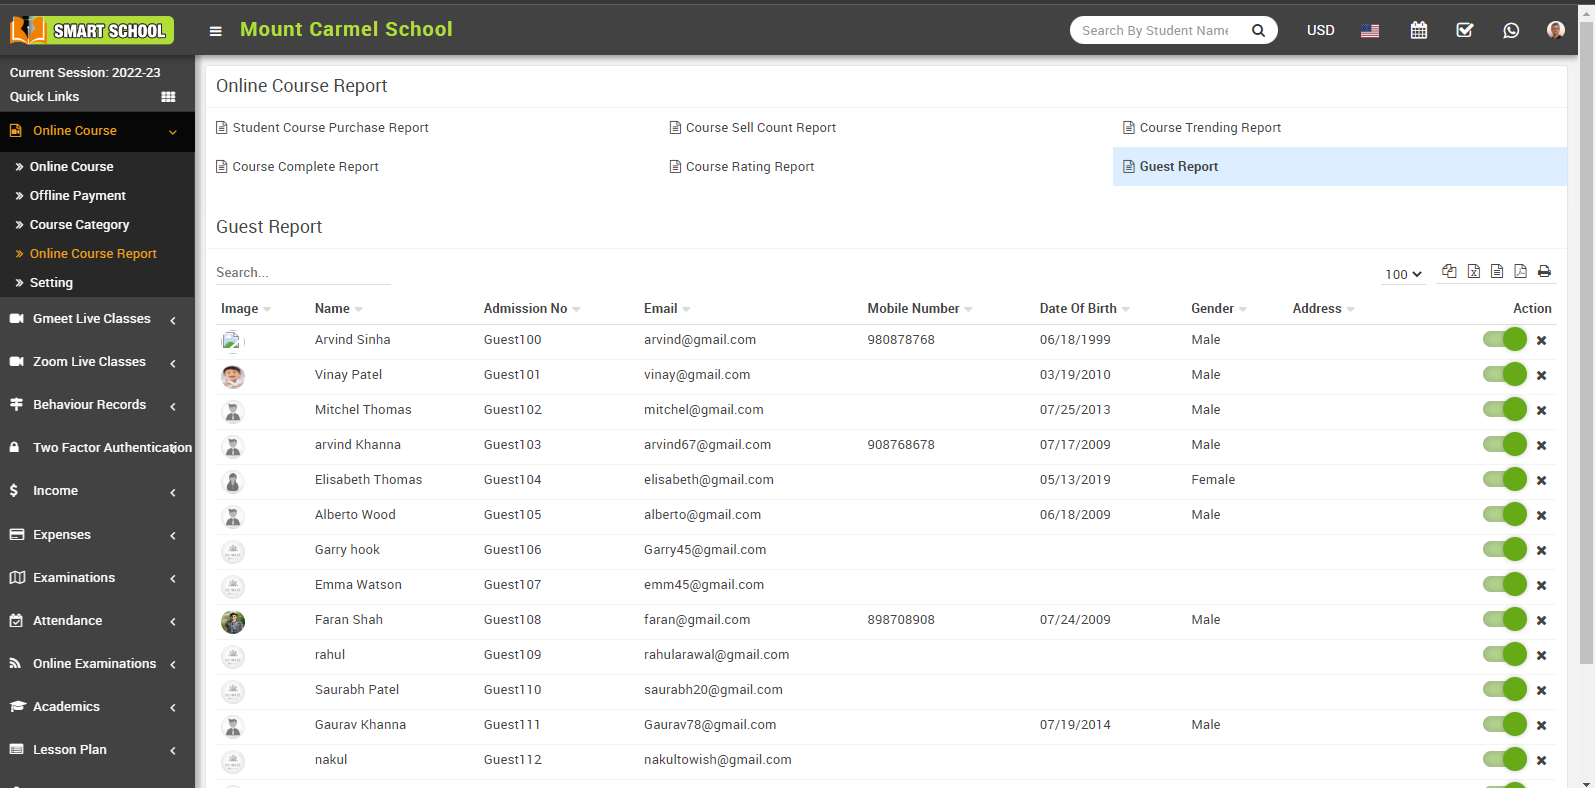
From the action column, you can activate and deactivate the guest through the toggle button, and you can also remove the guest.
How to manage AWS S3 bucket setting?
You can complete AWS S3 bucket setting in following two steps -
- Create AWS account
- Create S3 Bucket
Create AWS account -
If you already have AWS account then you can skip create AWS account and just login to your existing account. To generate Access Key ID and Secret Access Key firstly you need to create AWS account, for this follow AWS documentation https://docs.aws.amazon.com/general/latest/gr/aws-sec-cred-types.html link.
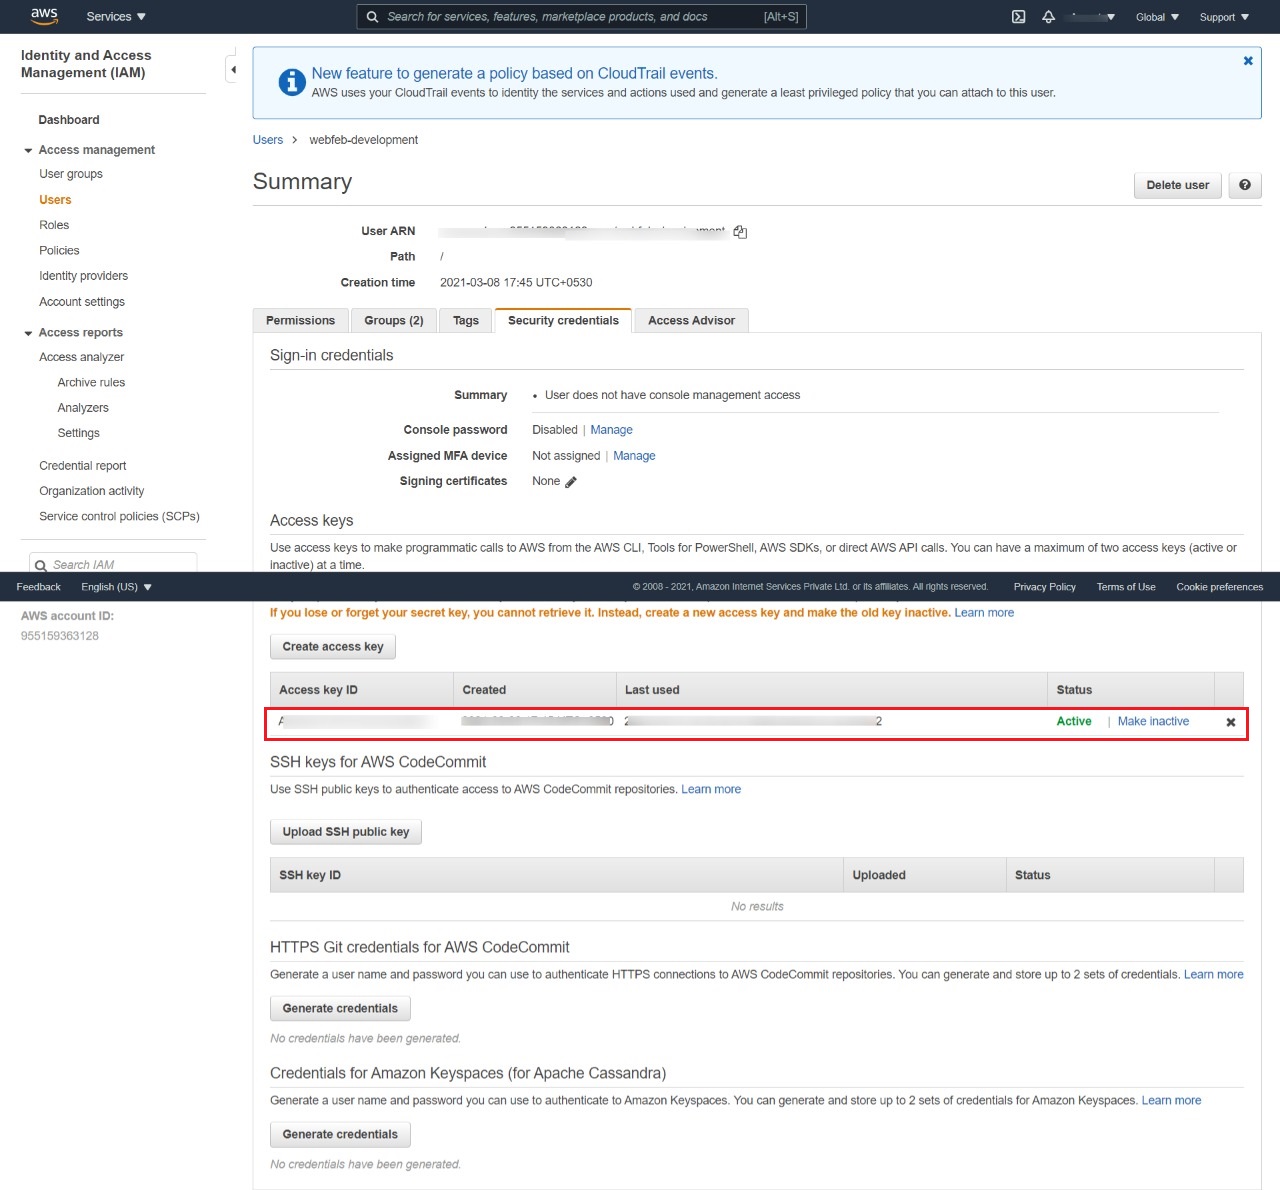
Once account is created, you will get Access Key ID and Secret Access Key. Please note generated Access Key ID and Secret Access Key for further use.
Create S3 Bucket -
To create S3 Bucket please follow AWS documentation https://docs.aws.amazon.com/AmazonS3/latest/userguide/create-bucket-overview.html link.
According to above link you can create S3 bucket by using Amazon S3 console, Amazon S3 APIs, AWS CLI, or AWS SDKs but we recommend to use Amazon S3 console to create S3 Bucket.
By following above link you can create your Bucket name and Region.
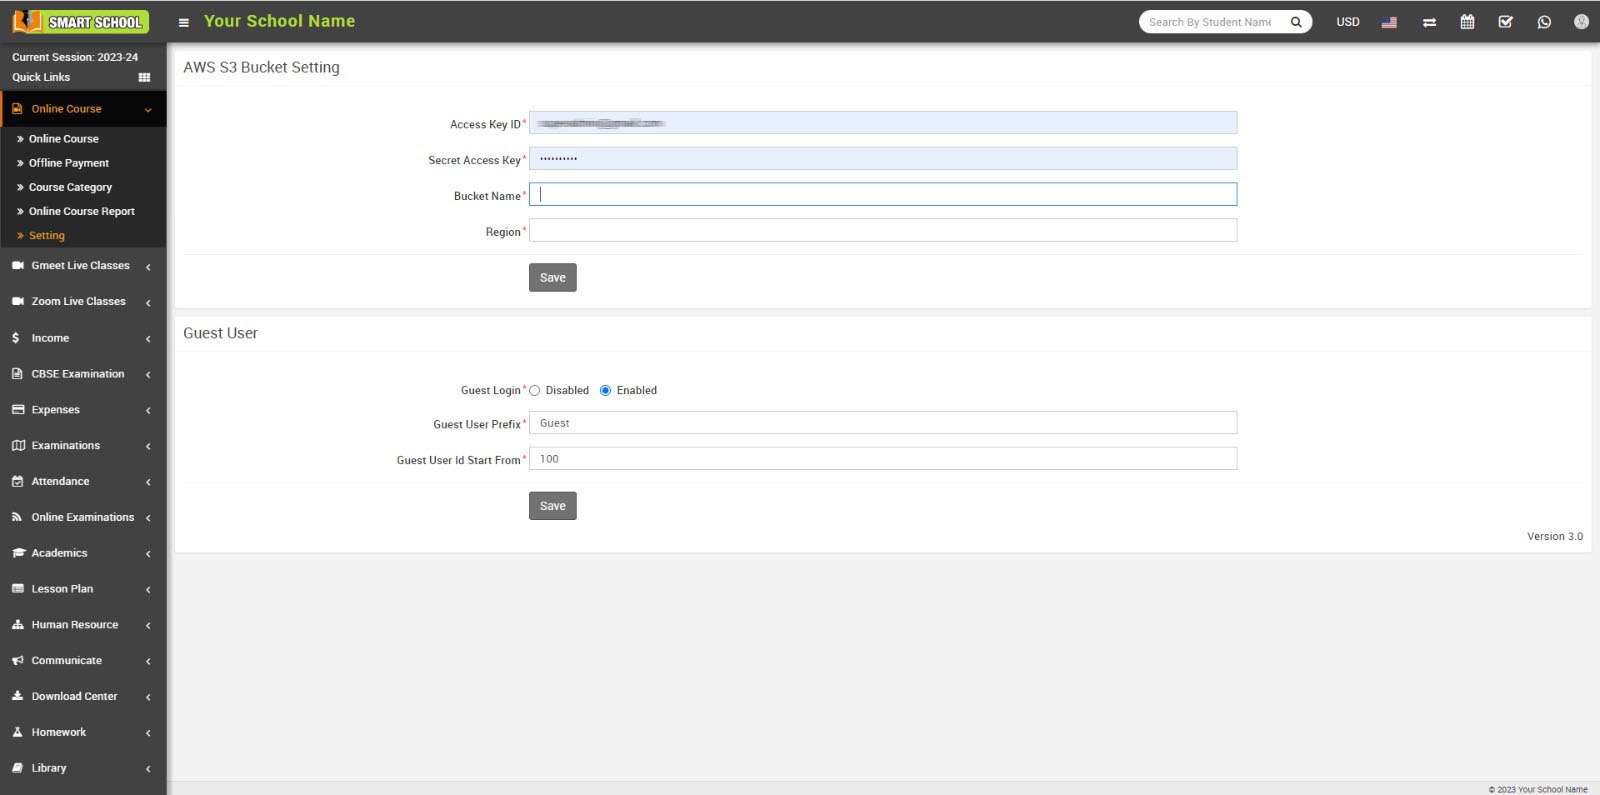
Now enter Access Key ID, Secret Access Key, Bucket name and Region in your setting page and then click on the Save button.
How to manage online course front site page?
In Smart School Online Course Front Site, in this page, you can see the multiple courses and its search criteria.
In the left side page, you can see Filter & Refine option available. The filter and refine feature in online courses can help learners to quickly and easily find the content that is most relevant to their learning goals, saving them time and effort in their search.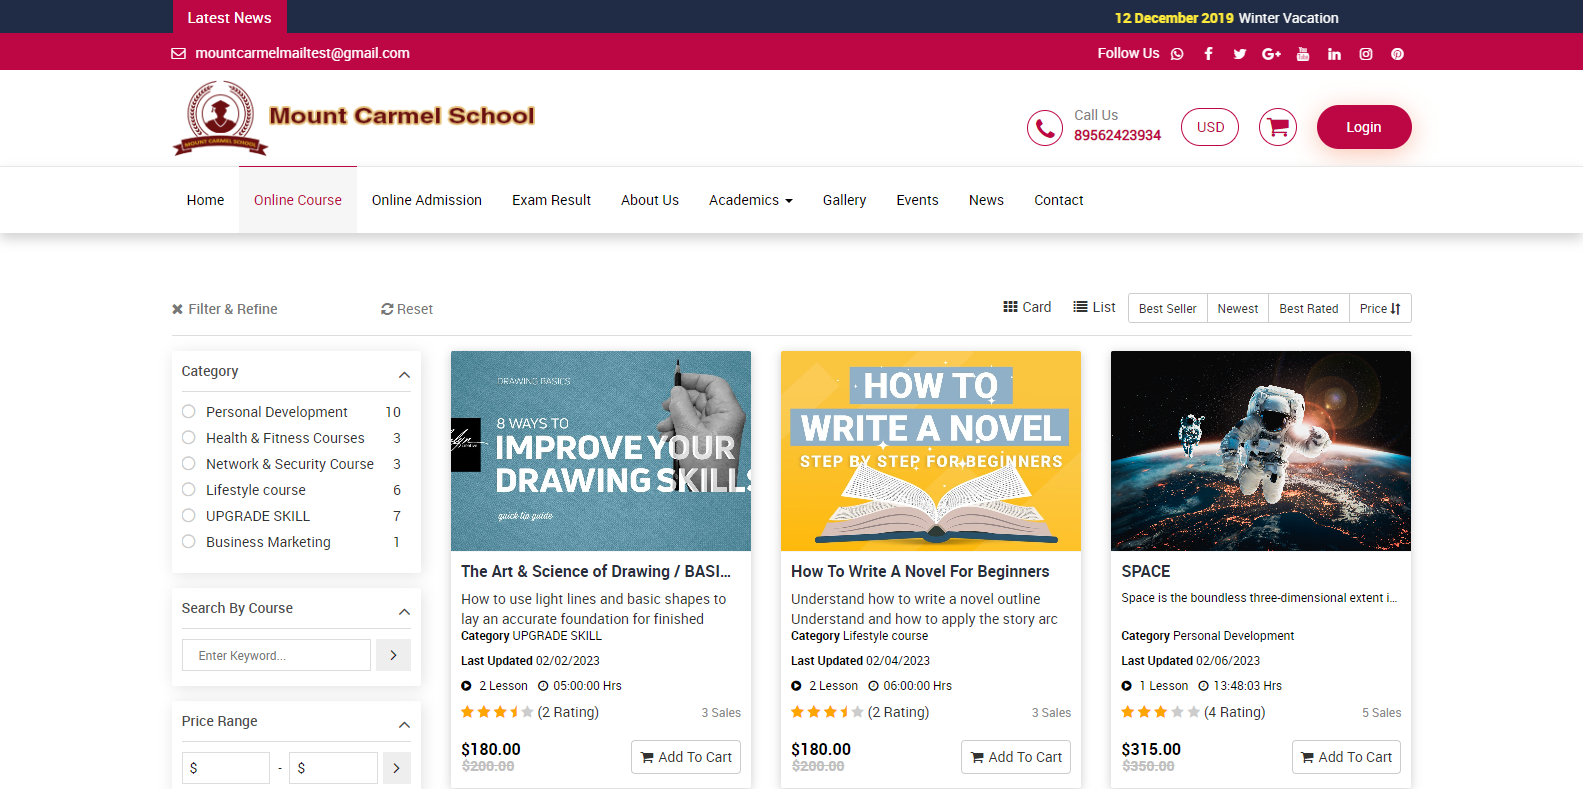
When you click on cross icon, which is showing in next to the filter & refine, all filter search options will be closed.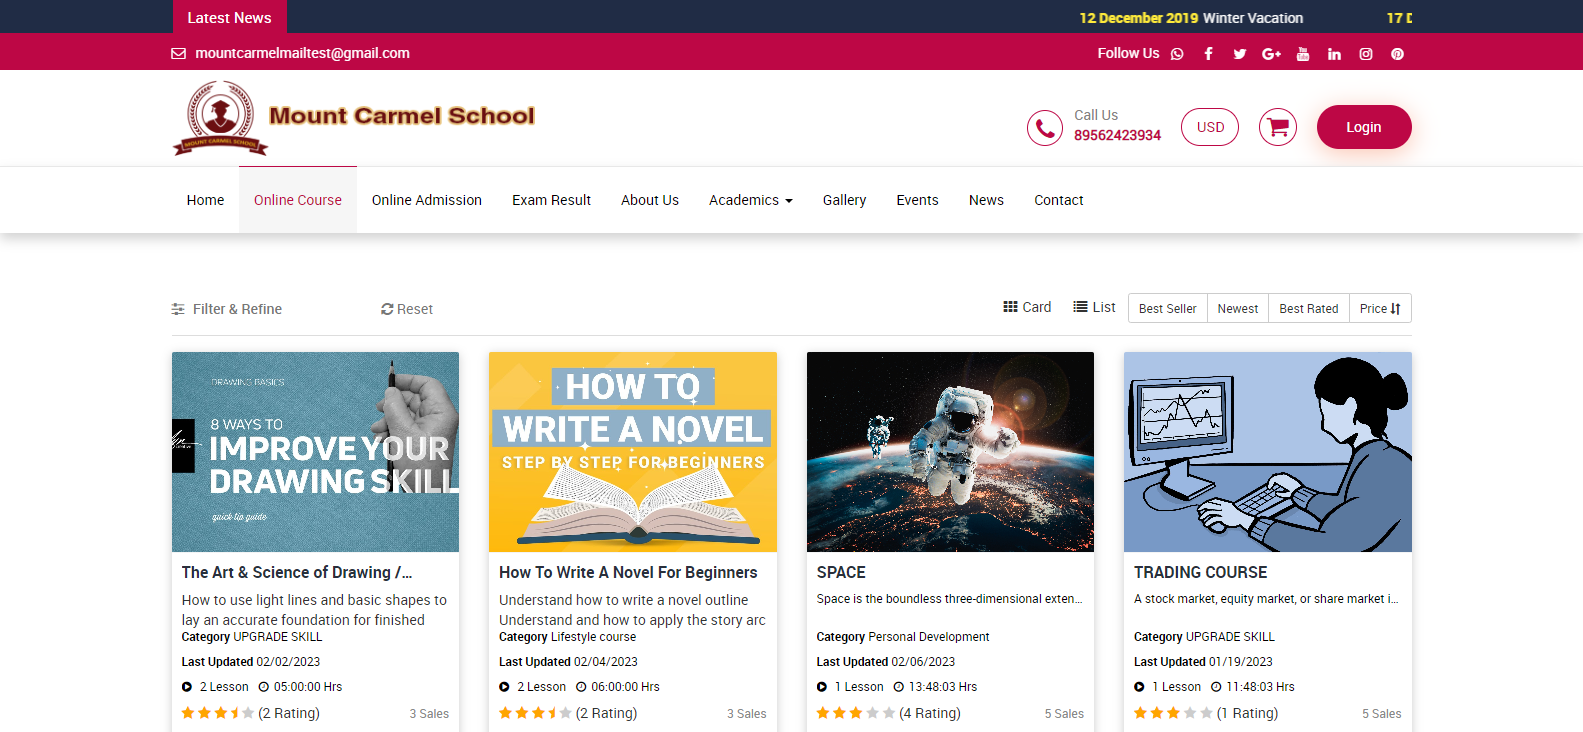
With the help of the Reset button, you can now reset your selections made using the filter and make changes to your choices.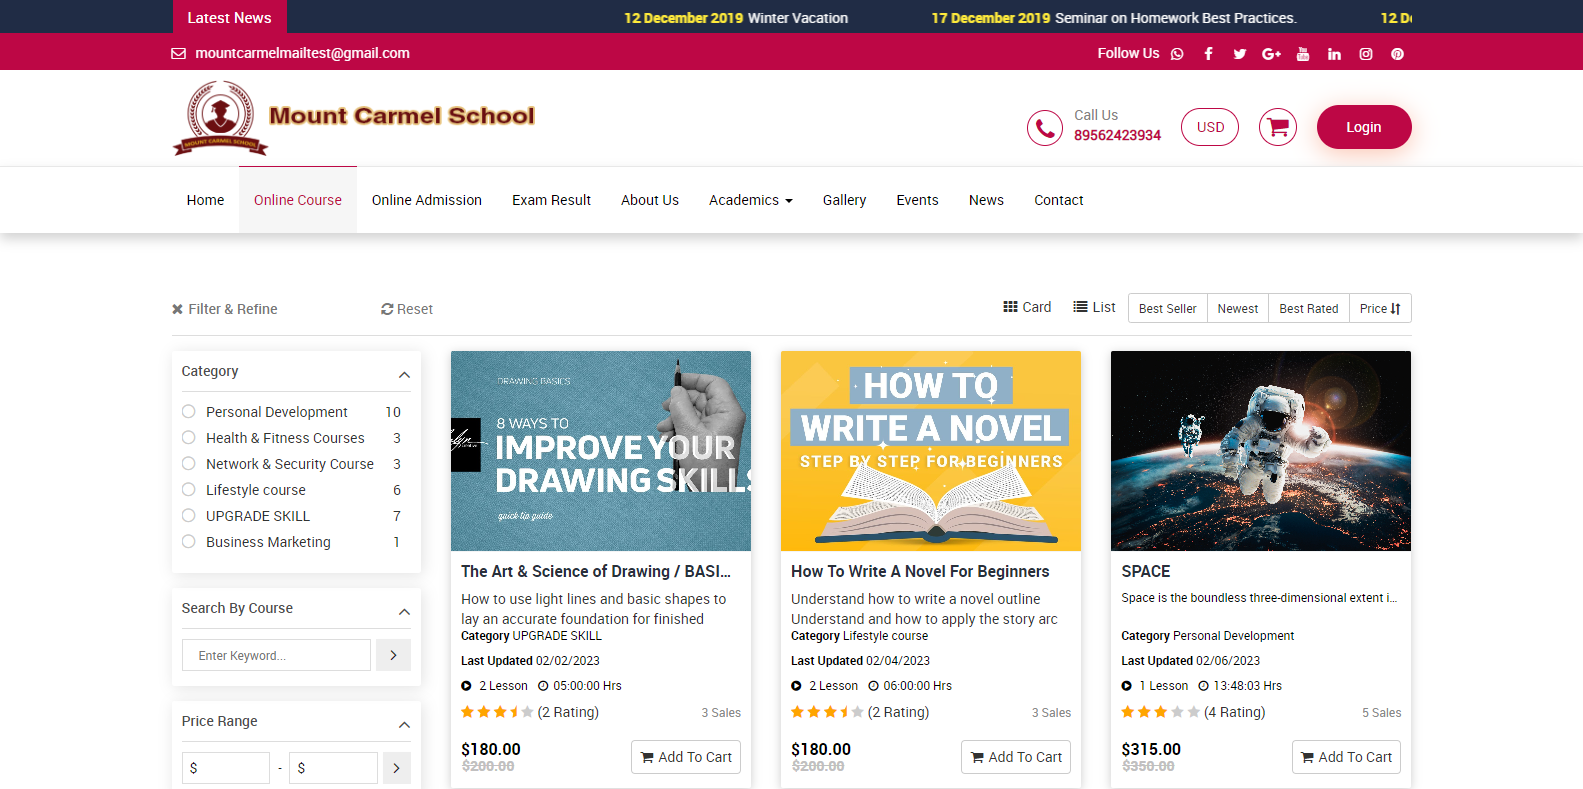
Initially, you will notice the Category filter located beneath the Filter & Refine section. With this filter, you can easily categorize your online courses. Simply click next to the category name displayed in the category list, and all courses related to your selected category will be displayed.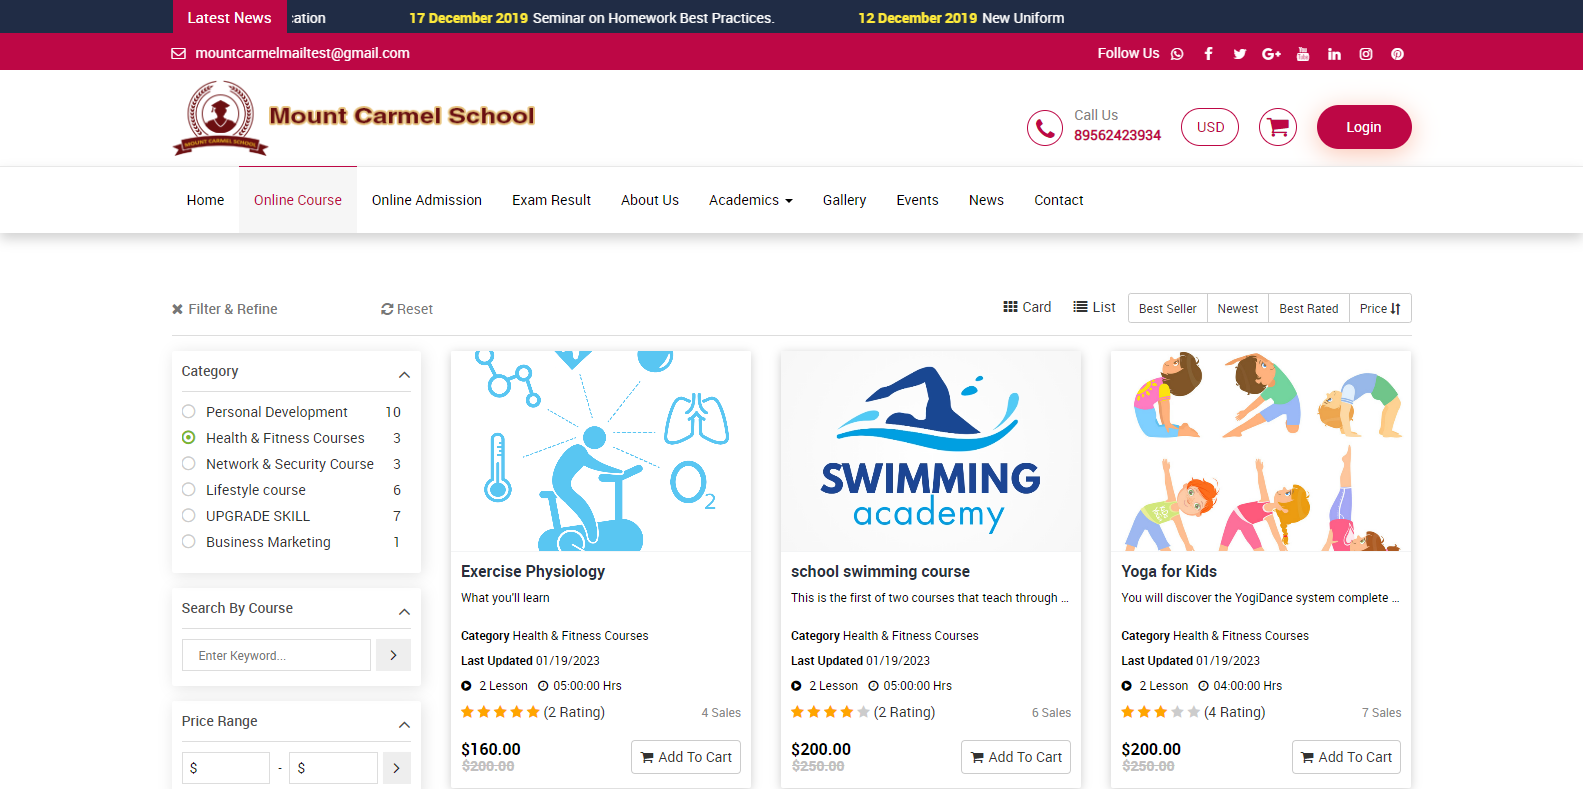
Search By Course, with the help of this filter, you can search the course by its name, simply enter the course name in the box and click on search, related courses will be displayed.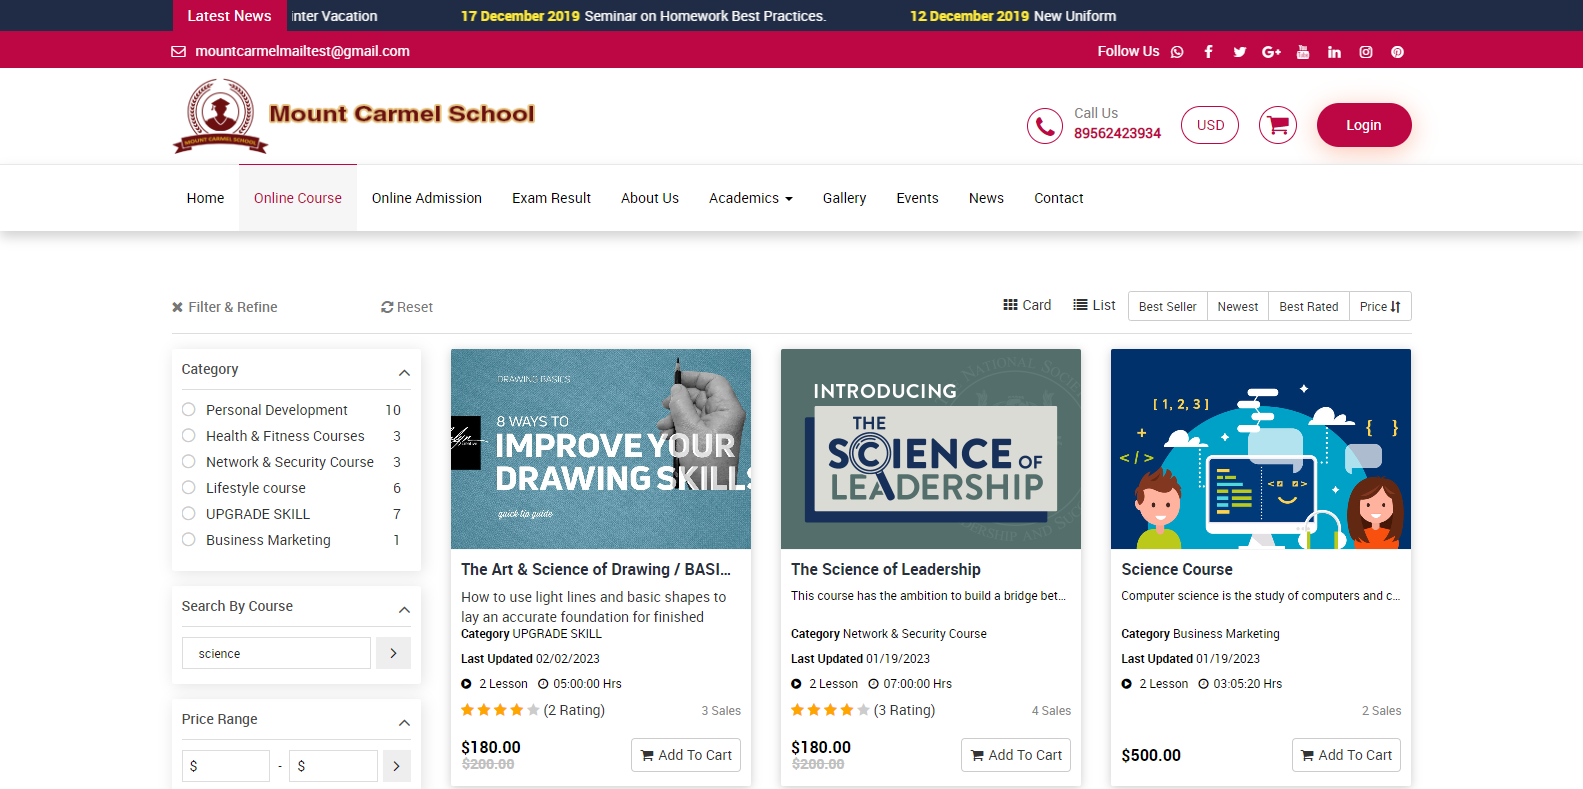
Price Range filter, with the help of the Price Range filter, you can set a price range for courses so that only those within that range will be displayed.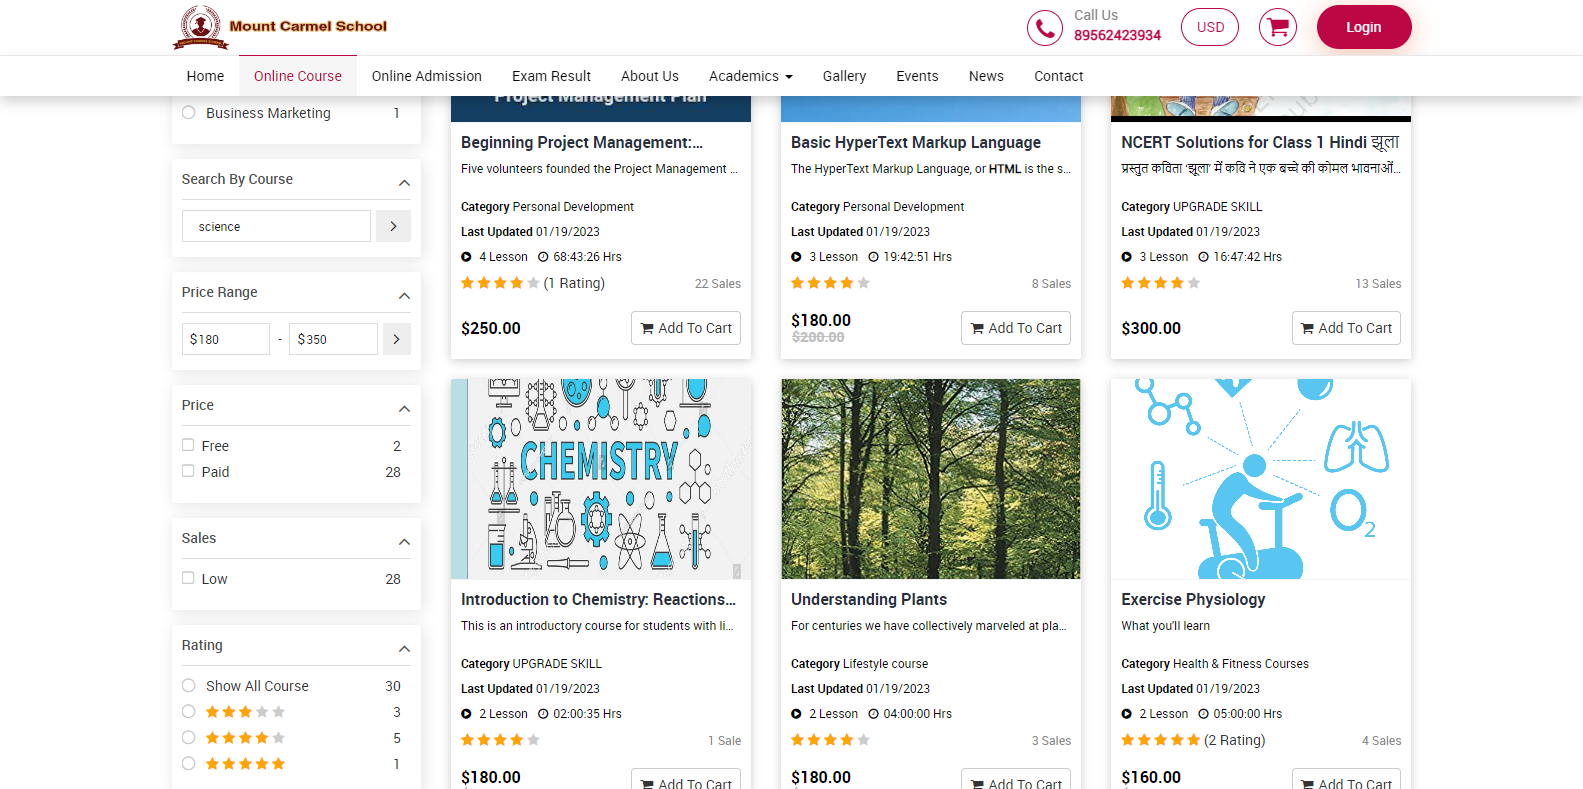
In the Price Filter, you will find two options: free and paid. By checking the free box, all free courses will be displayed, and by checking the paid box, all paid courses will be displayed. You can choose either option or both depending on your needs.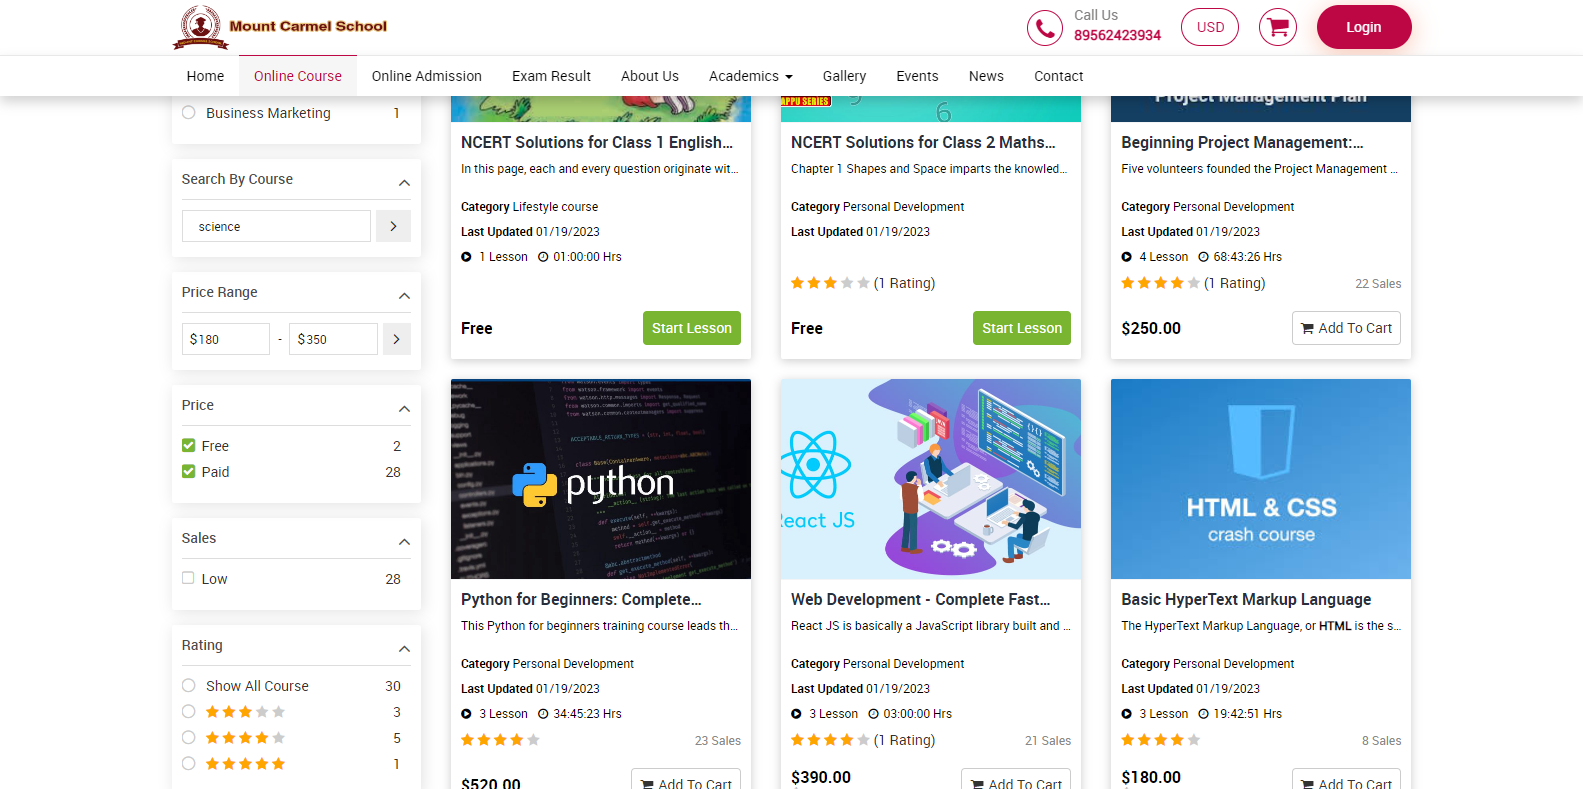
In the Sales Filter, courses with sales less than 100 will appear in the low filter and can be viewed by checking the low filter checkbox. Courses with sales around between 100 and 500 will appear in the medium filter and can be viewed by checking the medium filter checkbox. Courses with sales above 500 will appear in the high filter and can be viewed by checking the high filter checkbox.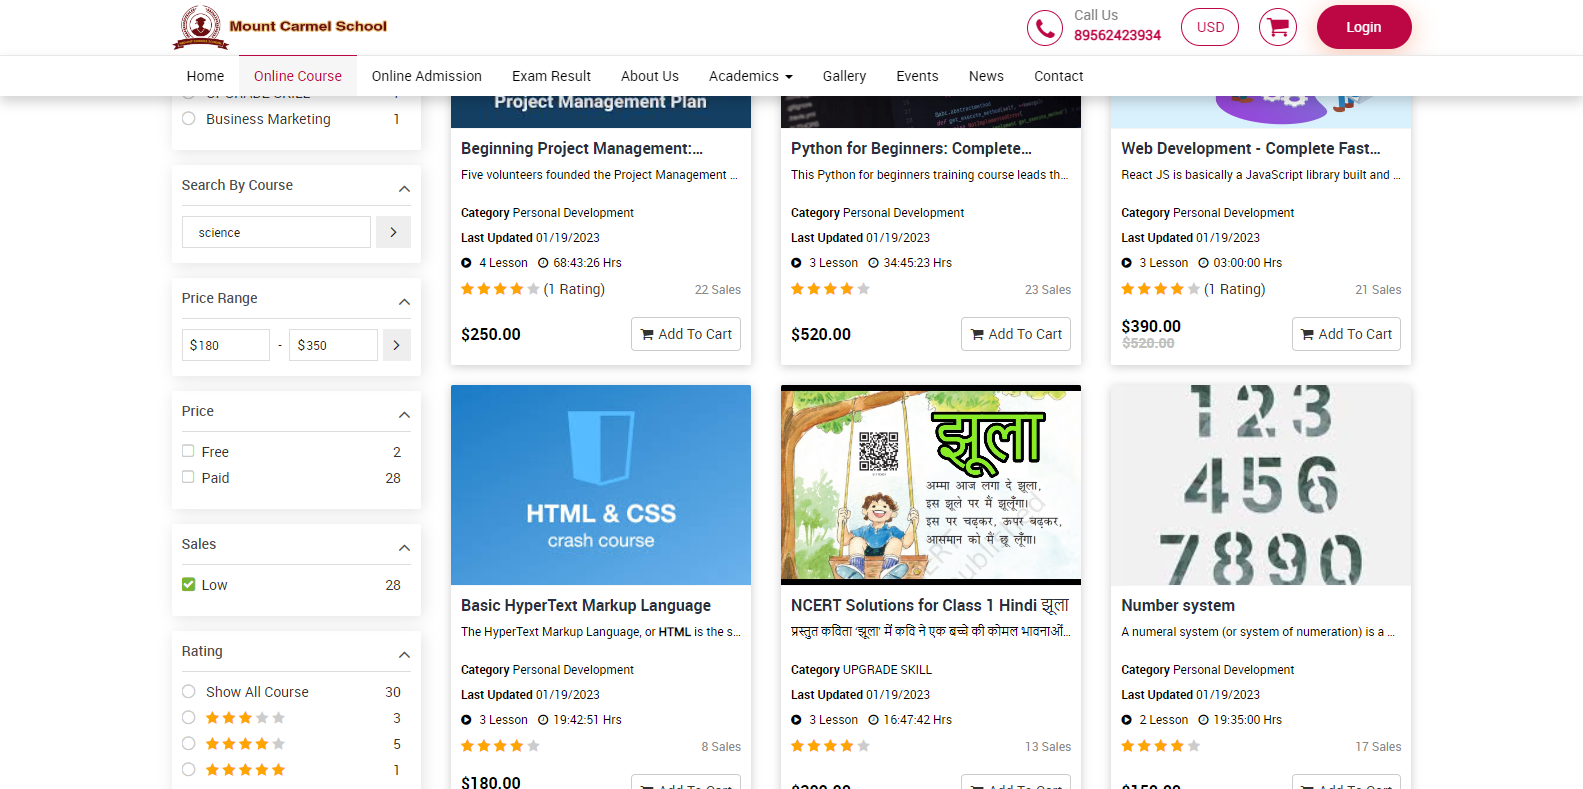
In the Rating Filter, you can view courses based on their rating. To see all courses, simply click on "Show all courses," and all courses will be displayed. If you want to see courses with a rating of two, three, four, or five stars, simply select the corresponding filter, and the courses with that rating will be displayed.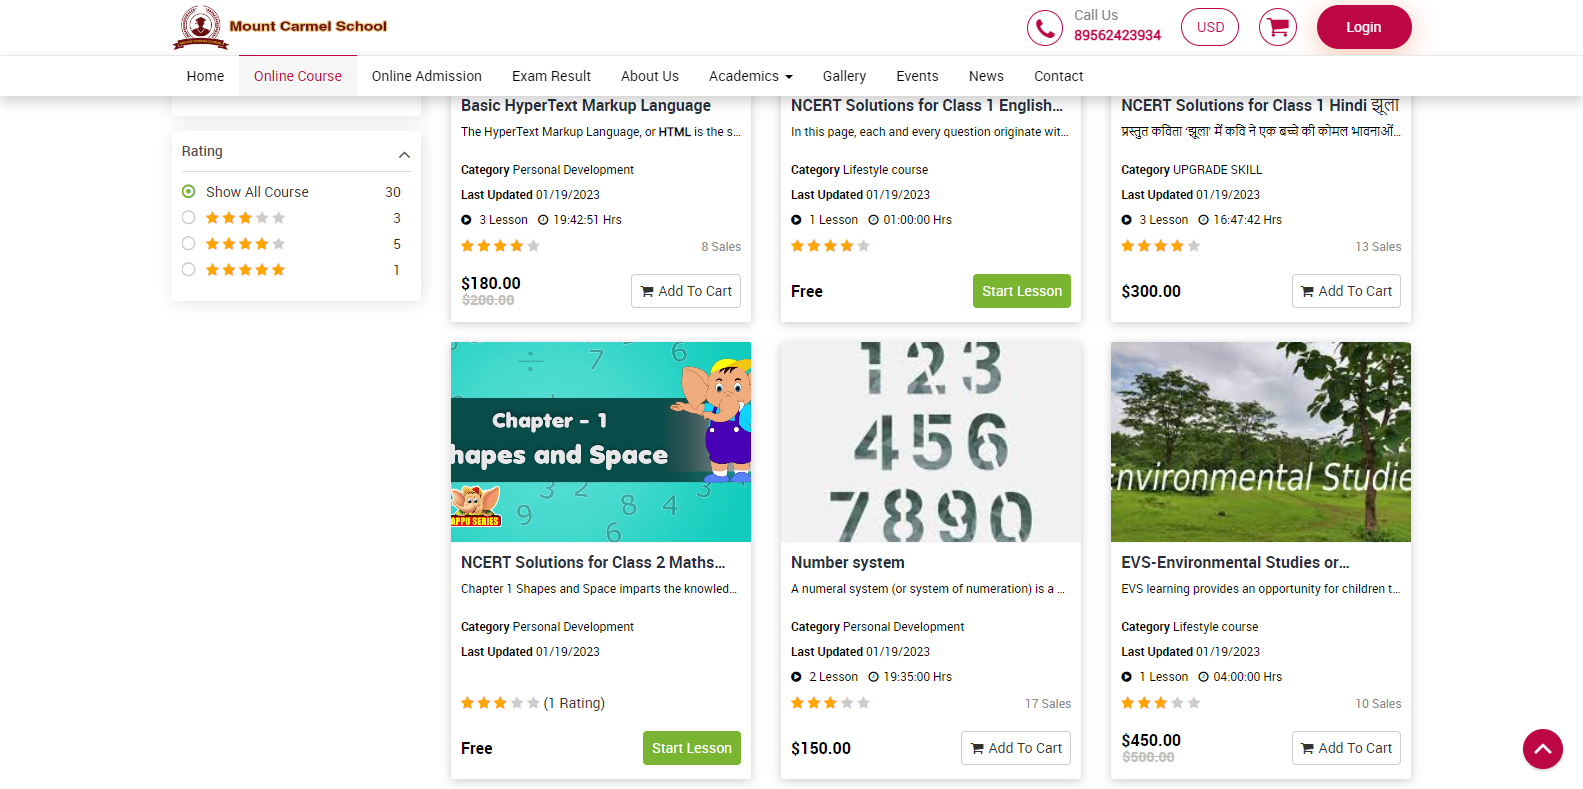
On the online course page, there are additional filters located on the top Right. You can use these filters to further manage the courses.
Card View, with the help of this filter you can see all the courses in the card view.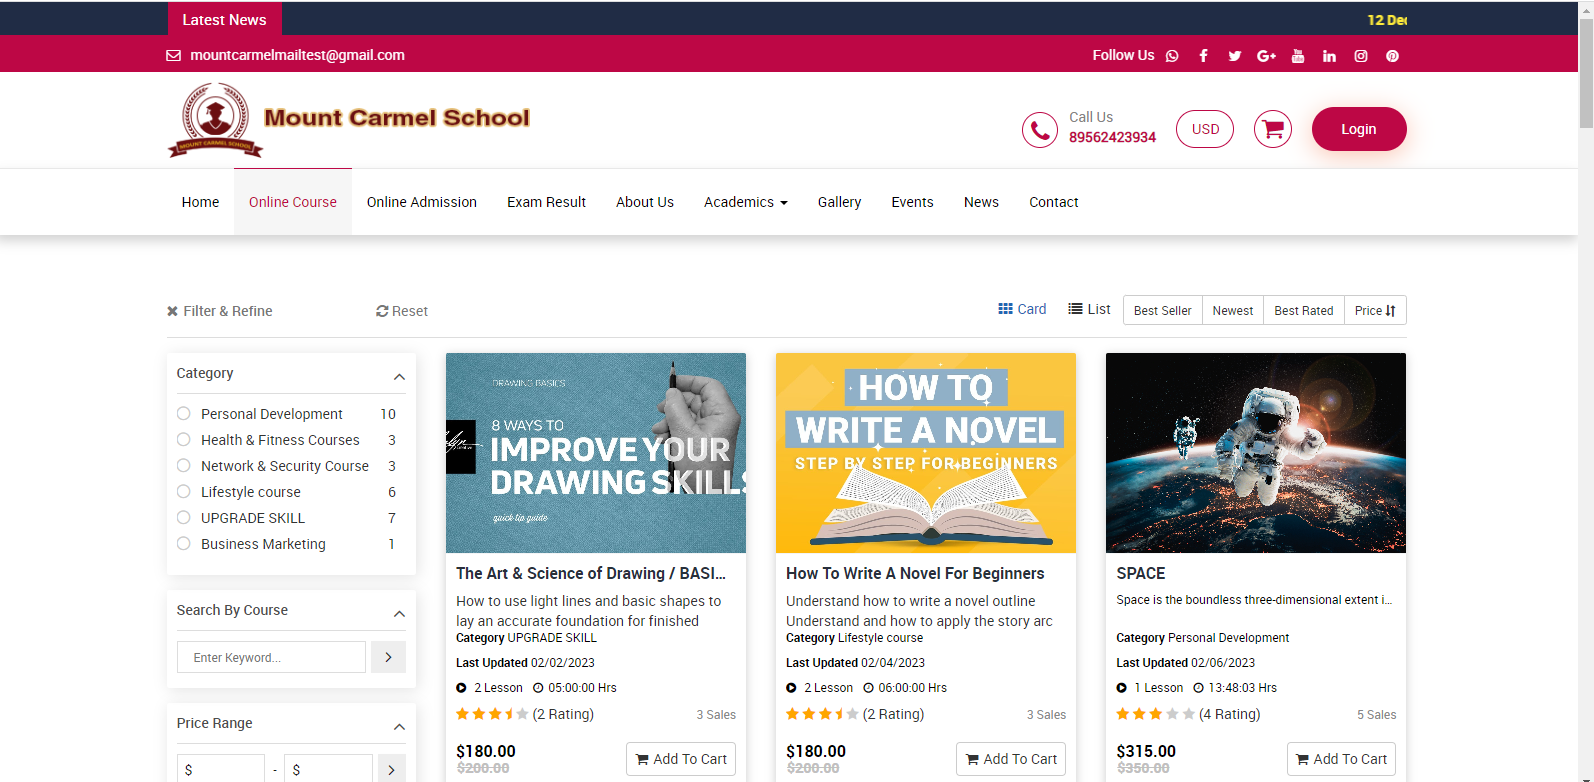
List View, using this filter you can see all the courses in list.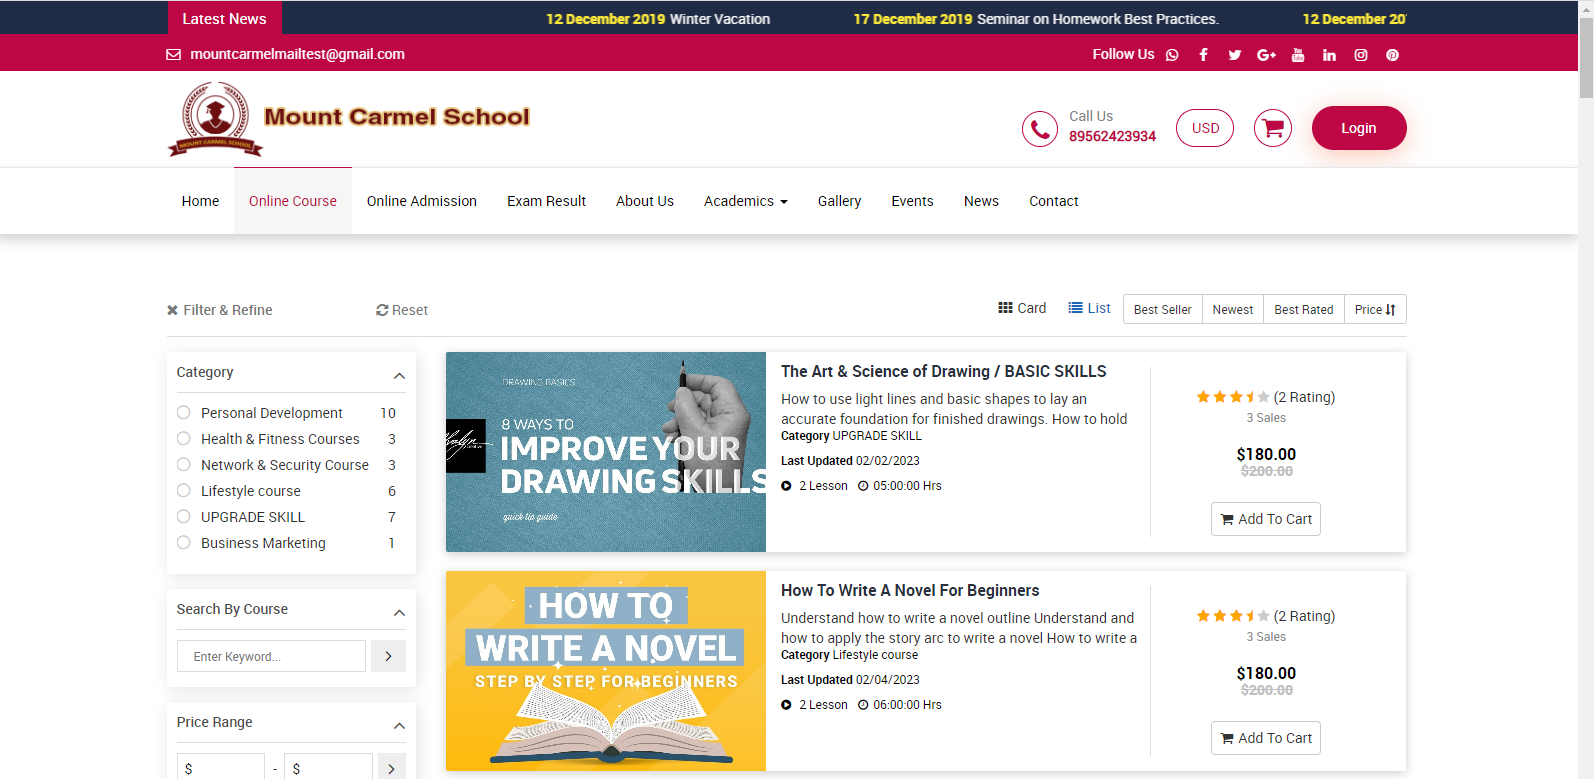
Best Seller: by using this filter, you can see the bestselling courses on the page.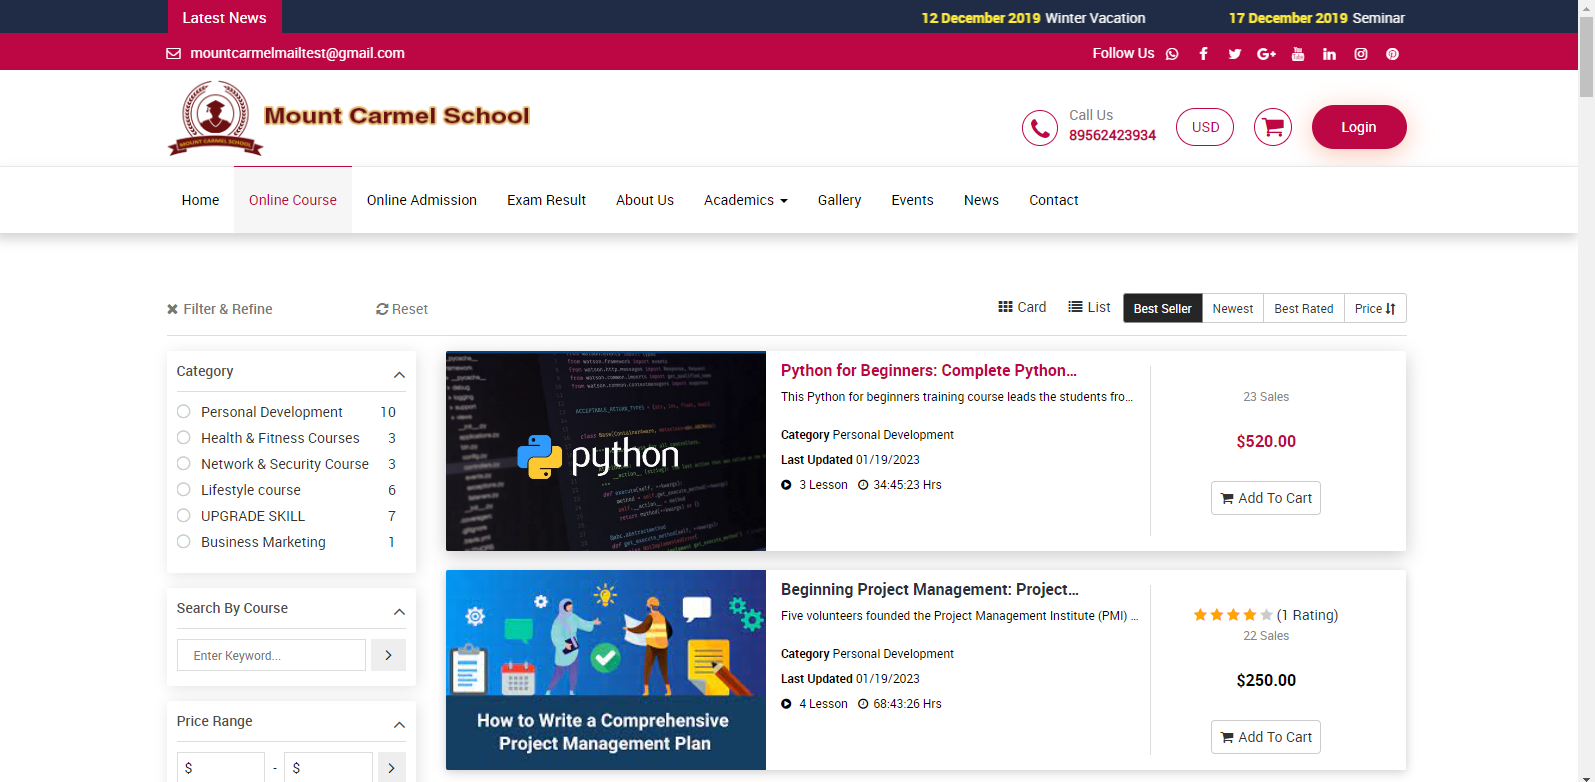
Newest filter: here you can see those courses that were recently added.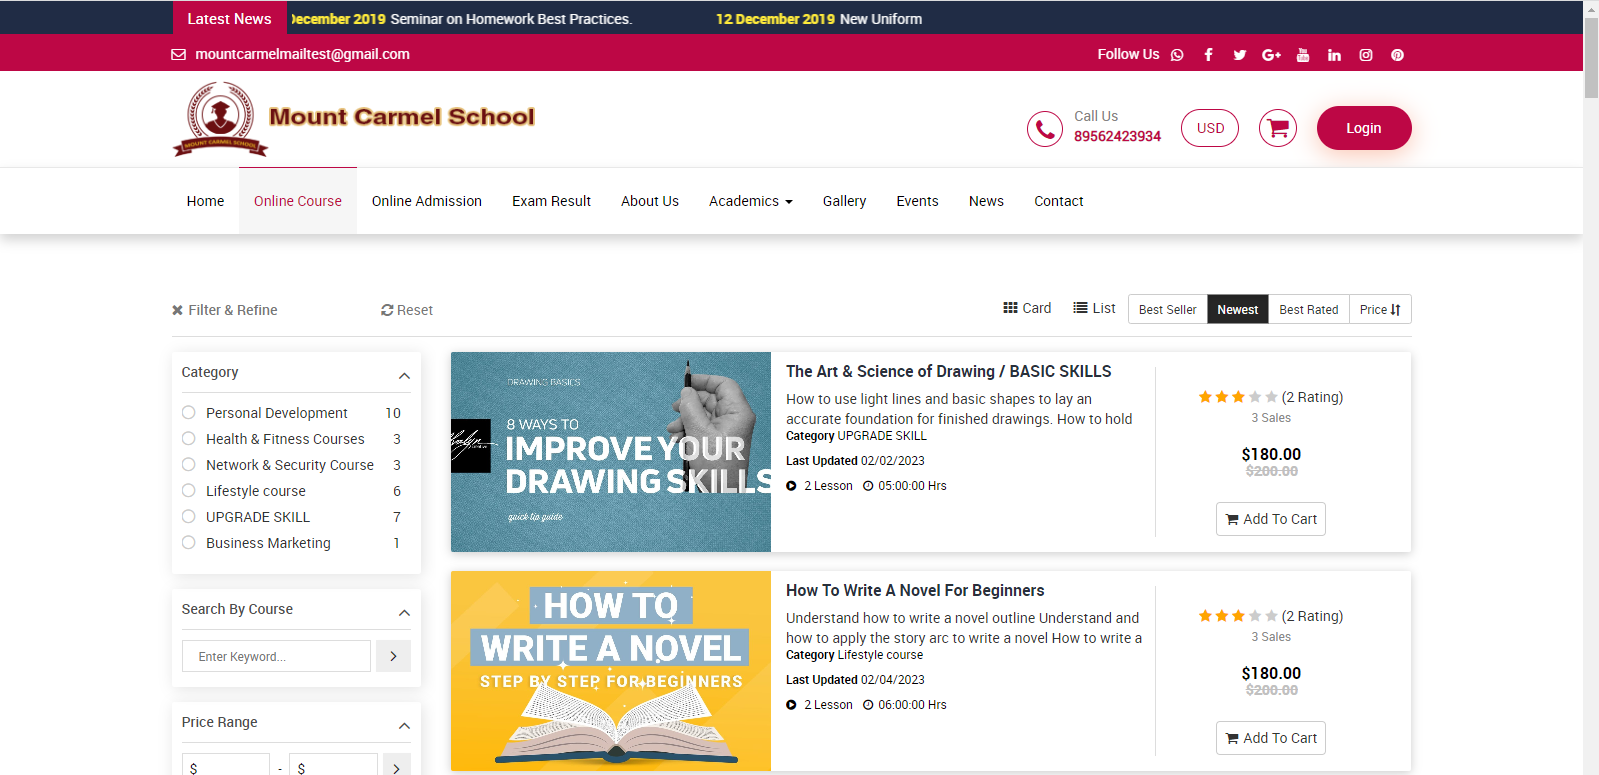
Best Rated filter, here you can see those course whose ratings are best.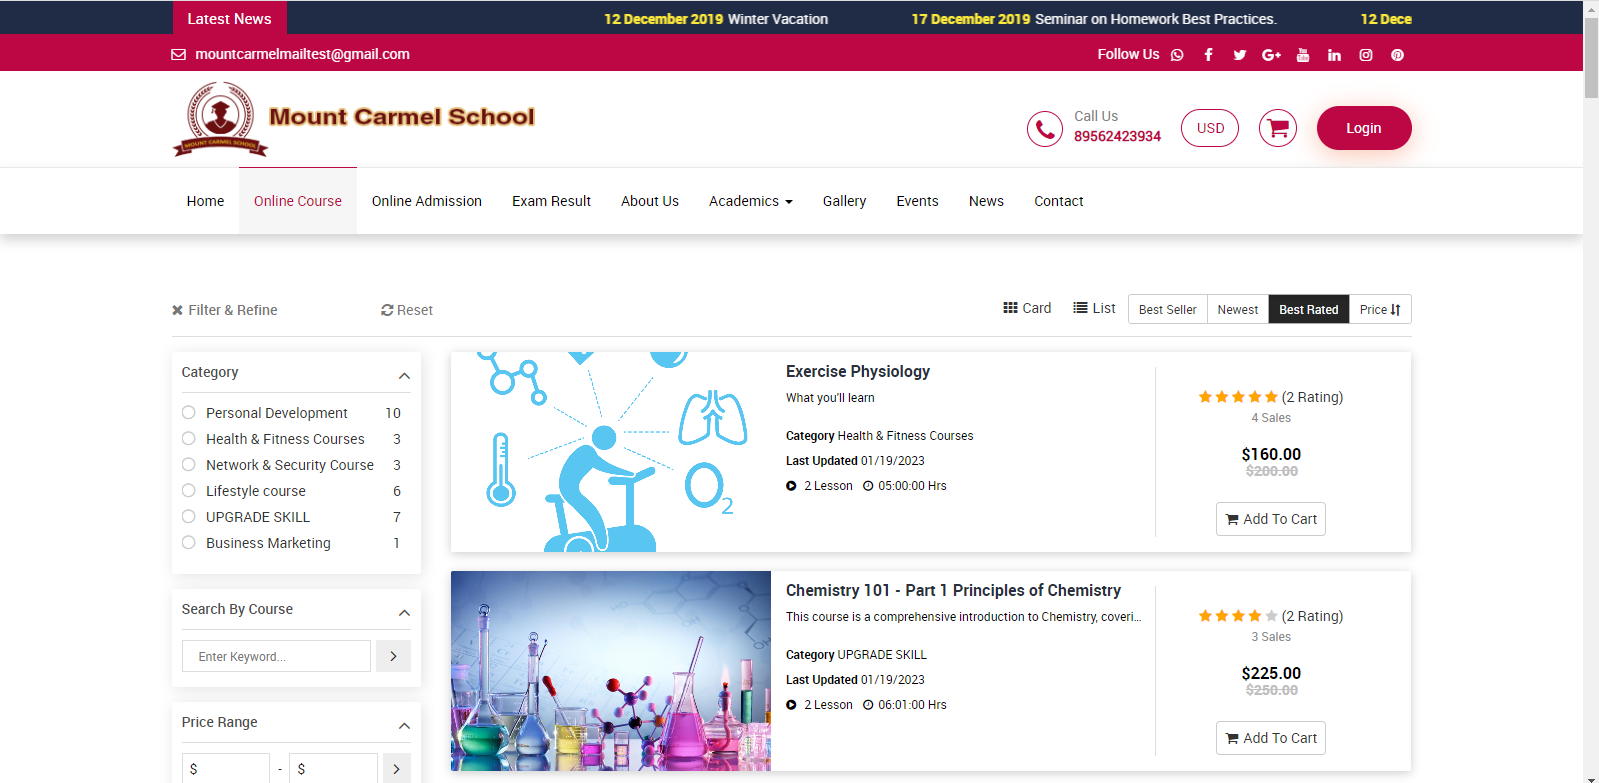
The Price filter allows you to manage the course prices in ascending or descending order.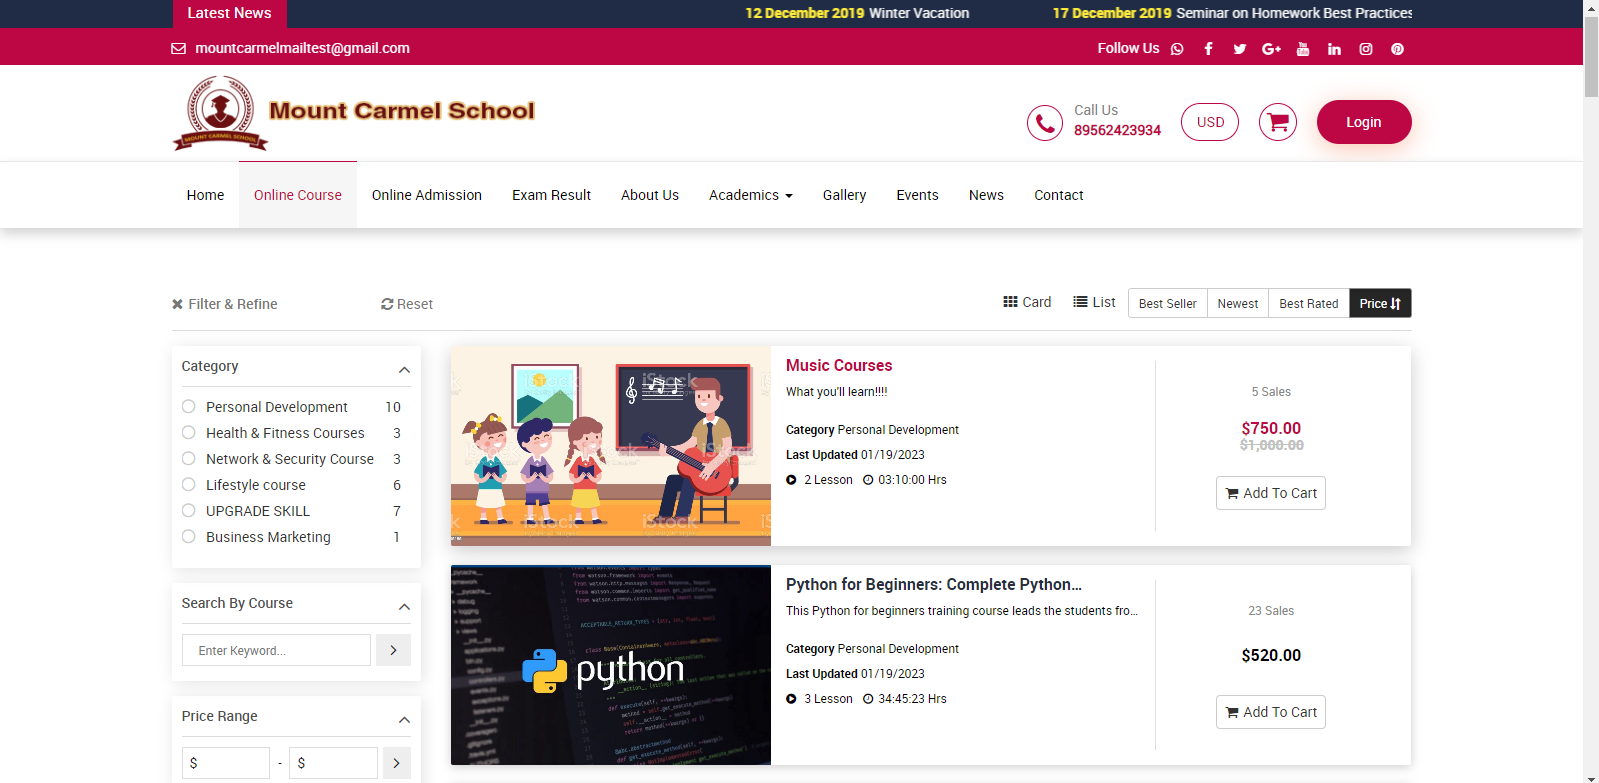
How can a guest user buy a course?
The course is available for purchase by guests. Other users can also buy the online course. To purchase the online course, go to the online course and add it to your card of choice. Before logging in, click on the "cart" icon at the top right side of the screen.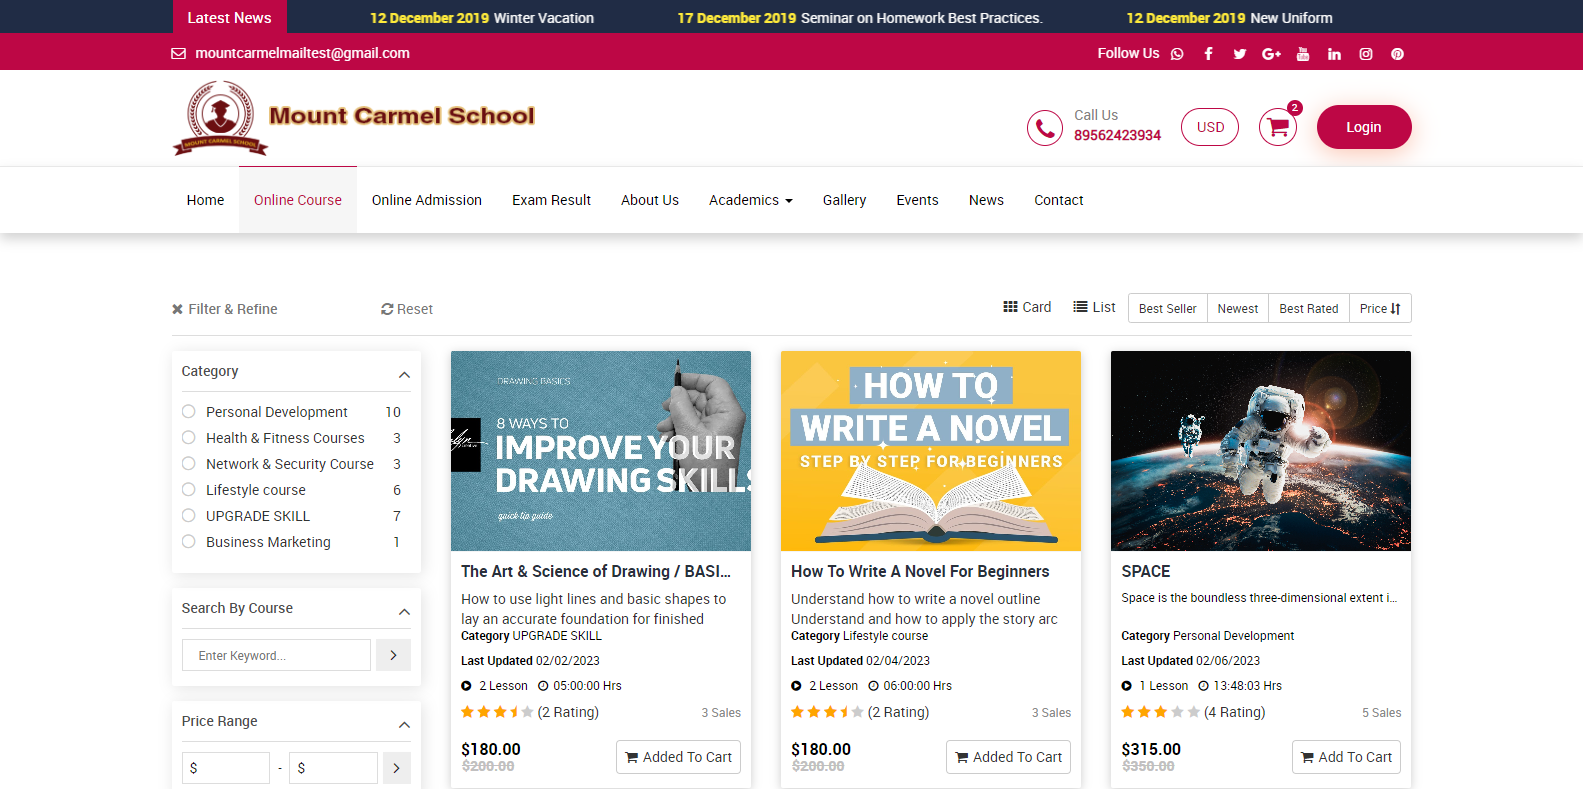
When you click on it, a pop-up window appears, here you can view the "delete" option. You can delete items from the cart here, and you can view them by Go To Cart option and clicking on them.
If you don’t delete the items and click on the "go to cart" option.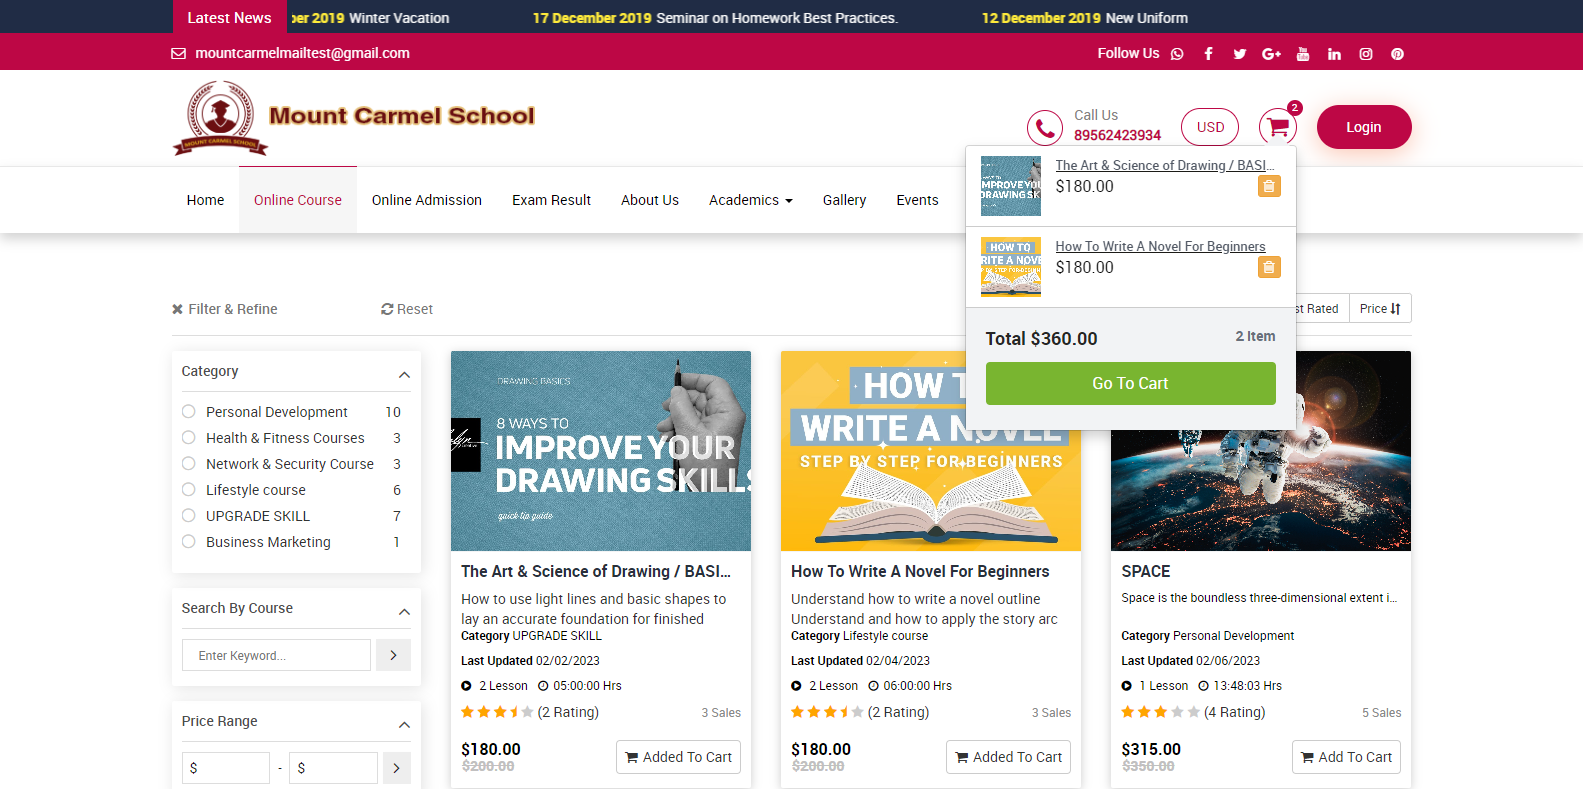
Here you can delete the courses that were added to your cart.
You can see the Continue Shopping option here, click on it if you want to add more items or continue shopping. 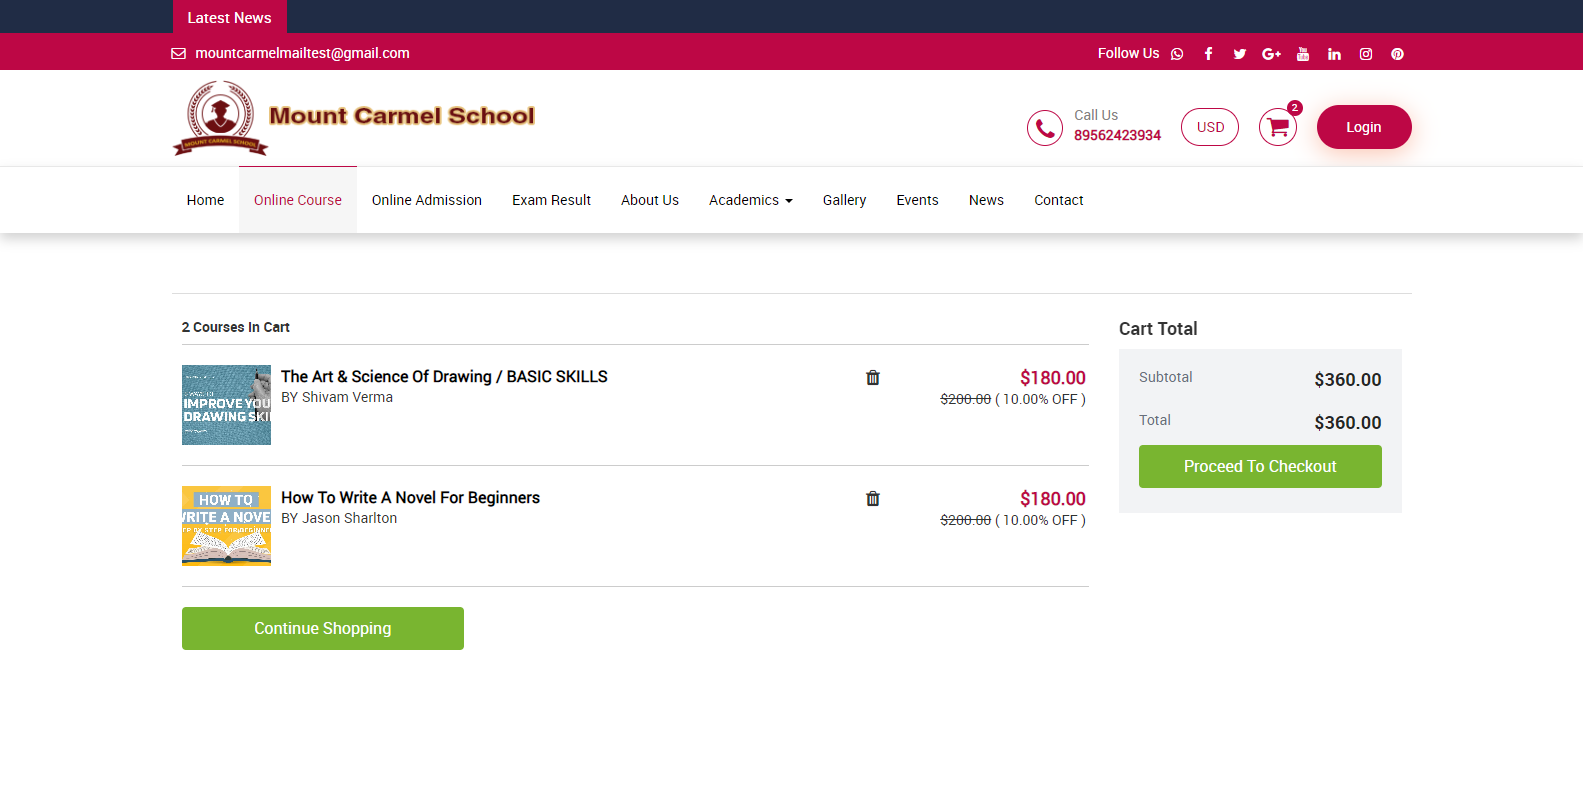
Here you can view proceed to checkout option. When you click on it, you can see Login pop-up window.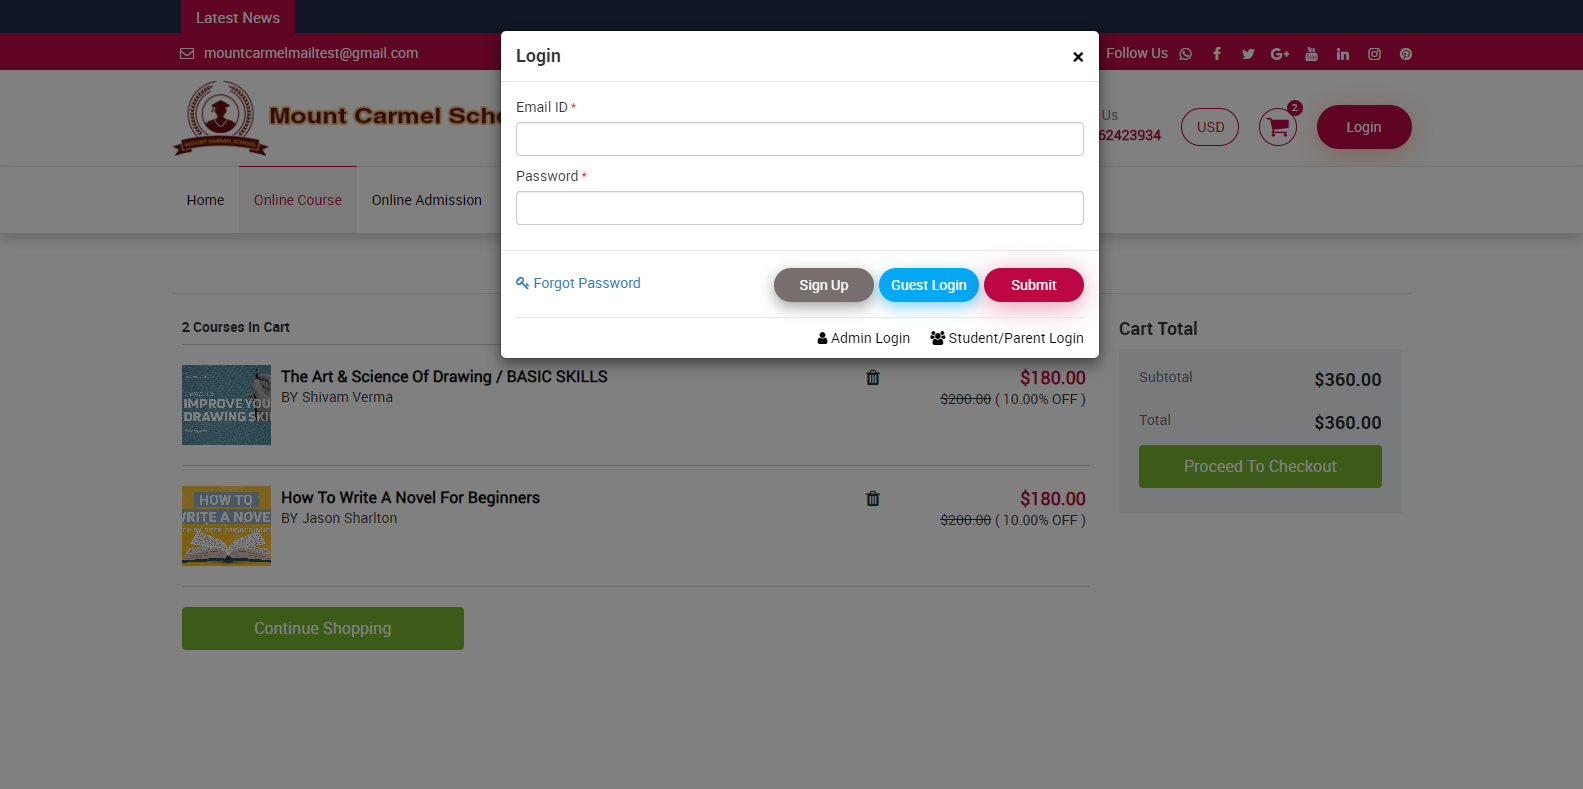
Here if visitors don’t have login details, they can sign up by entering their name, email address, and password, then clicking sign up.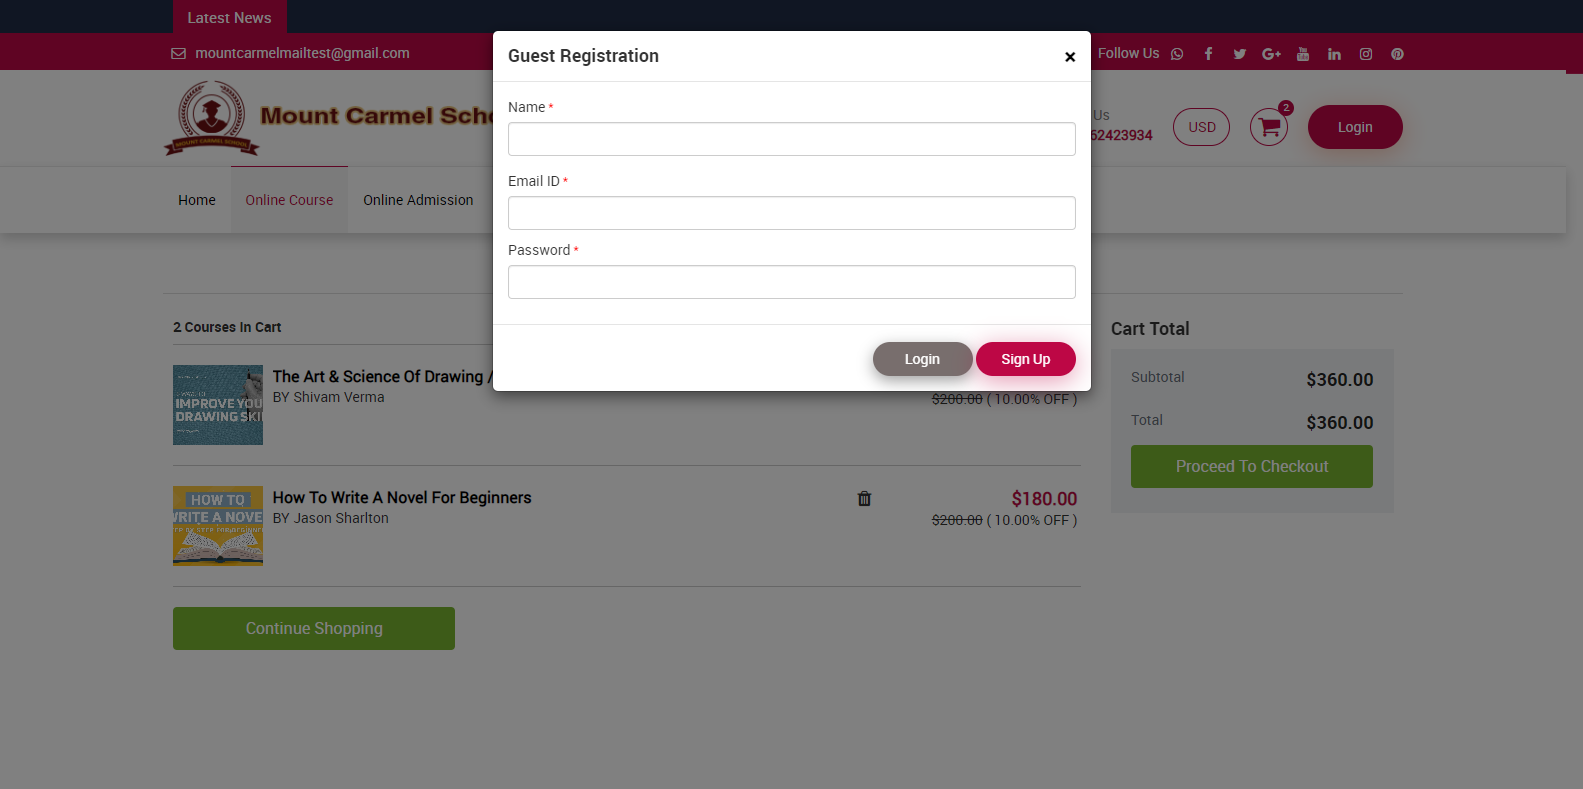
Now click on Proceed To checkout, click Pay with card.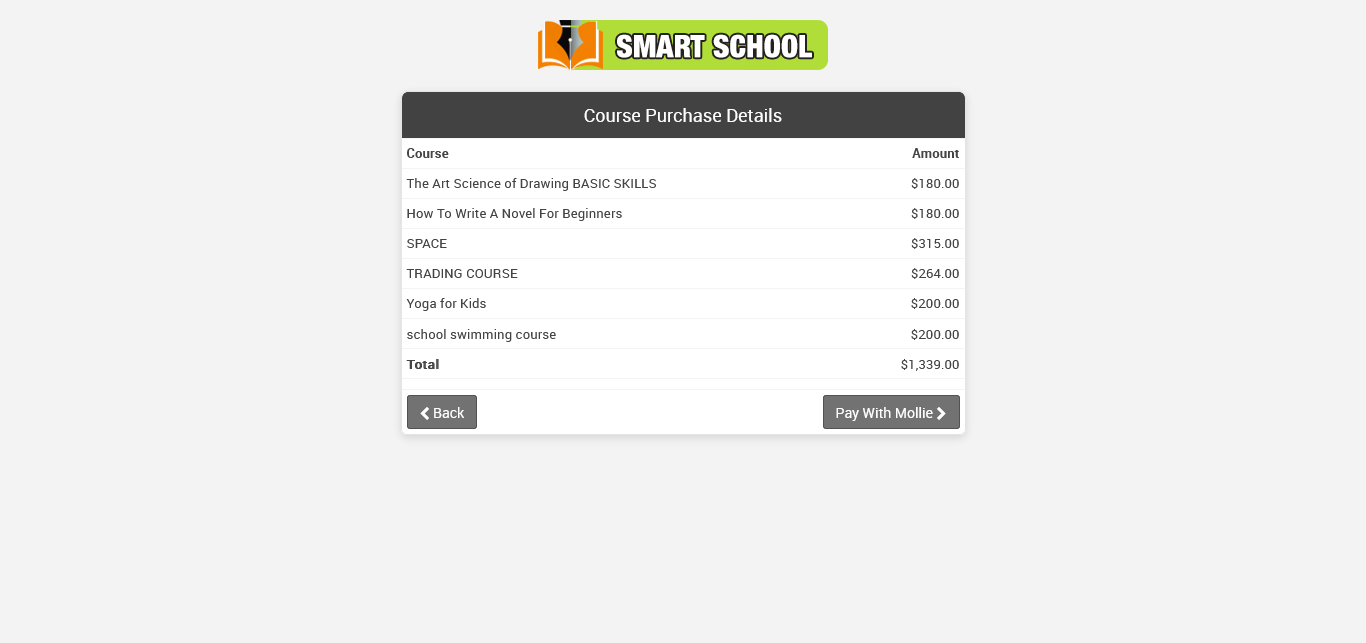
Enter your email address, card number, MM/YY, and CVC, and finally click the "Pay" button. To follow this procedure, a guest user can purchase course materials.
How to add course in the cart from the front site?
To add a course to your cart, go to the Smart School Online Course front page, then click on Online Course.
Here you can view the multiple courses, and in some courses, there is an "add to cart" option available below. Some courses are free; in those courses, the "add to cart" option is not available, but you can still access them for free. Now, click Add To Cart, and the course will be added to the bucket at the top right, as well as the count of your course that you added to the cart, which is displayed on the bucket. 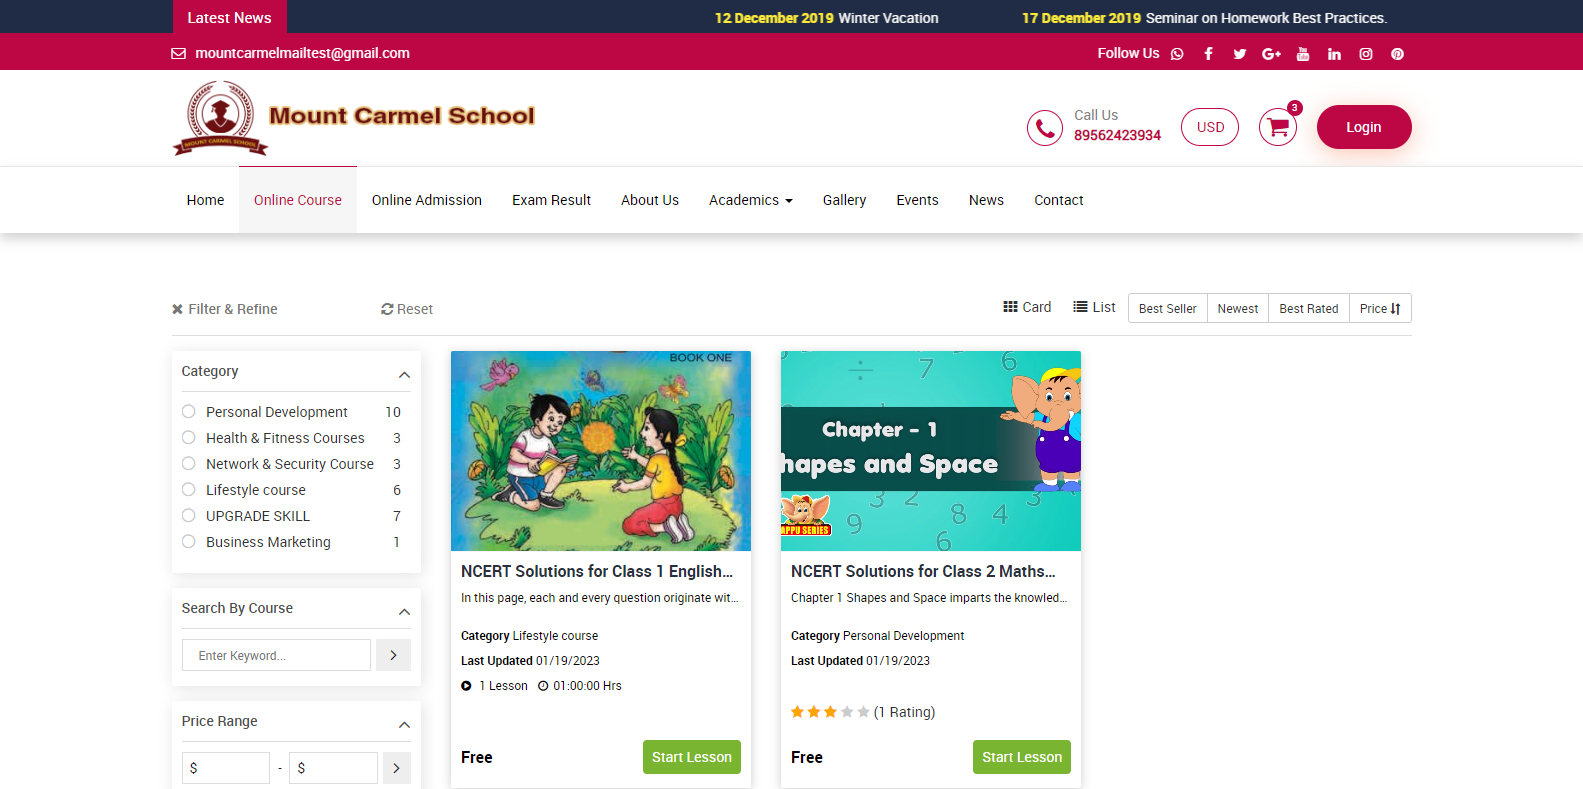
Now in this cart you can see added course and its price as well as you can see sum of total amount of all the courses which you added in the cart.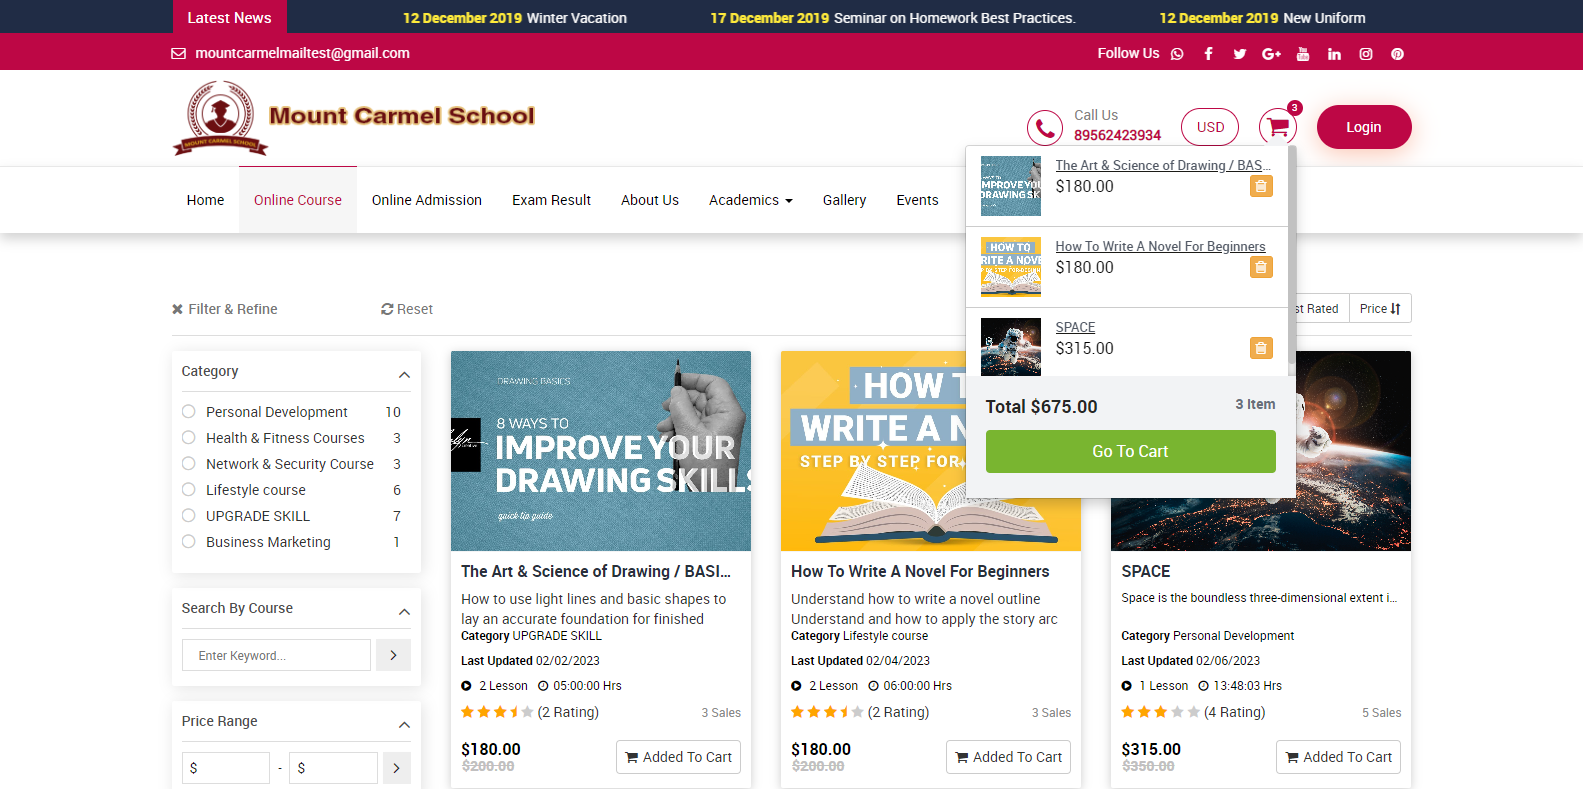
For buy course, click on Go To cart which is showing in below, cart list will be open,
here you can see the all details of the course as amount, discount, category and in left below you can see continue shopping option available, this option will redirect you the main page of online course and you can add the more course as well. Now click on proceed to checkout button which is showing in right, if you have not login online course, login module will be open then you need to login with your register email address and password then go to payment option and purchase the course.
How to add Course Category?
To add a course category, go to your smart school login > Online Course > Course Category. Here you can add a category and view it in the category list. Simply enter the name of the category and click the save button to have it appear in the category list.
The edit option is now available in the Action column; simply click on the edit button and update the details, then click on the save button.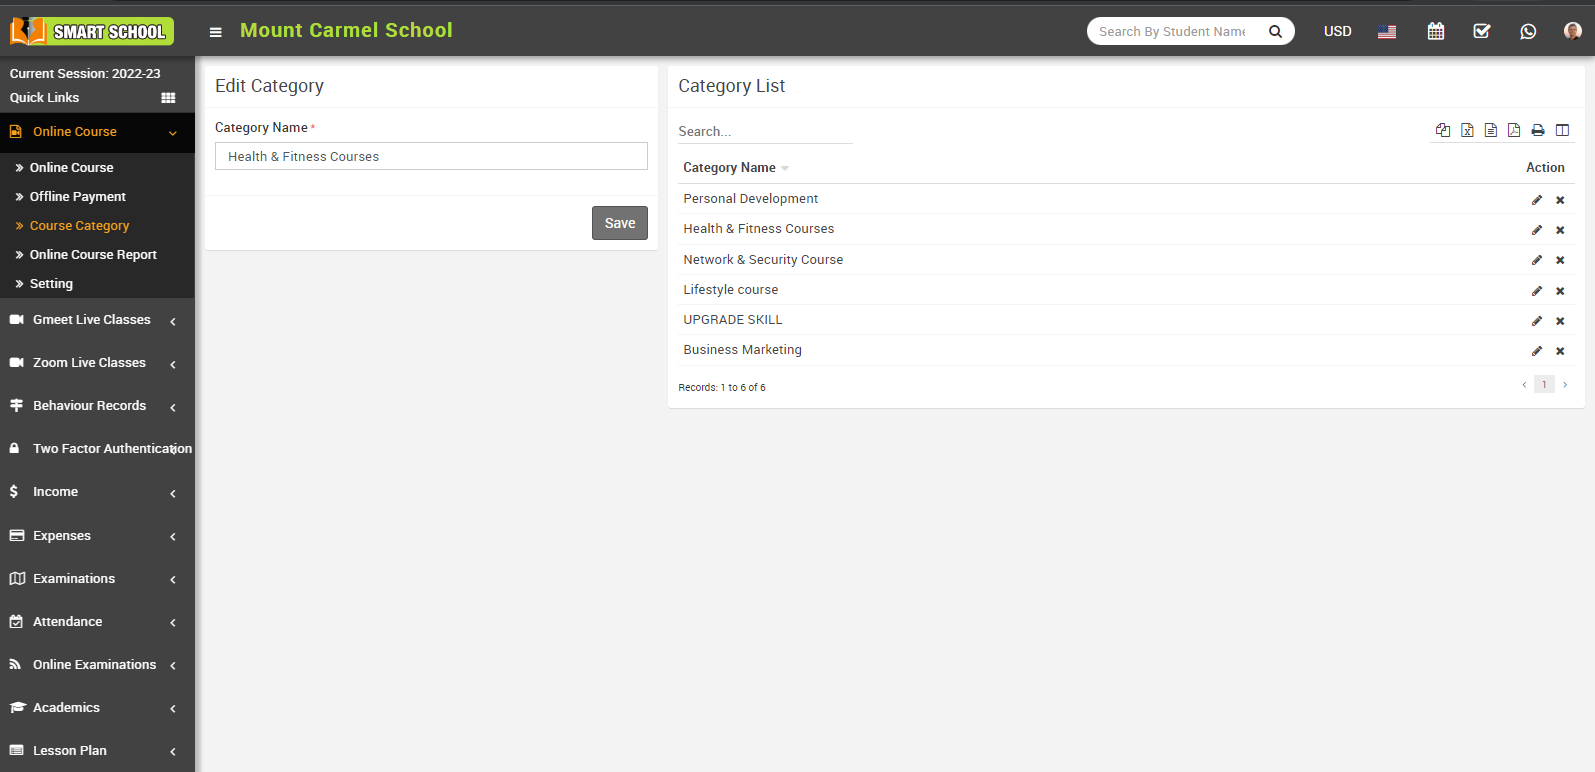
To delete the category, simply click on the delete icon shown in the action column; the confirmation module will open; click on the OK button.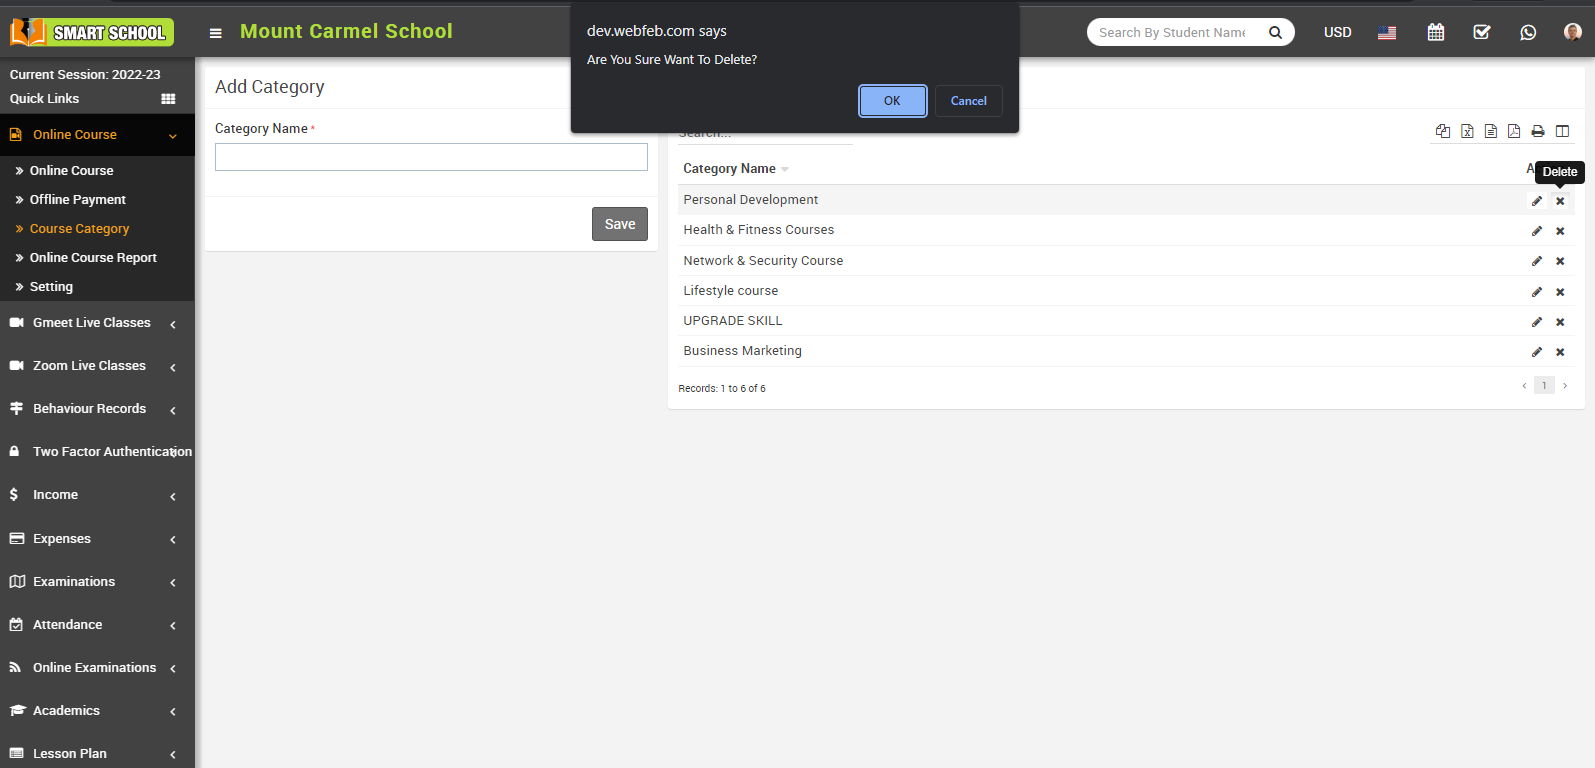
And your category will be successfully deleted.
If you want to see where you will use course category which you have added previously, simply you need to go to the online course, add course option. Here you can view the course category.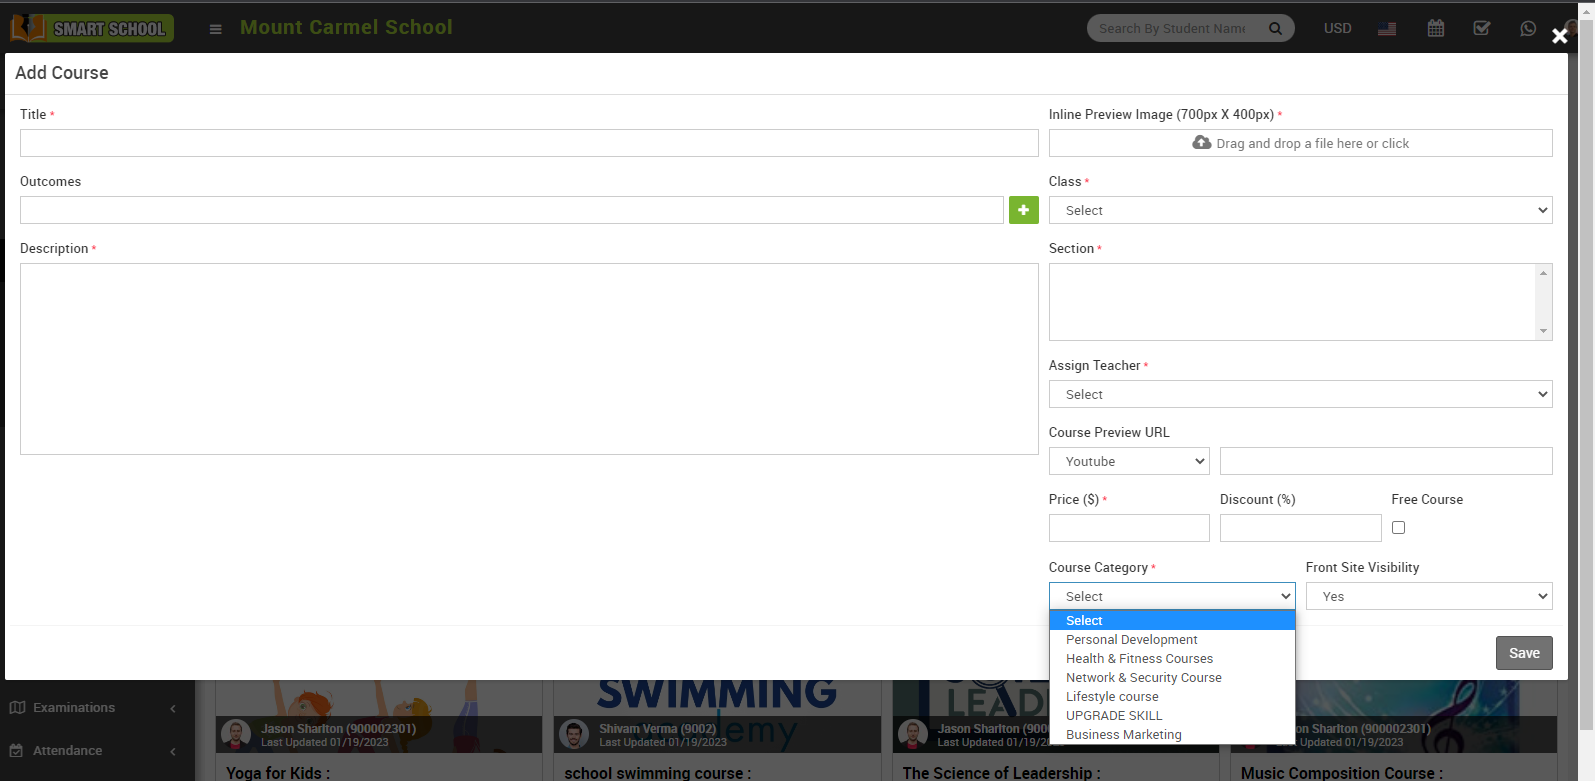
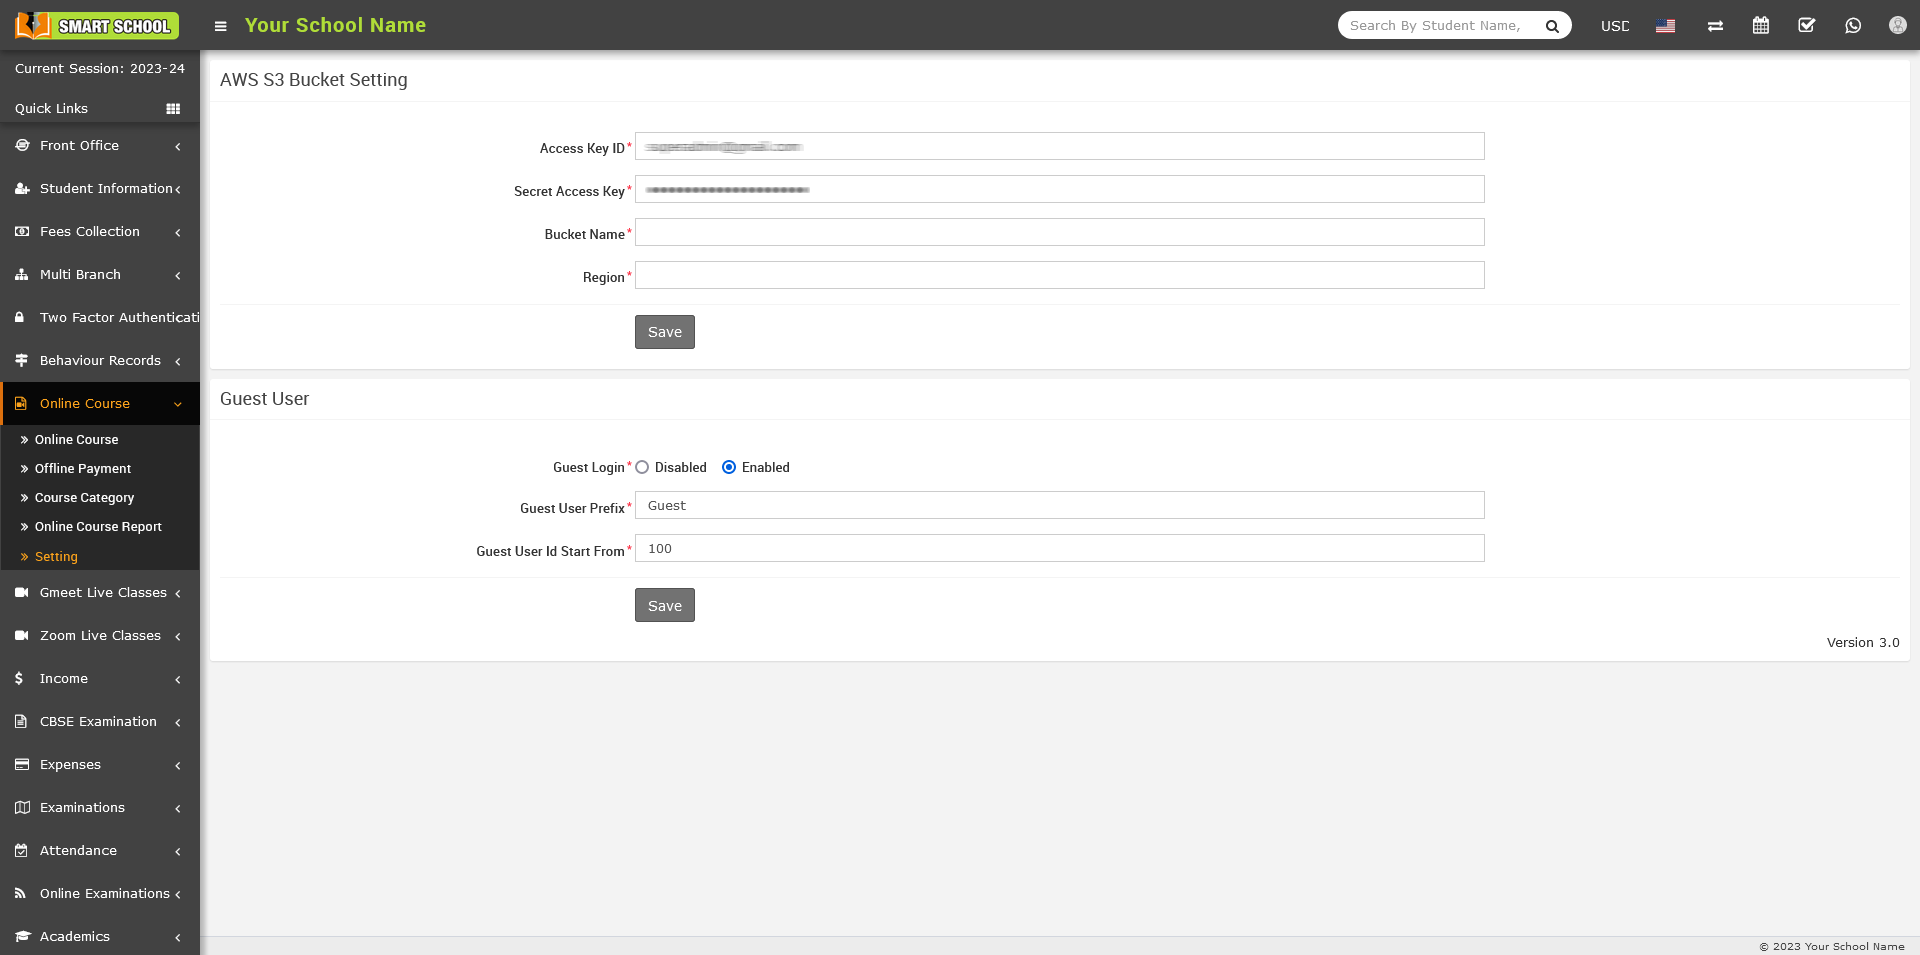
How to generate a dynamic guest user prefix and ID?
To generate the guest user login, go to Online Course > Setting, Here, you can view the Guest User prefix and Guest User ID Start From. You can select the Guest Login user status between Disabled and Enabled.
If you disable the Guest Login in the settings, the online course will be deactivated on the front site. Conversely, enabling the Guest Login in the settings will activate the online course on the front site. This setting indicates whether you would like to facilitate the online course for guests. If you want to enable access for guests, simply enable the guest login so that they can access the online course. If you do not wish to allow guest access, just disable the guest login, preventing them from accessing the online course.
To generate the guest user prefix, set the prefix as you will see on the guest user panel, and select Guest User ID Start From, the user id will start from that number.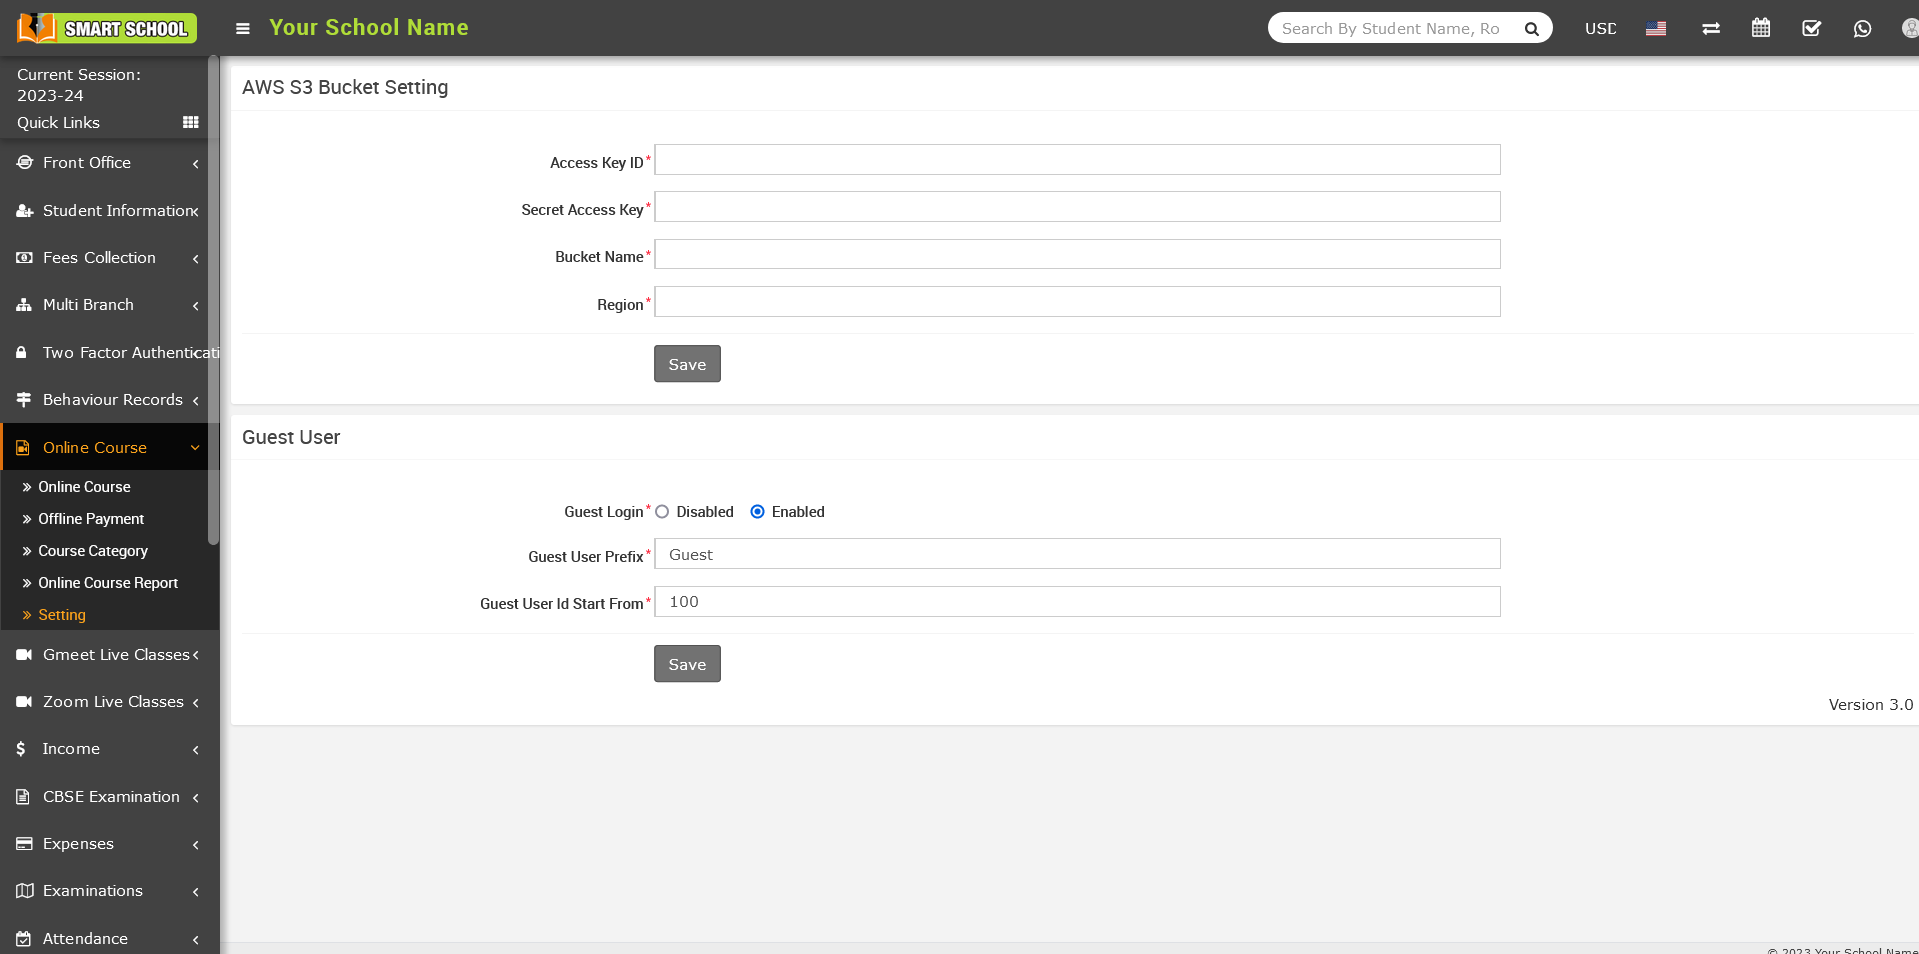
Note: - After successfully setting up the smart school online course in your system, you need to set the guest login (enabled), guest user prefix and guest user id start from before using the smart school online course.
How to Guest user signup / login to online course?
Go to front site of Smart School, here you can view online course, for guest Login showing at right side.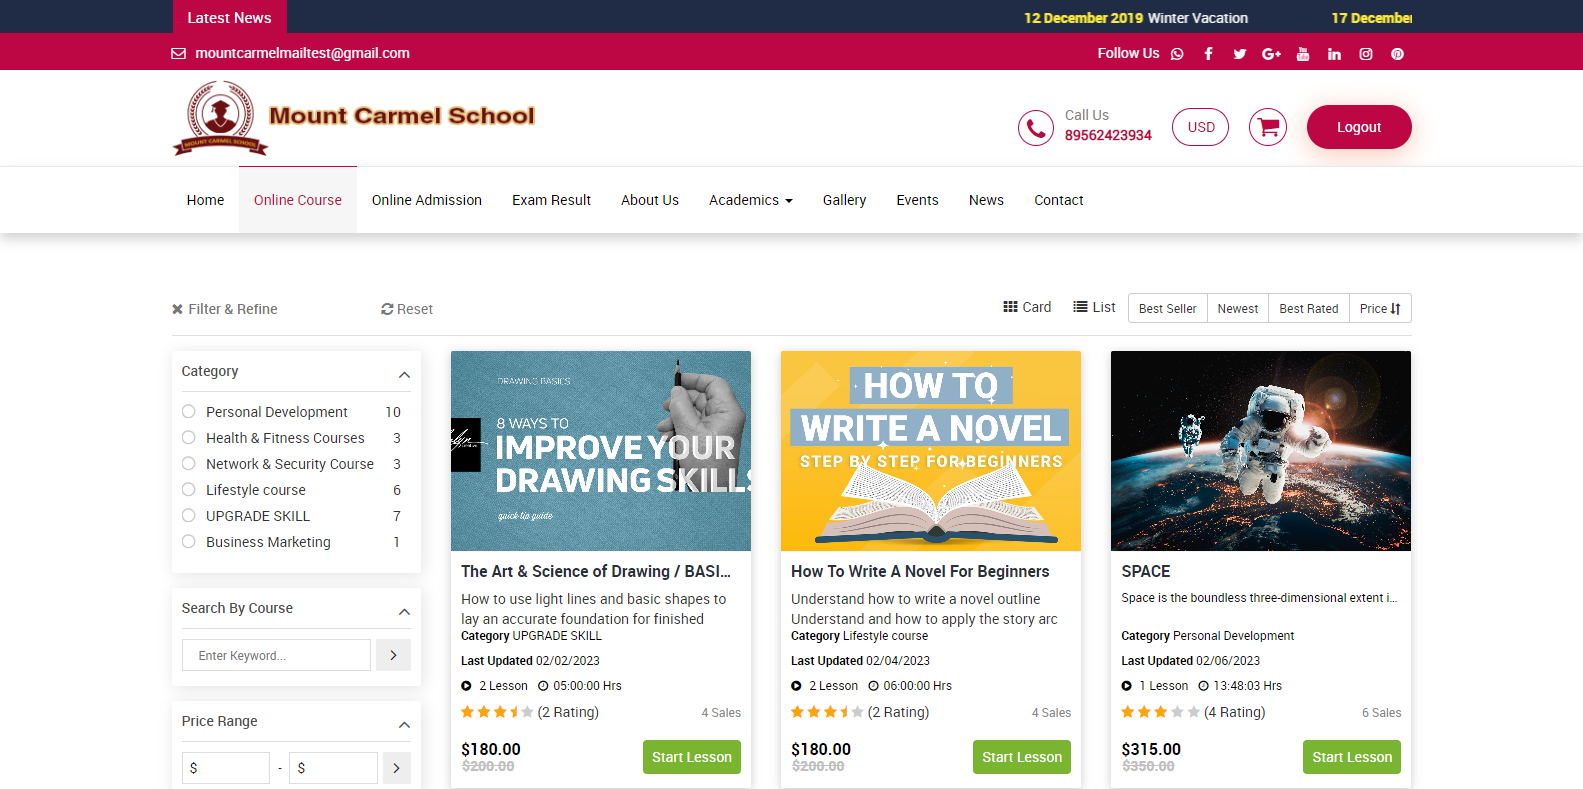
When you click on login, login module will be open.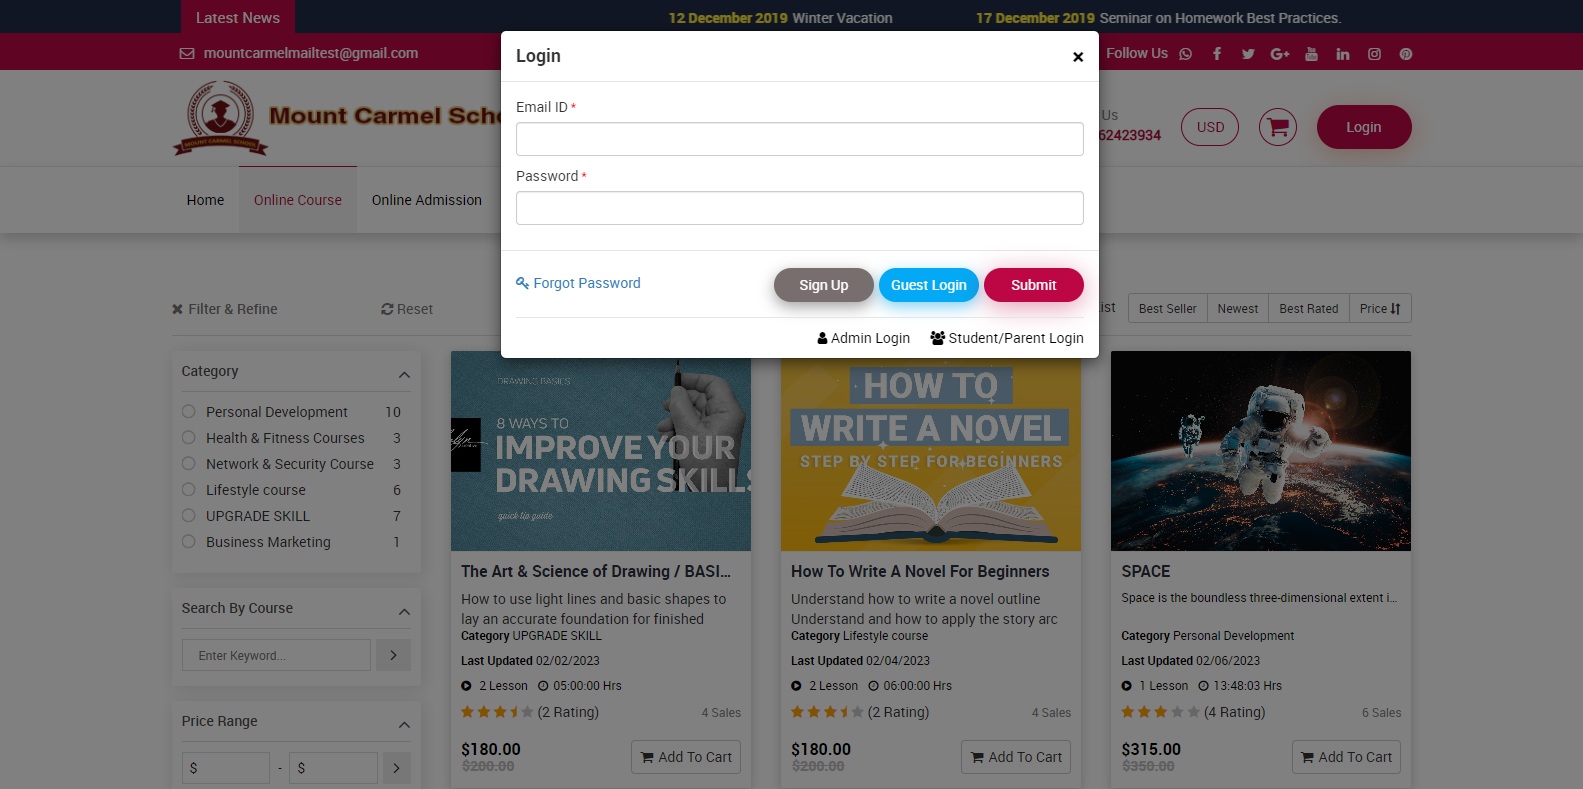
At first, guest needs to register in smart school for online course, click on Sign Up button, signup form will be open.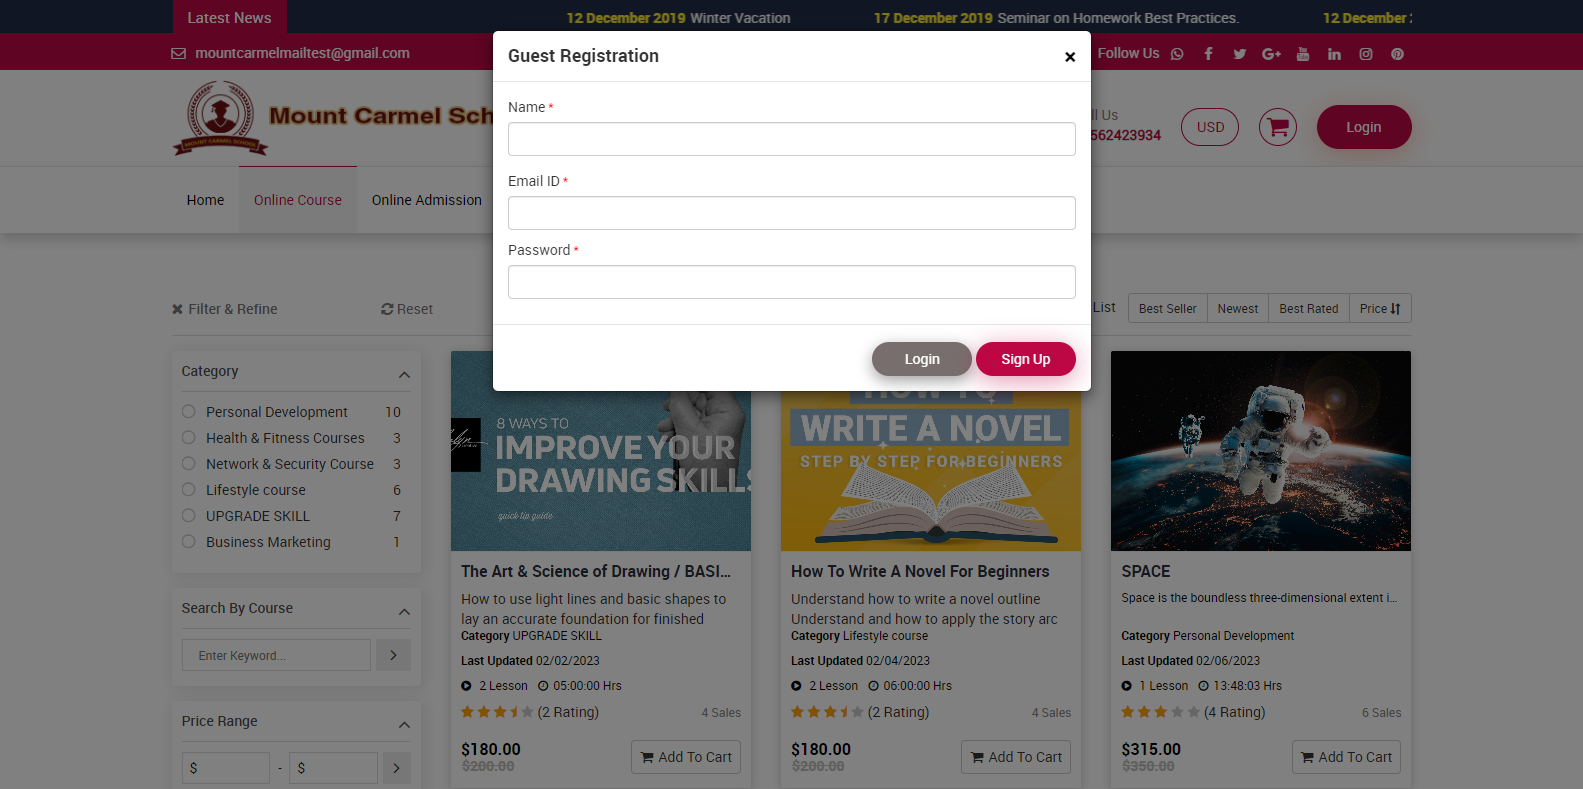
Now enter your Name, register Email ID, and Password than click on Sign Up button. To log in, enter your Email ID and password, then click the Submit button, your registration will be successfully complete and you will directly login in the smart school online course.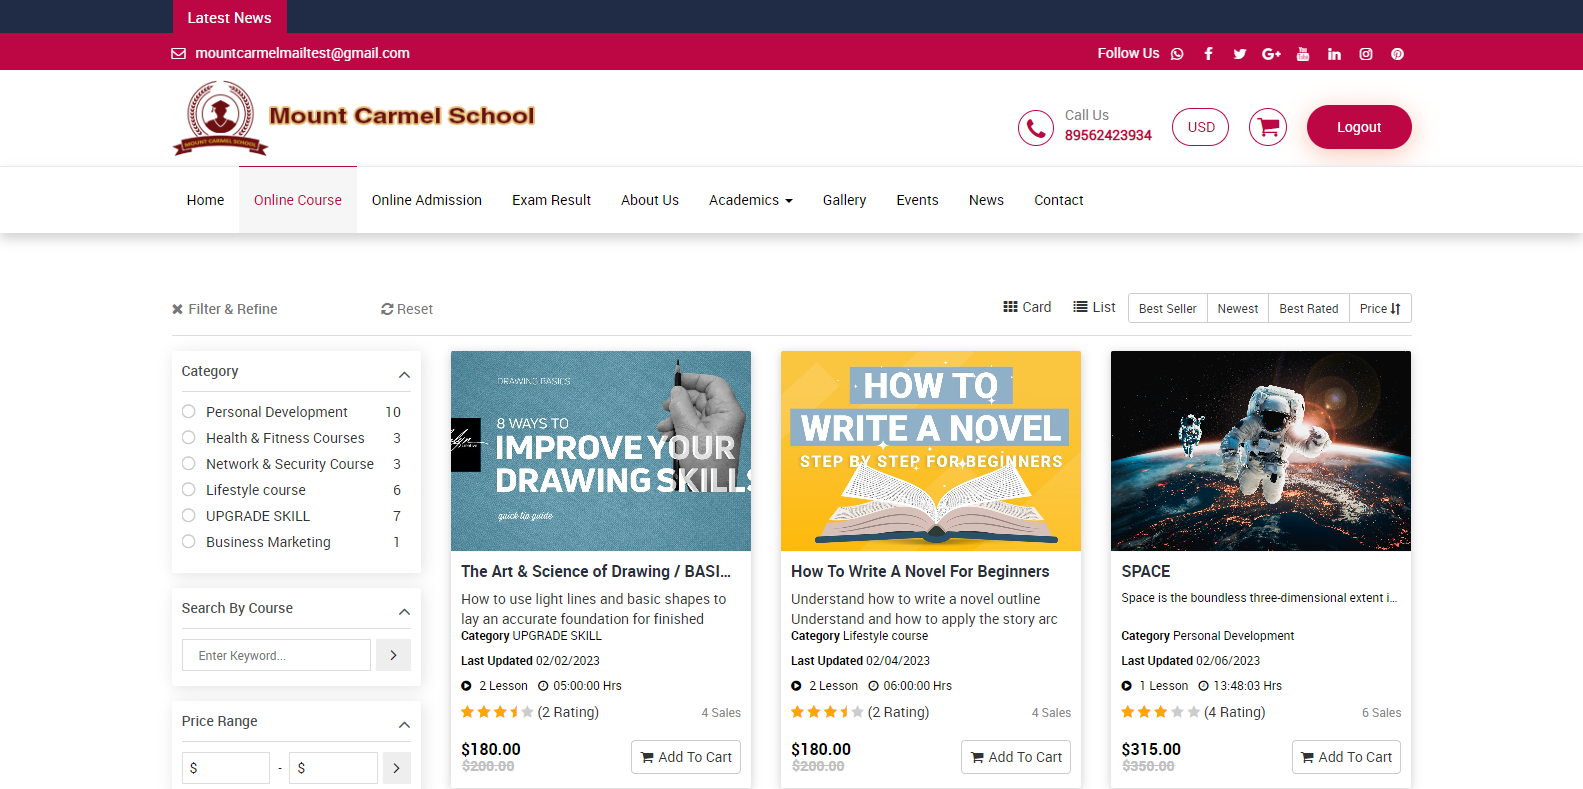
Now on this page, you can see the multiple online courses available. You can buy these courses.
If you forgot your password, go to Login and click on the Forgot password option.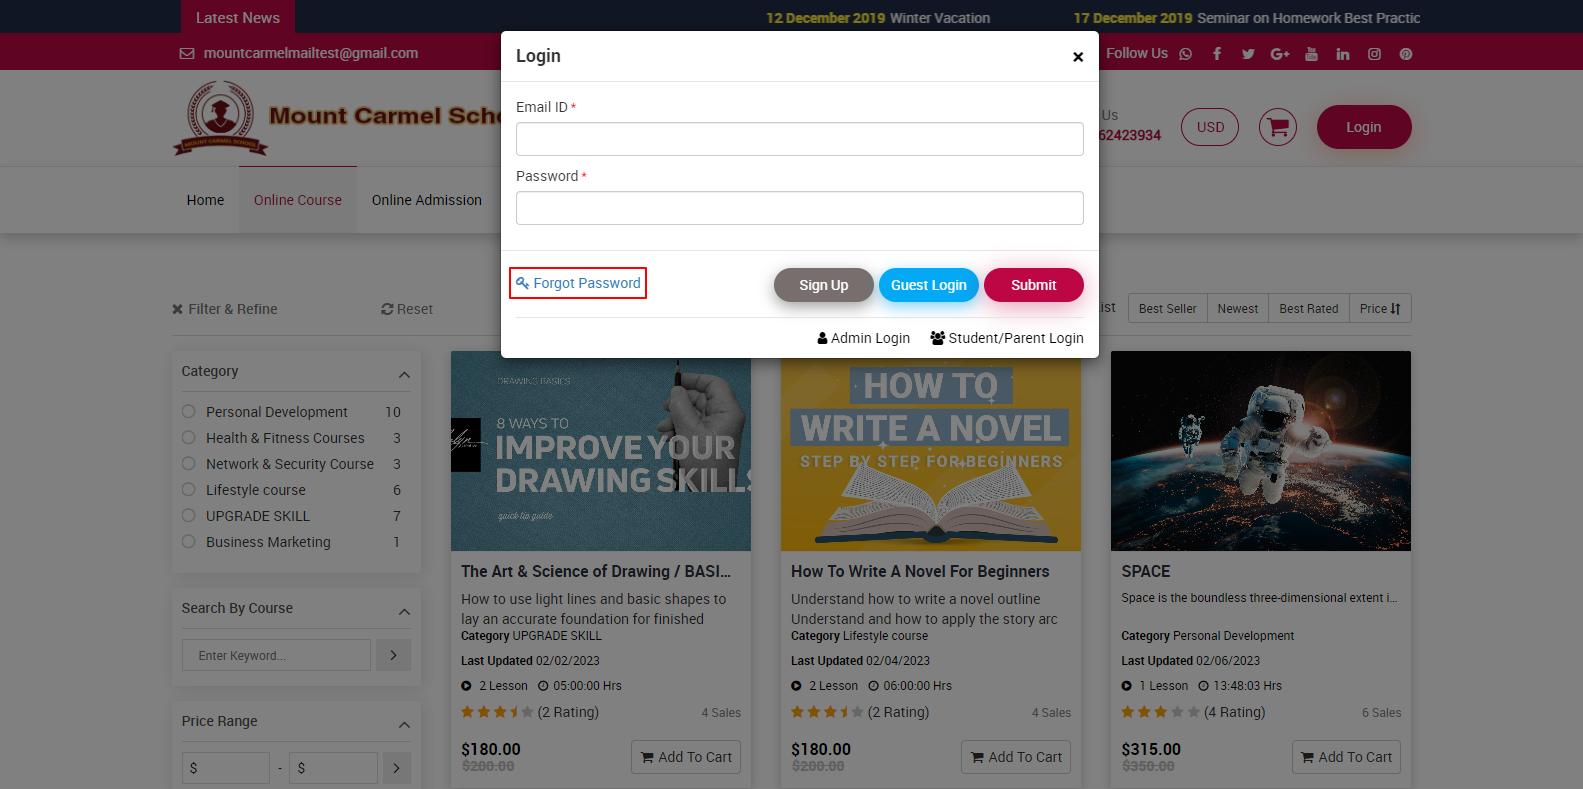
Forget password modal will be open, now enter your register Email address then click on Submit button. 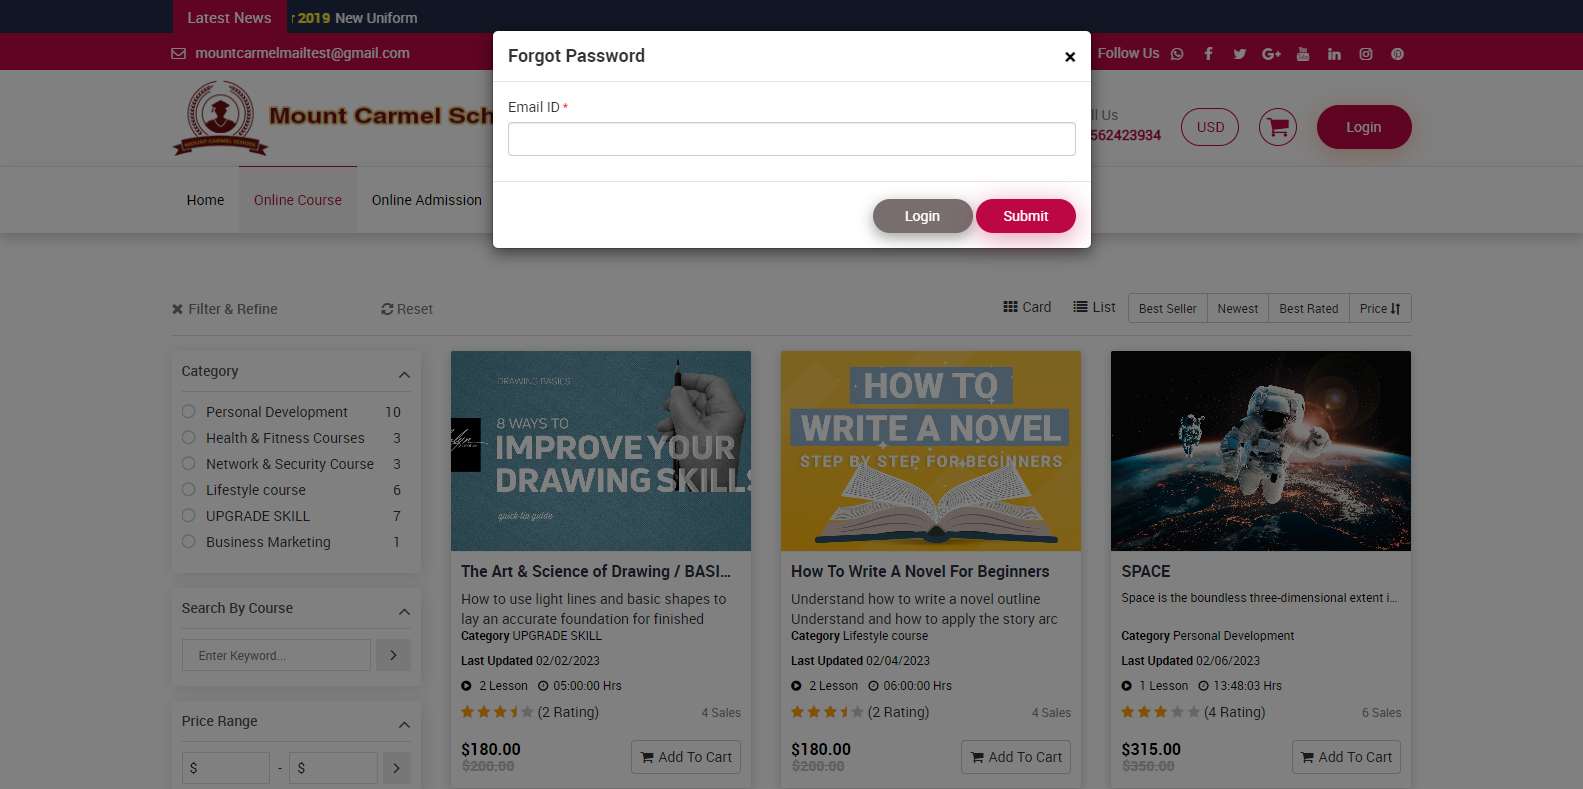
One email will be sent to your registered email address with instructions on how to recover your password. 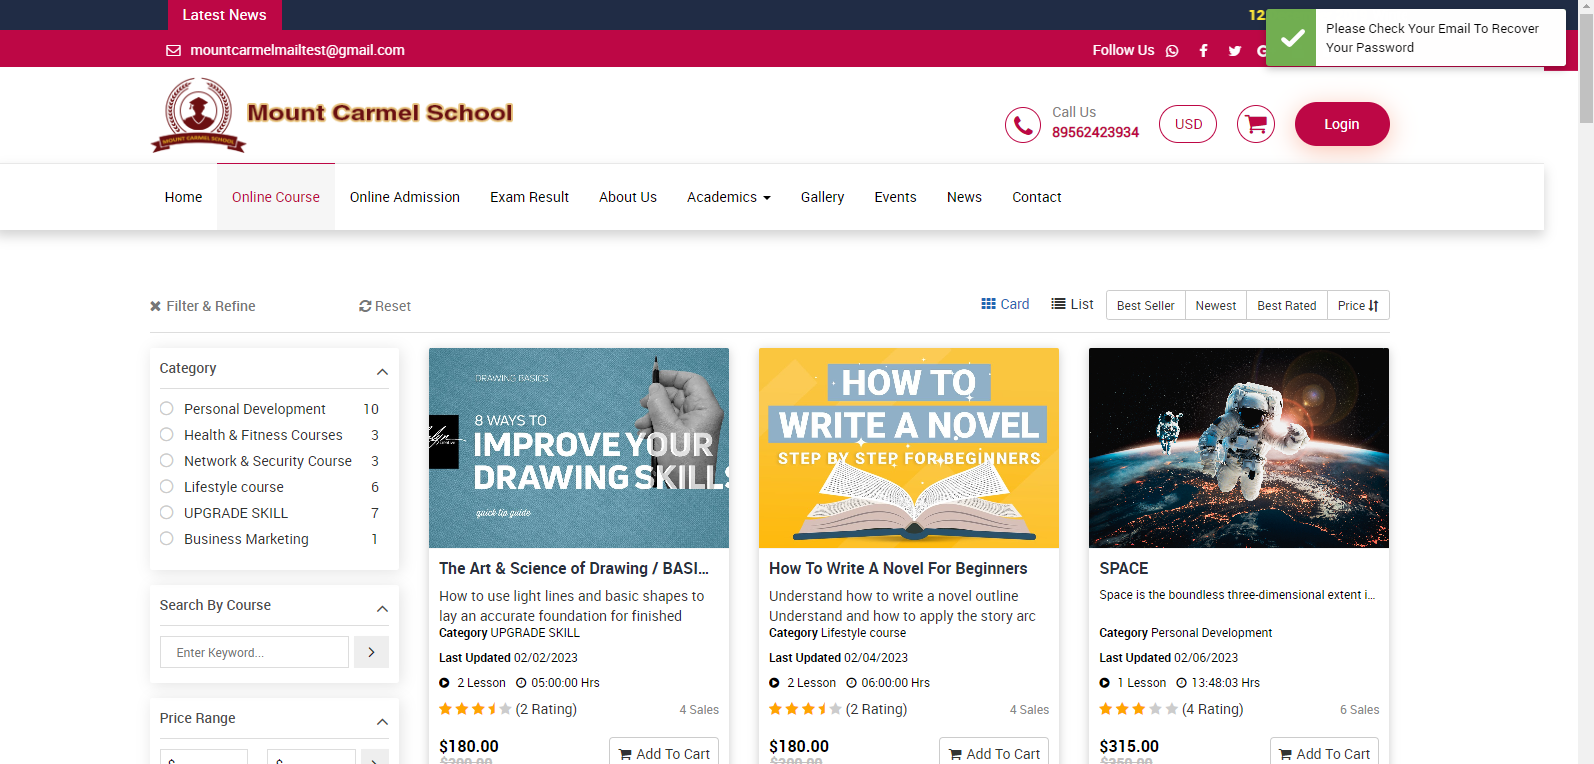
How Student / Guest can rate and review course?
For ratings and review of online course, go to front page of Smart School > online course.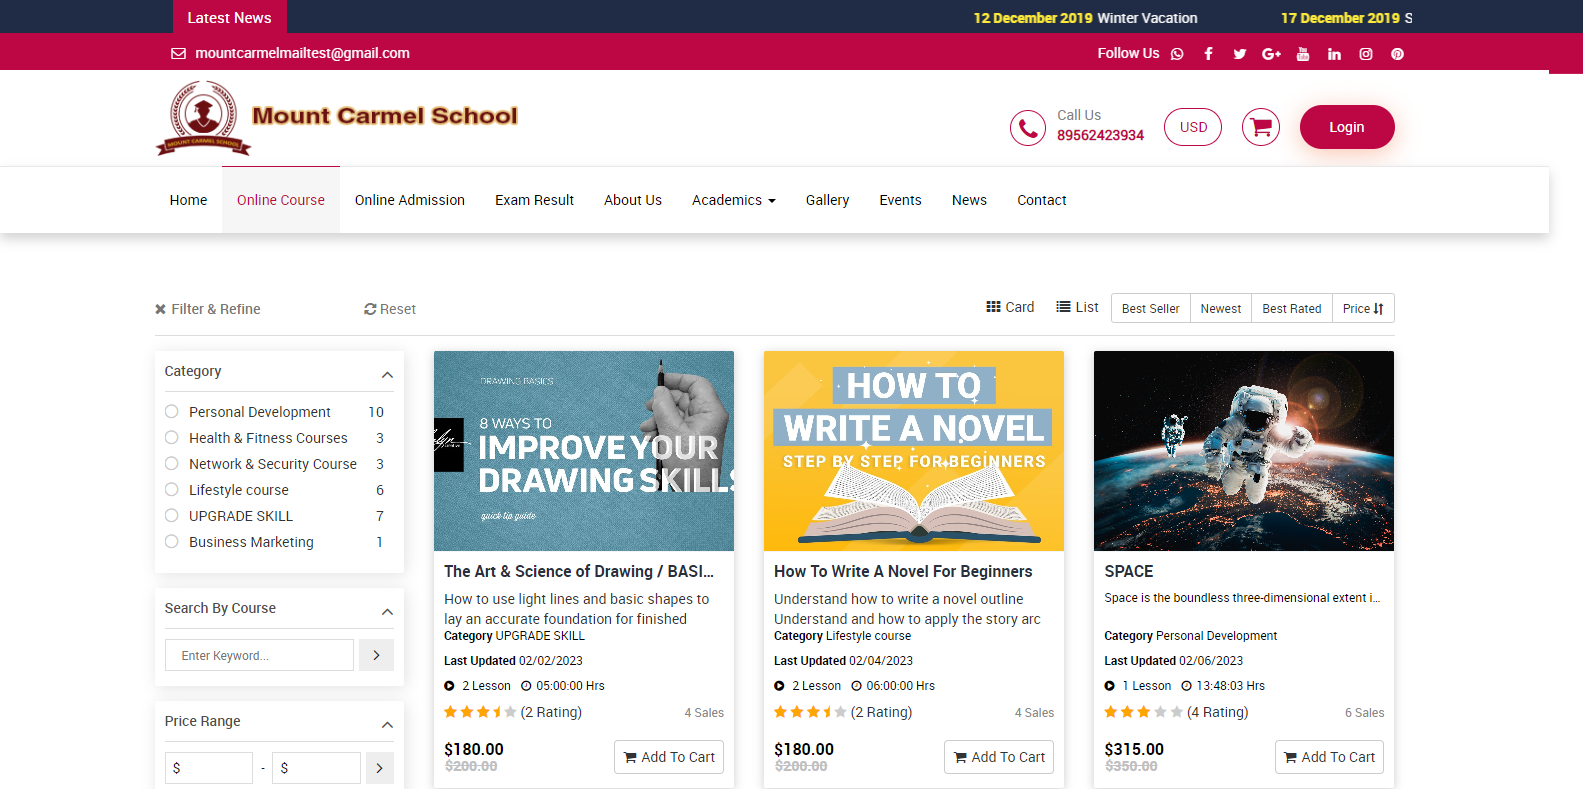
Now click on Login button, login model will be open.
Now fill in your registration User ID and Password and click on the Submit button; your student or guest ID will be open.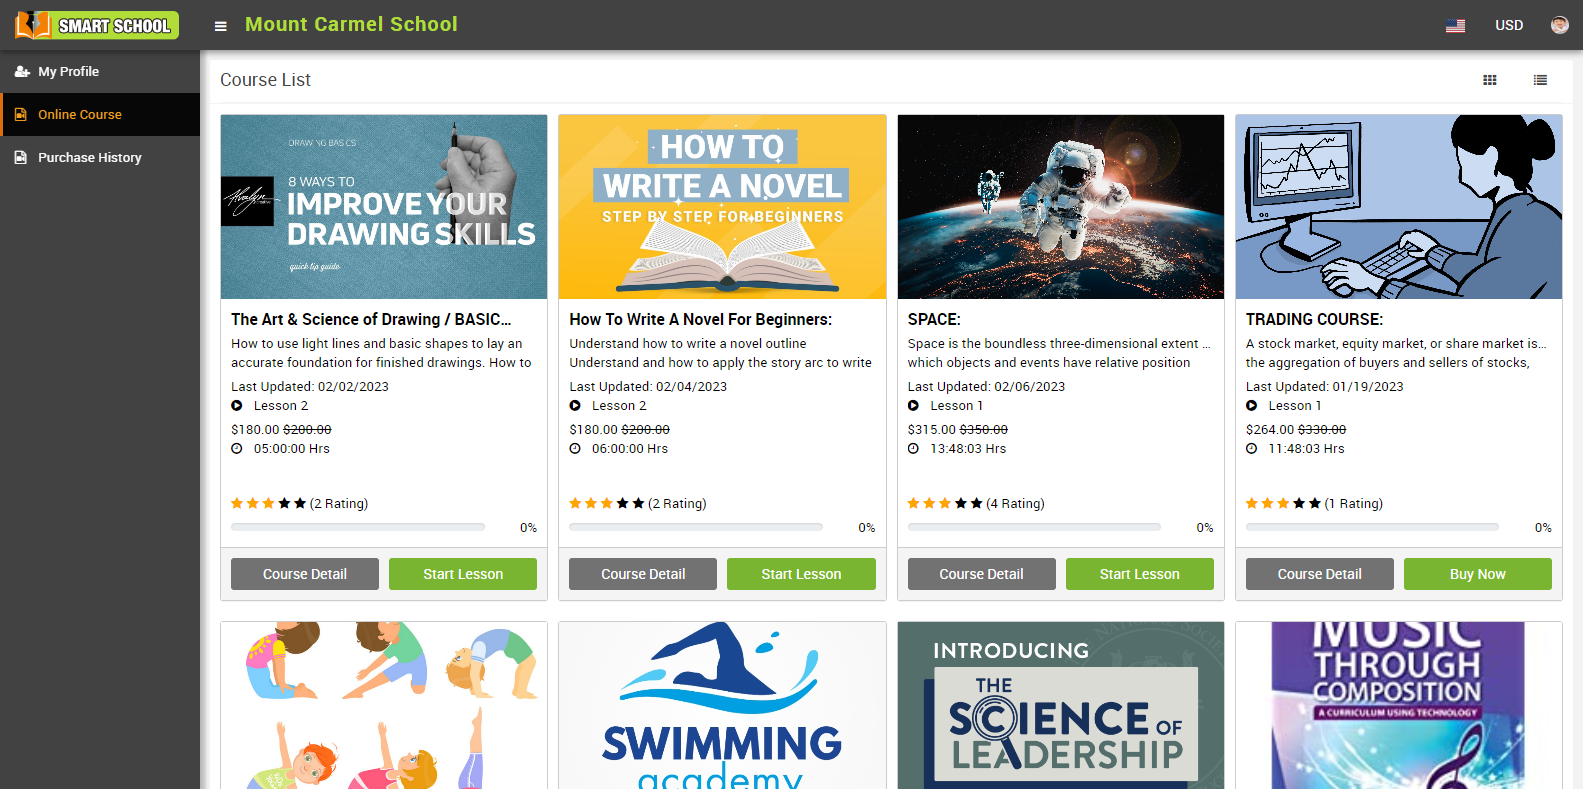
The course list is available on your student or guest ID. Now, select the course that you want to rate and review, and simply click on the Course Detail tab, which is shown below in the course so that course detail model will be open. In this model, you can see Rate This option showing at the right side, click on Rate This option.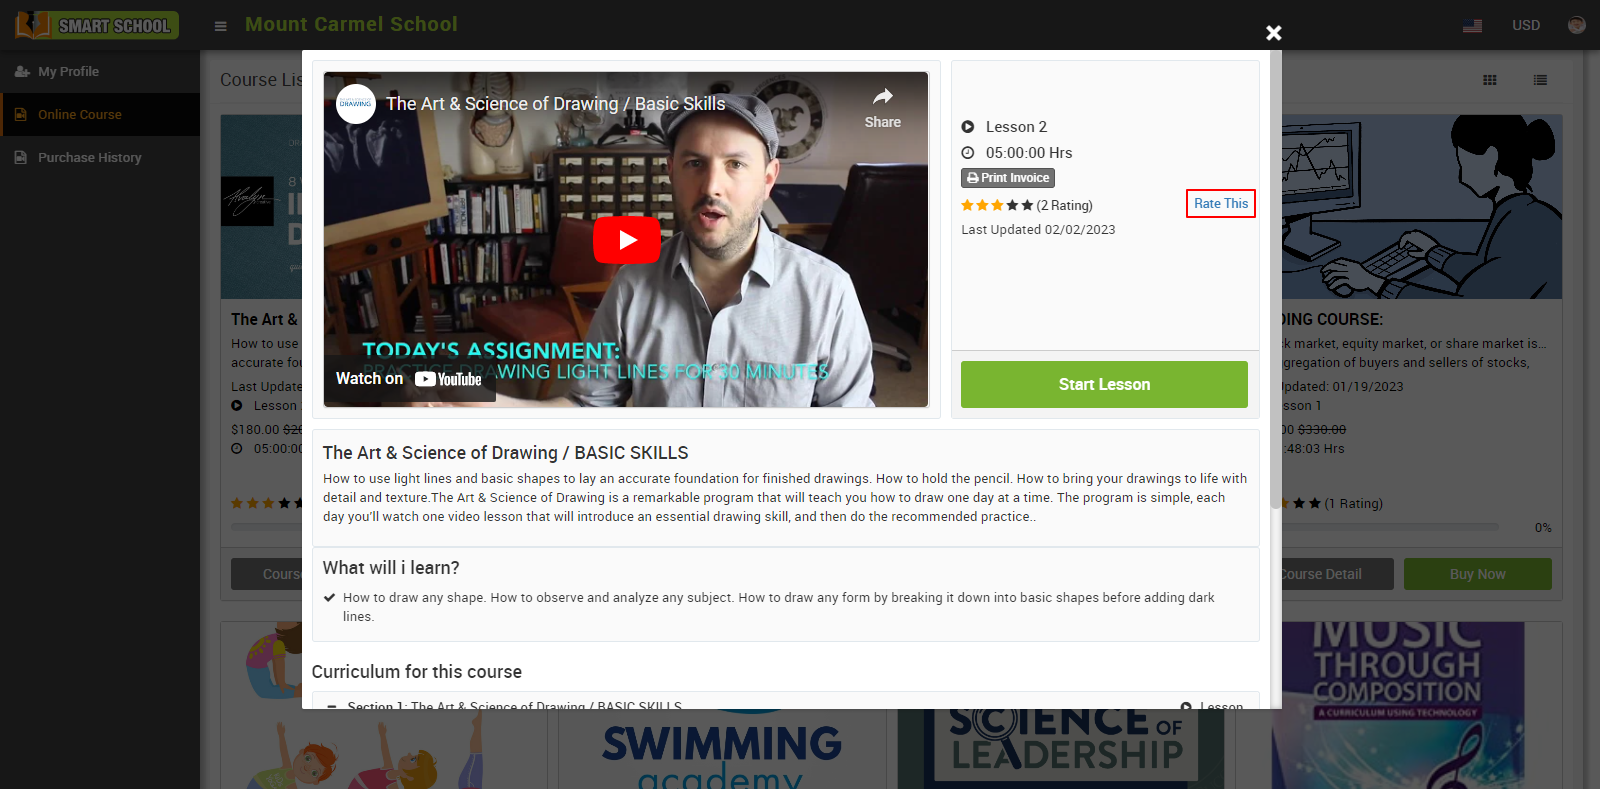
Add Ratings model will be open.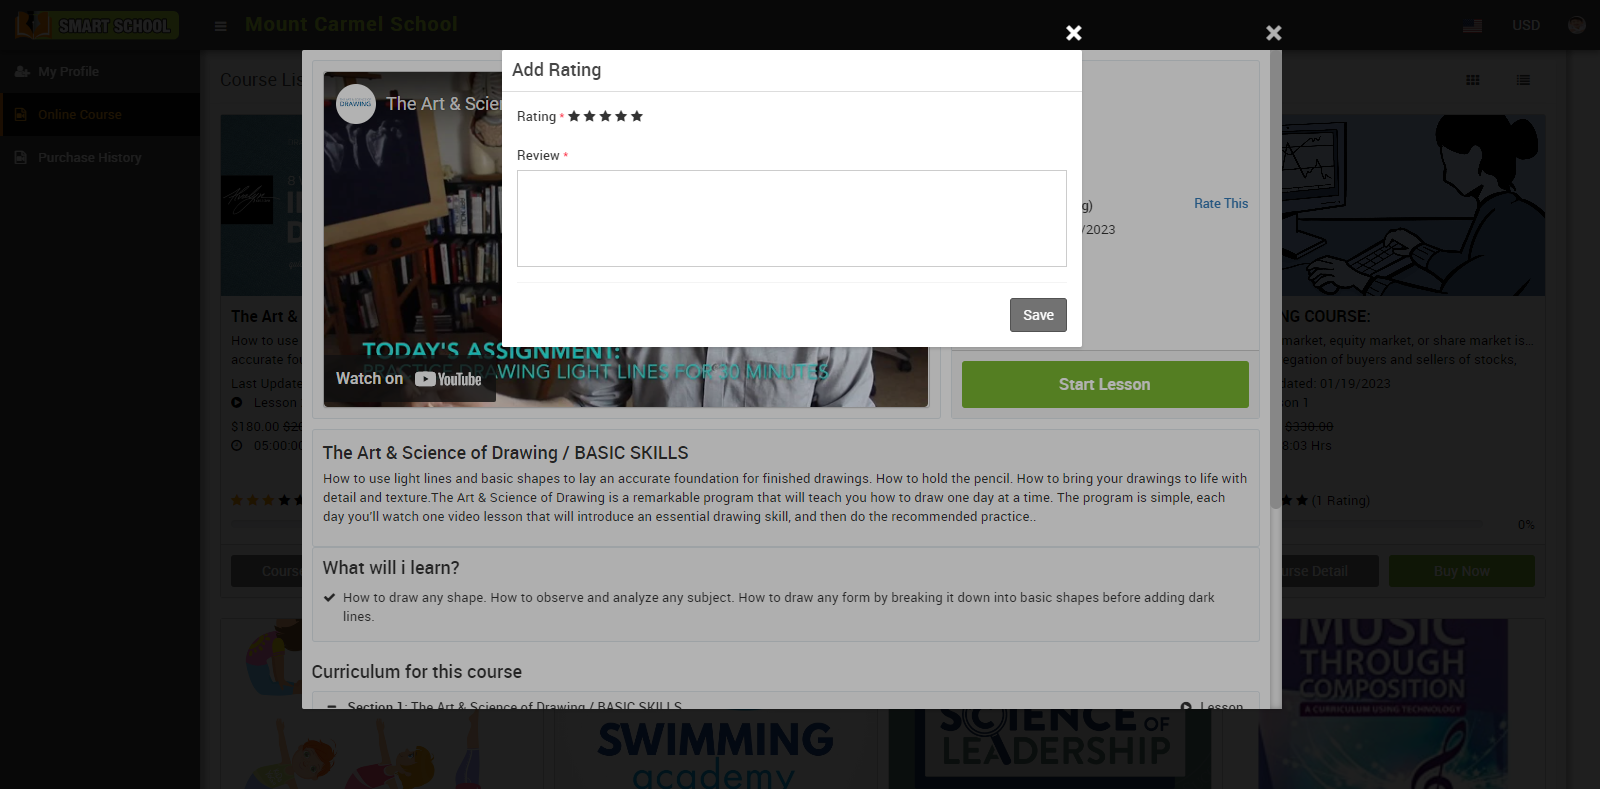
You can rate the course by clicking on a Star, with one star ratings indicating low and five star ratings indicating highly appreciable, and you can also mention the course review then click on the save button, your record will be successfully saved.
If you want to see the rating that you recently gave that course, you need to come back to your smart school front page.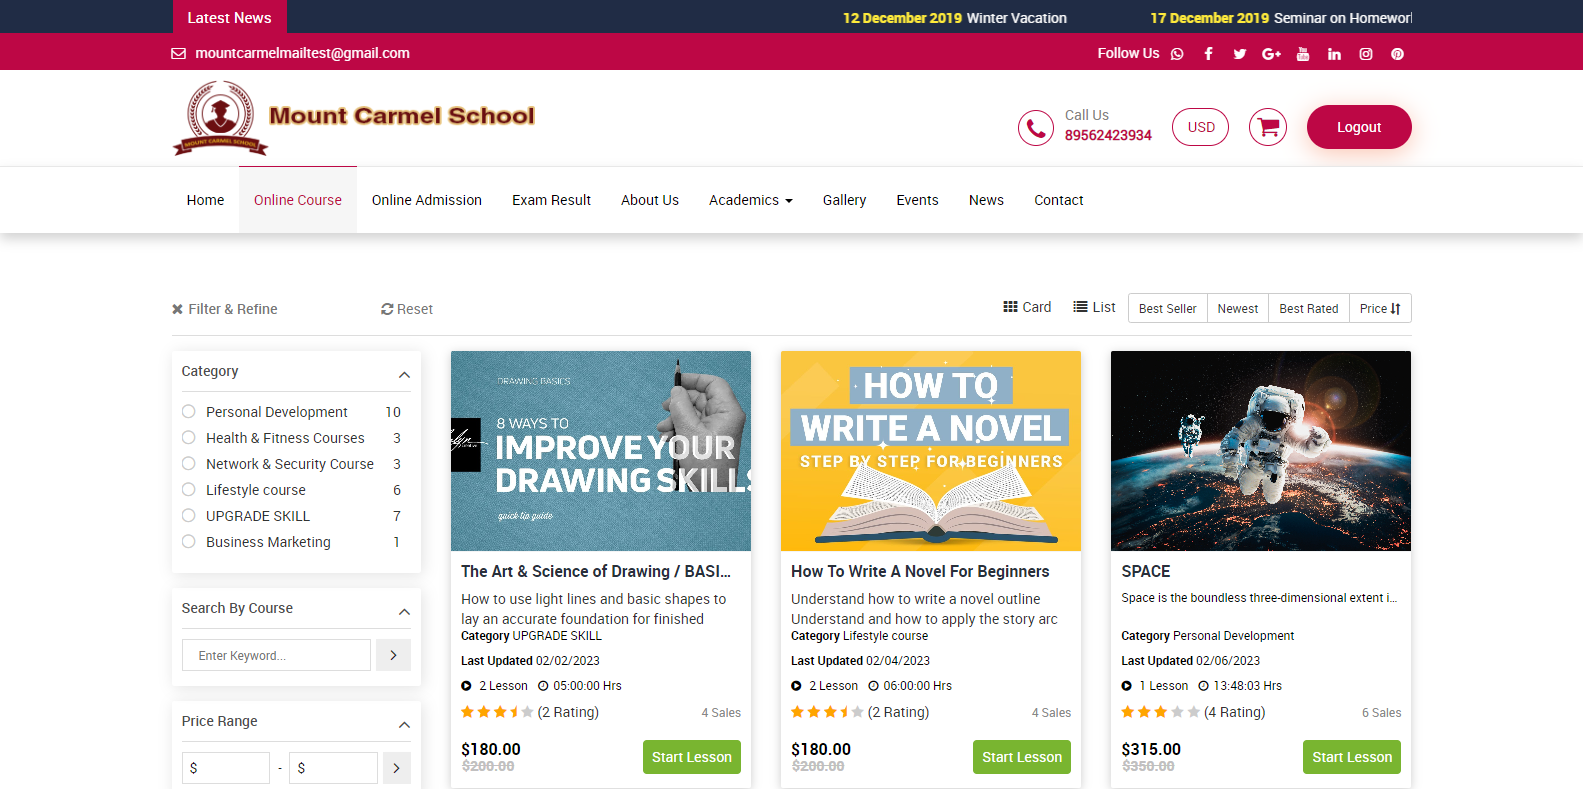
When you click on a Course for which you have given ratings and reviews, the course detail page appears; simply scroll down to see the rating and review. 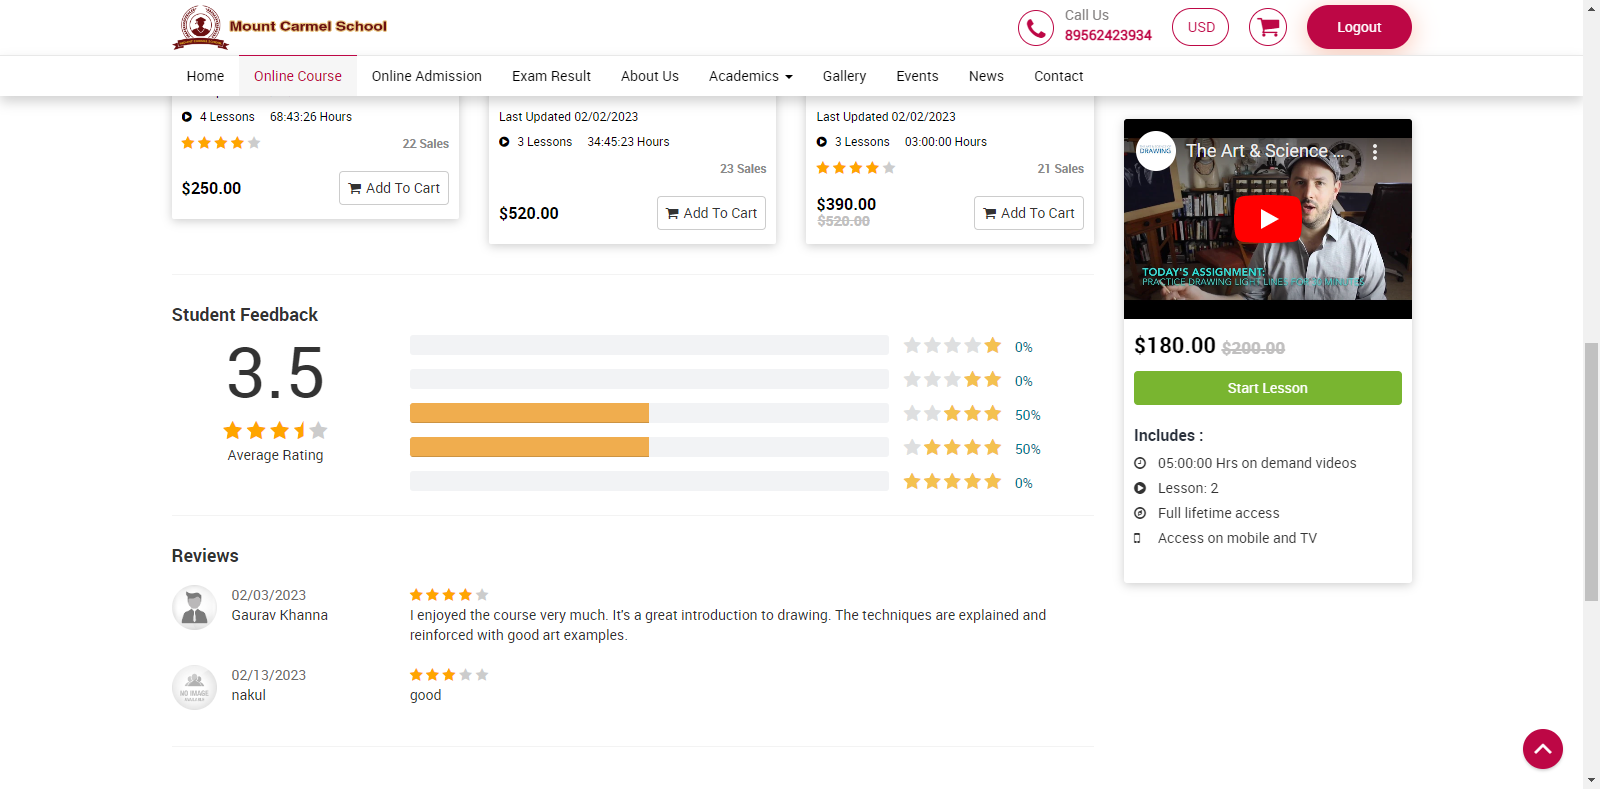
How can students or guest view purchase history?
To view purchase history, log in to your online course by entering your email id or password. Here you can view Purchase History by clicking on it. You can view the details of every online course you've purchased in your purchase history. 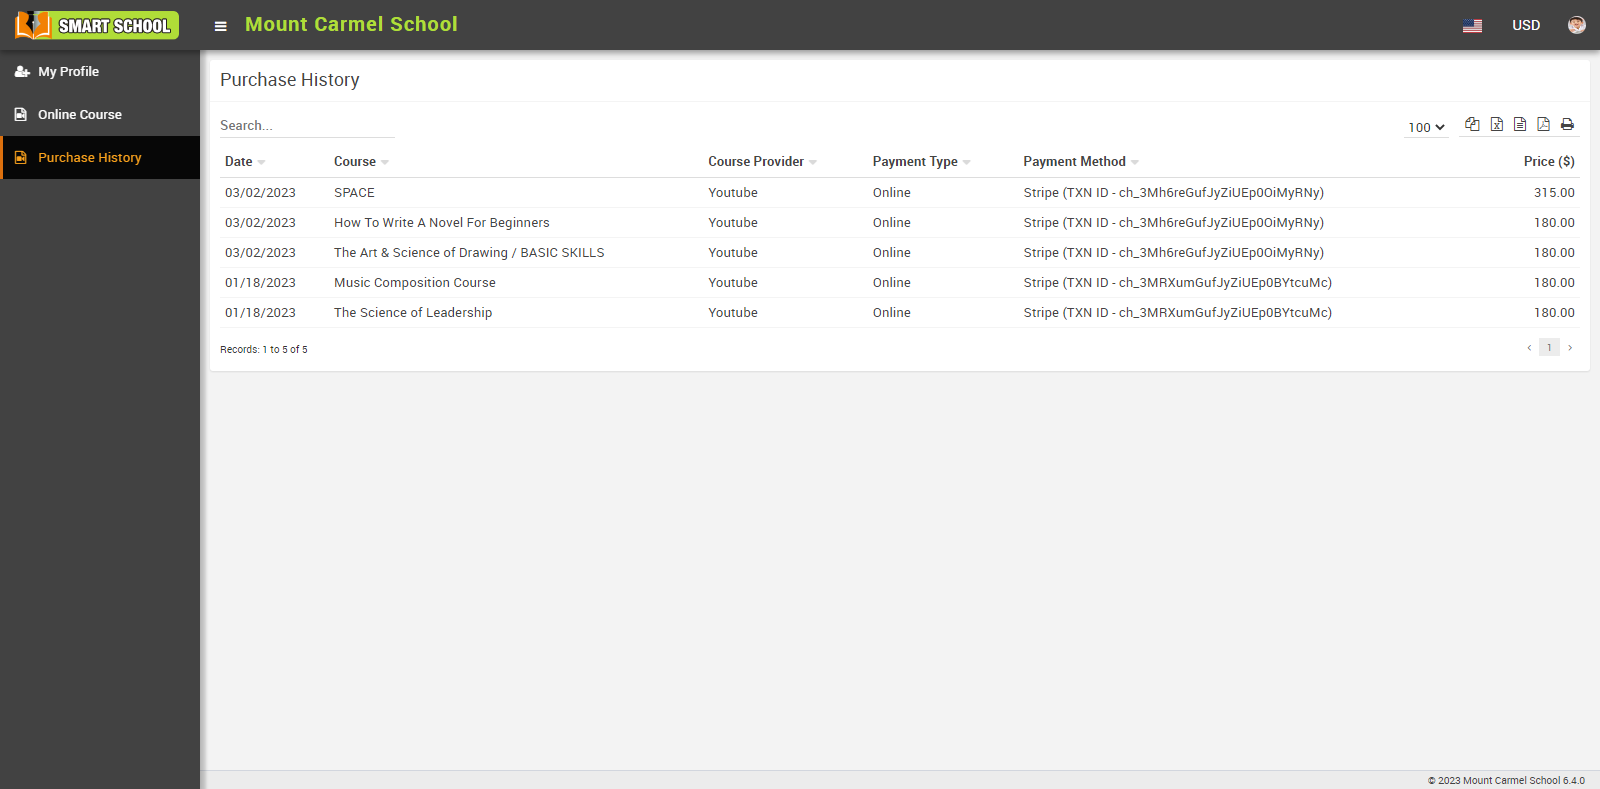
In the purchase history, you can see the Date (when the course was purchased), Course (which course was purchased and course name), Courses provider (means course provided in which medium, like-YouTube), Payment Type (here you can view only online payments), Payment Method (you can view the payment method details) and Price (In the price section you can view the discounted rate for the purchased course).