About Academics
Academics module workflow: First we will add Section and Class then we will assign Teacher to the class then we will add Subjects, Subject Group. further we will create Class Timetable and Teacher Timetable so the student can view their class timetable. Here we can also promote student for the next session.
How to add Section?
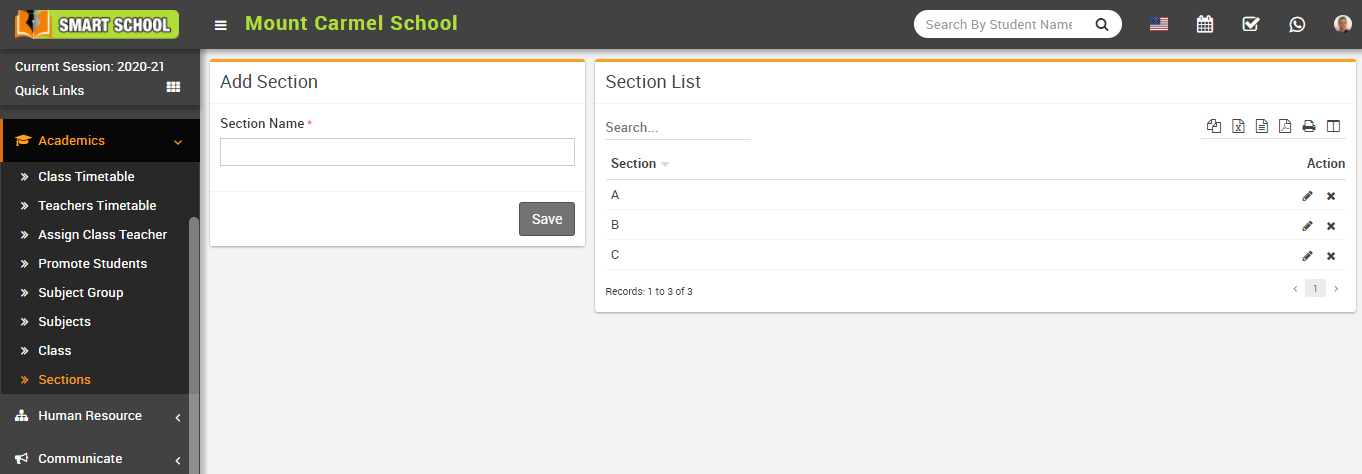
To edit section click on Edit icon and to delete section click on Delete icon present in the section list.
How to add Class?
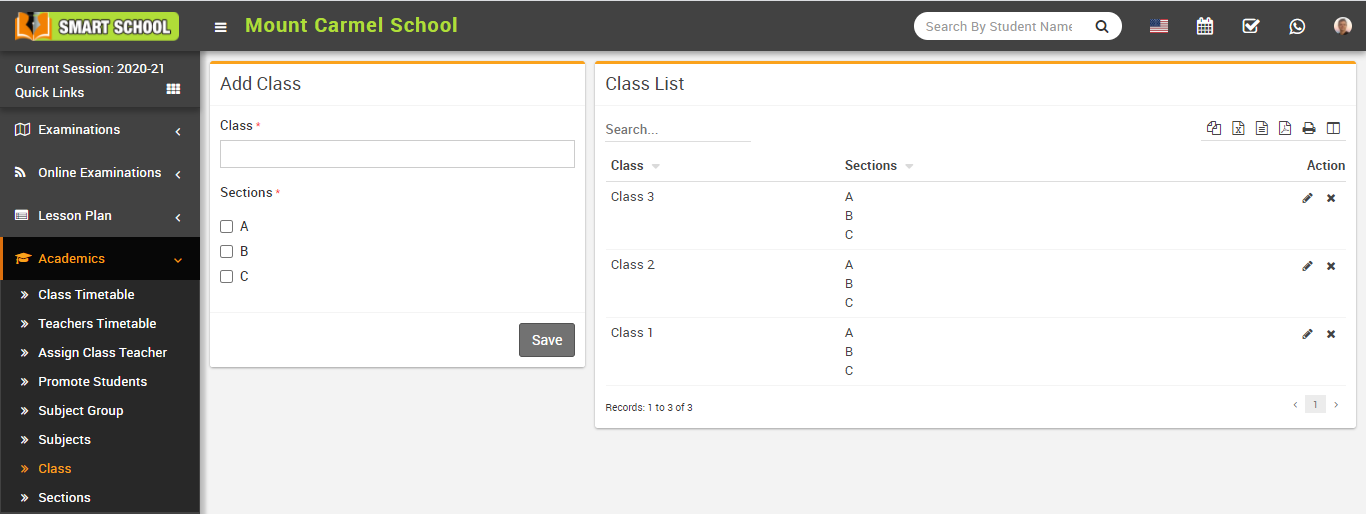
To edit class click on Edit icon and to delete class click on Delete icon present in the class list.
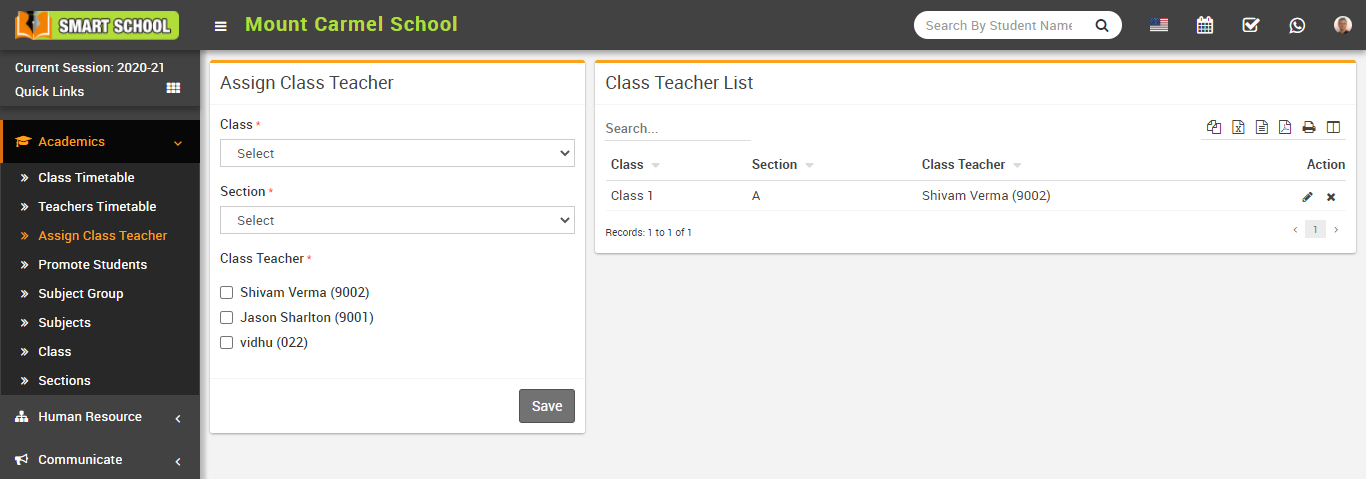
How to Assign Class Teacher?

To edit class teacher click on Edit icon and to delete class teacher click on Delete icon present in the class teacher list.
How to add Subjects?
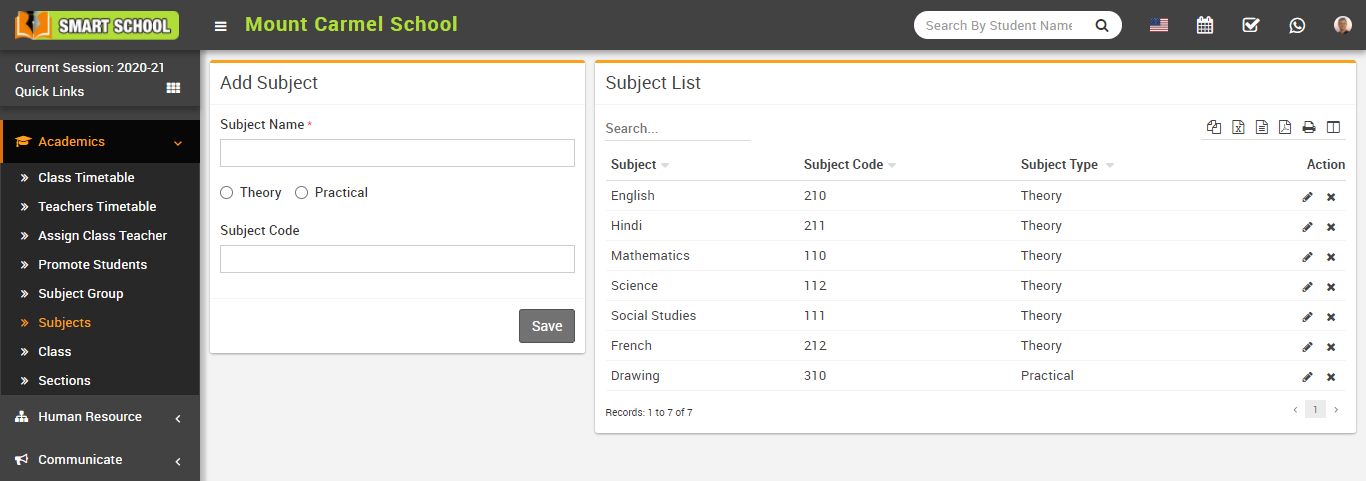
To edit subject click on Edit icon and to delete subject click on Delete icon present in the subject list.
How to add Subject Group?
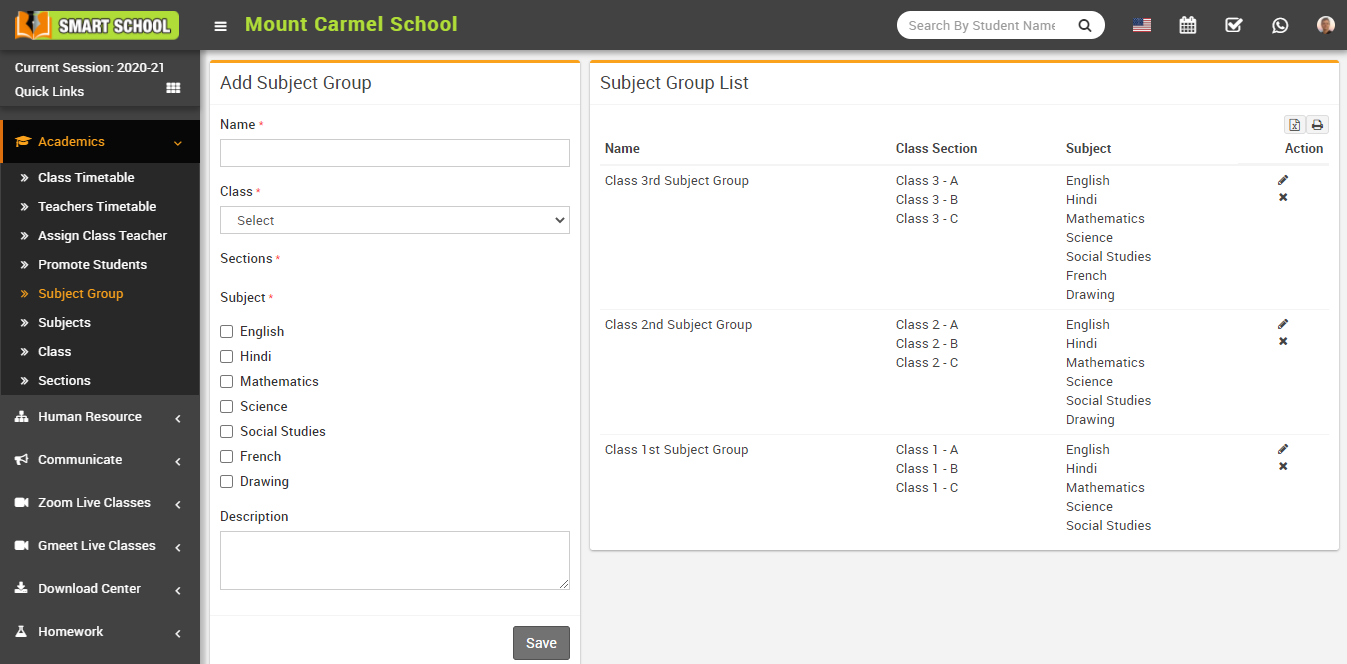
To edit subject group click on Edit icon and to delete subject group click on Delete icon present in the subject group list.
How to add Class Timetable?
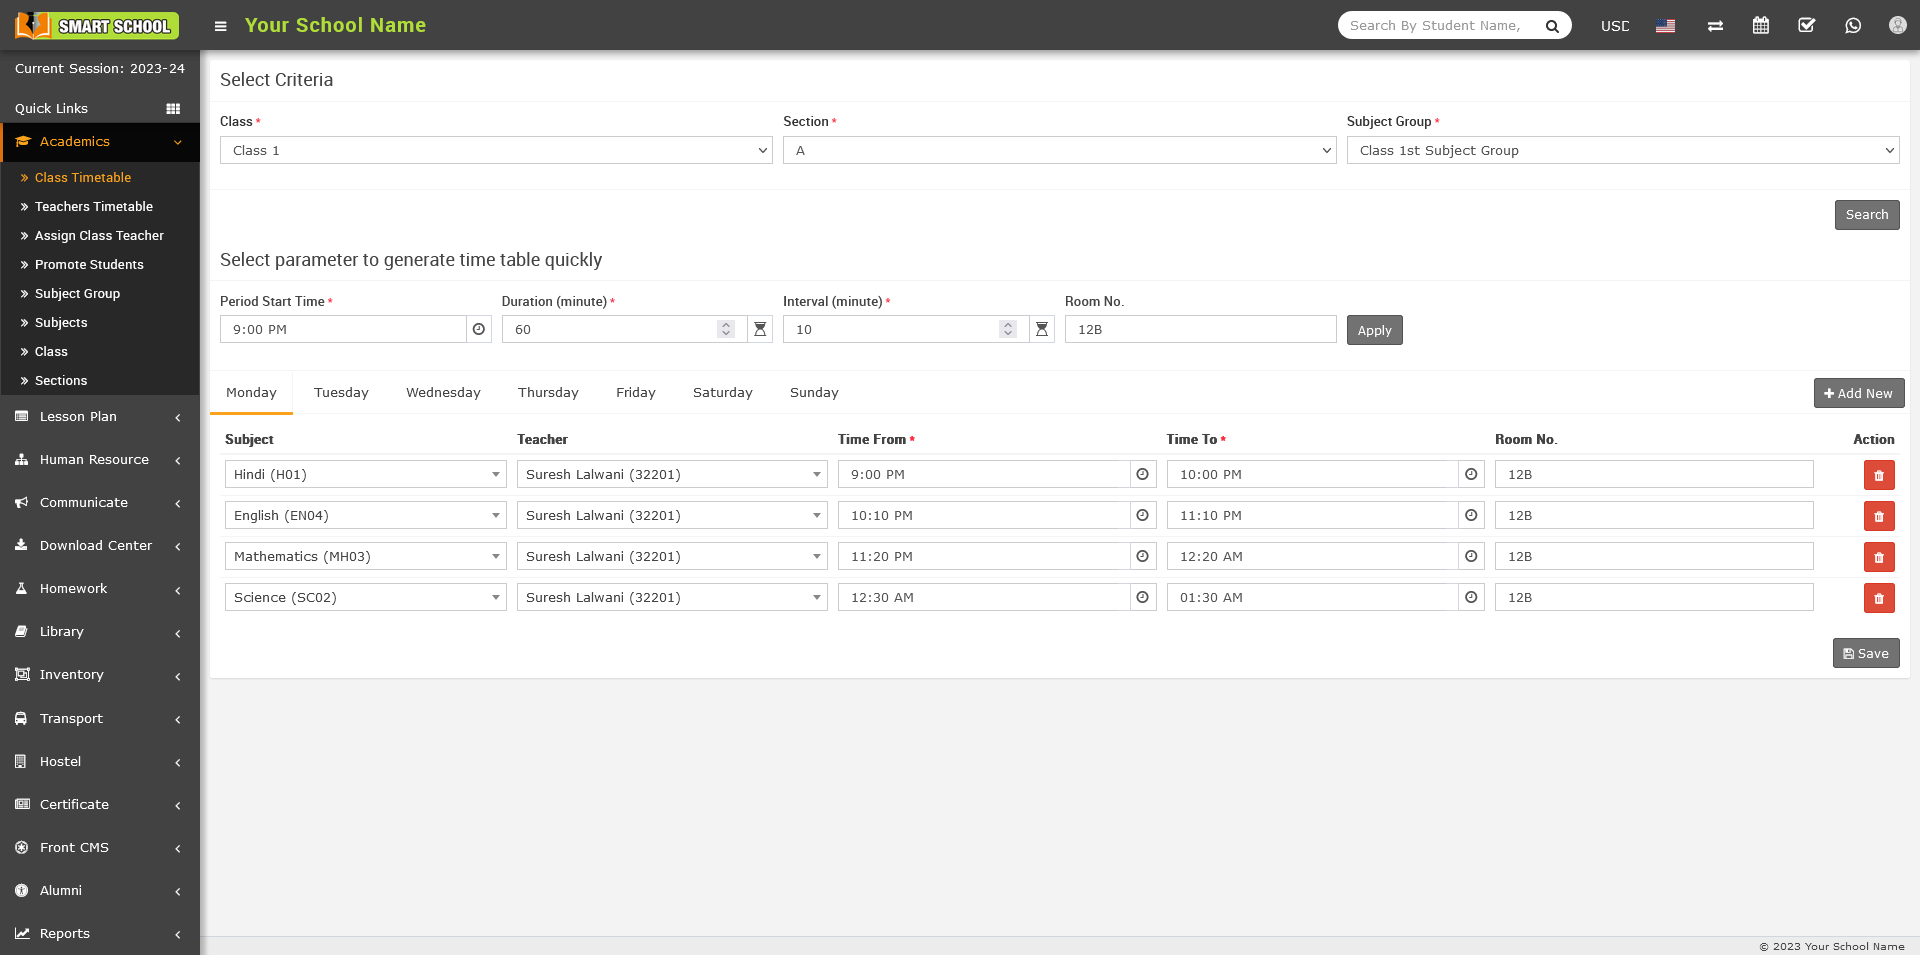
Now, you can view a select parameter to generate a timetable quickly. Here you can quickly generate timetables for each class and day.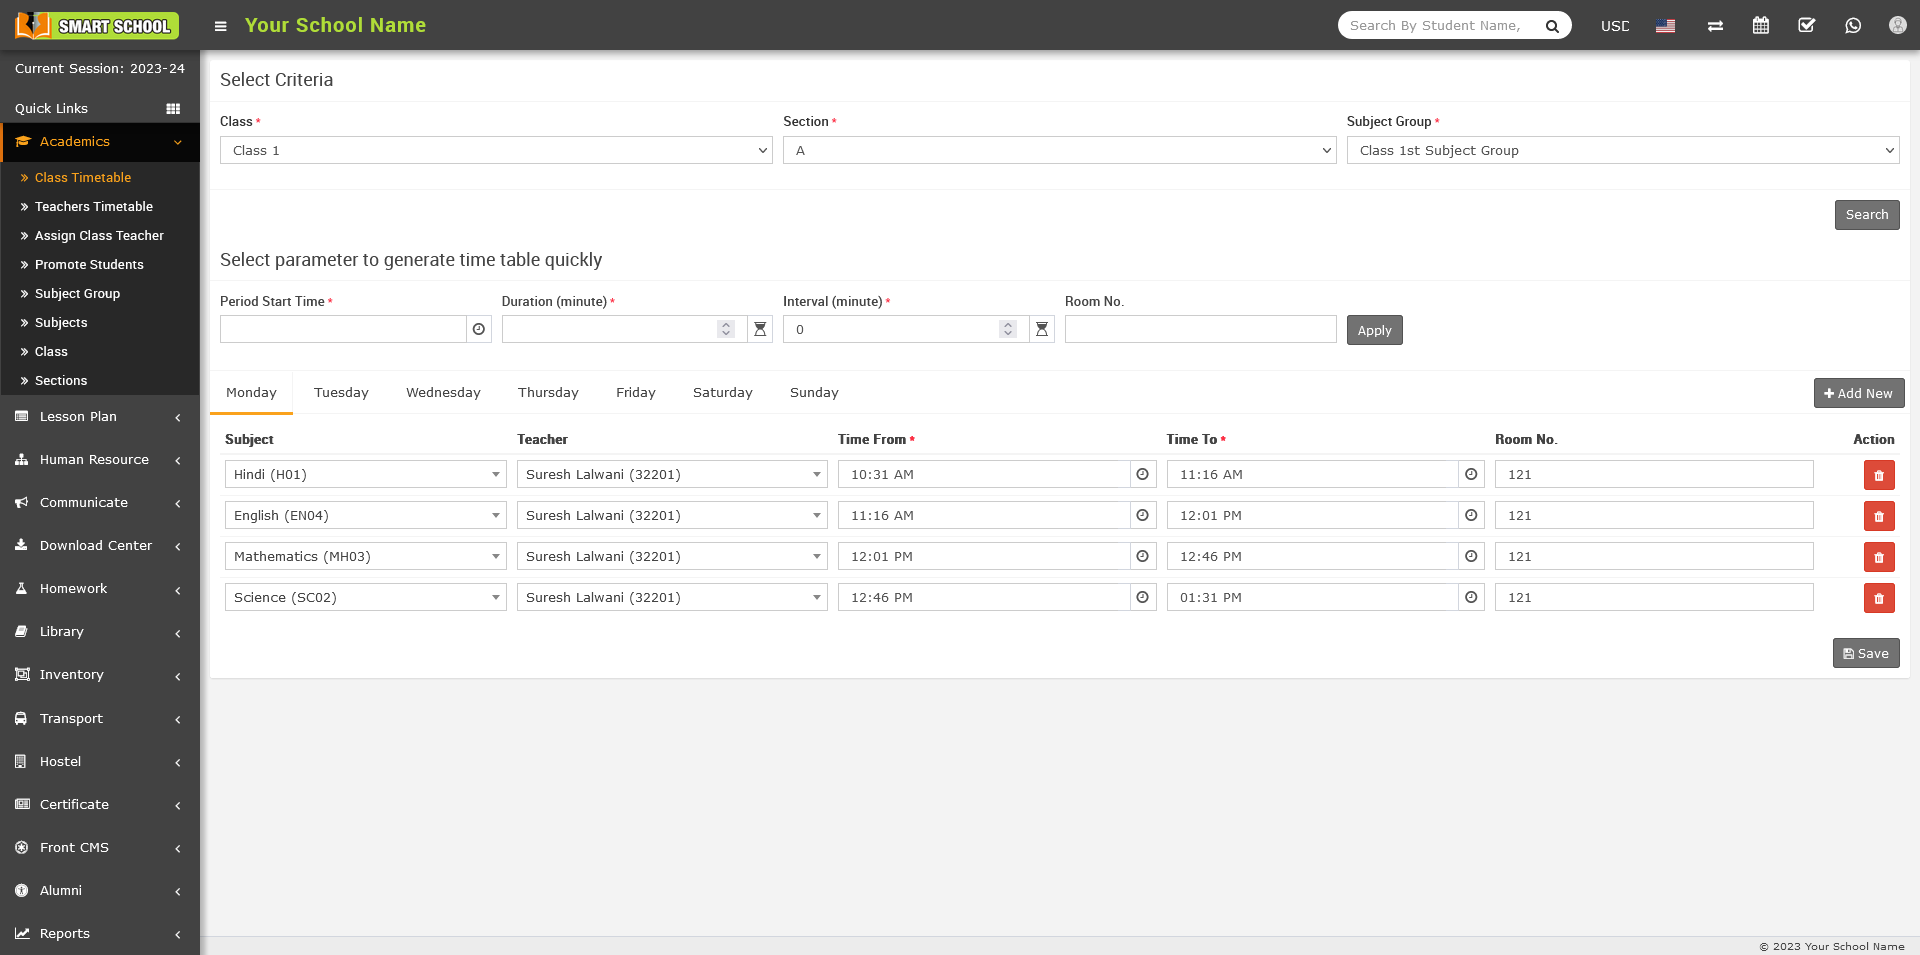
To quickly generate a timetable, enter some parameters and click on the +Add New button to add multiple subjects, add subject, and add teacher. To generate a quick timetable, add Period Start Time, Duration (in minutes), Interval (in minutes), and Room No., then click on Apply. When you click apply, you can quickly view the generated time table. If you want to change the time from, time to, or room number, you can do so manually, then click the Save button showing in the bottom right corner.
To delete class timetable click on Delete button showing at Action column, confirmation model will be open.
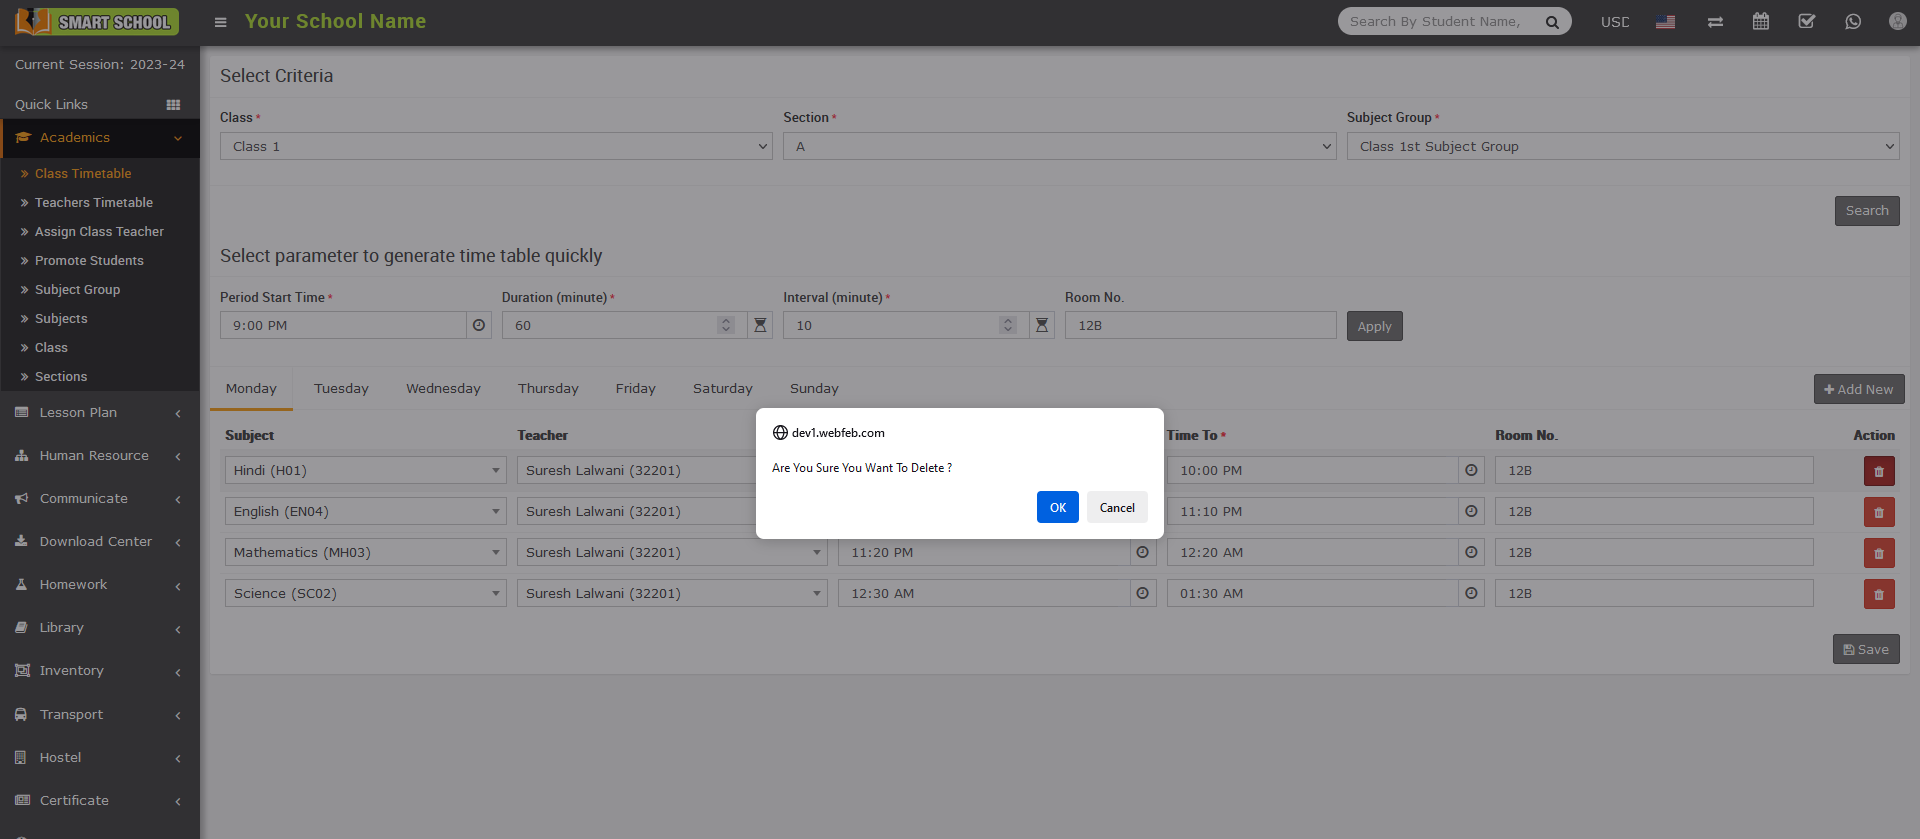
Now click on OK button, timetable of that subject will be delete successfully.
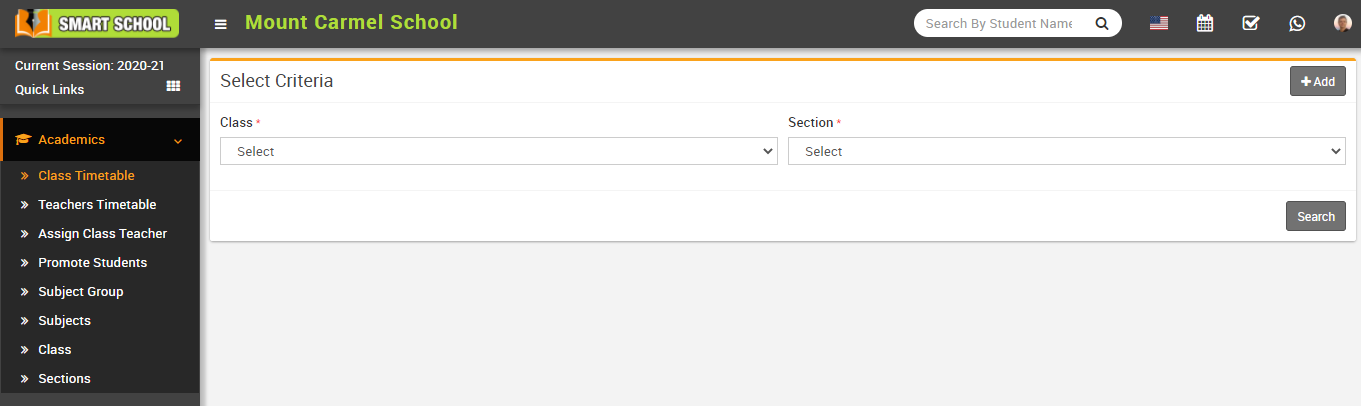
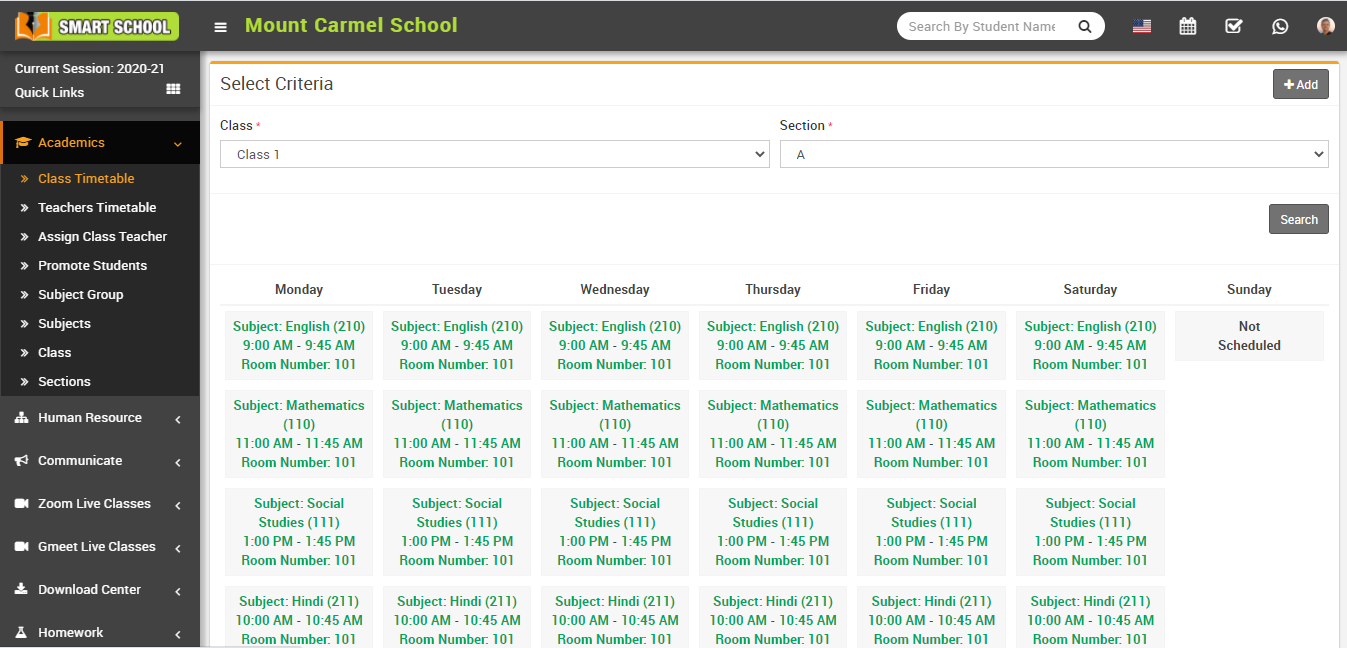
To view created time table, here select Class and Section and then click on Search button. The list of searched record will be shown in the below of the page.
How to view Teacher Timetable?
To view teacher timetable, go to Academics > Teacher Timetable then select Teachers and then click on Search button. Here teacher and other admin staff can see selected teacher timetable.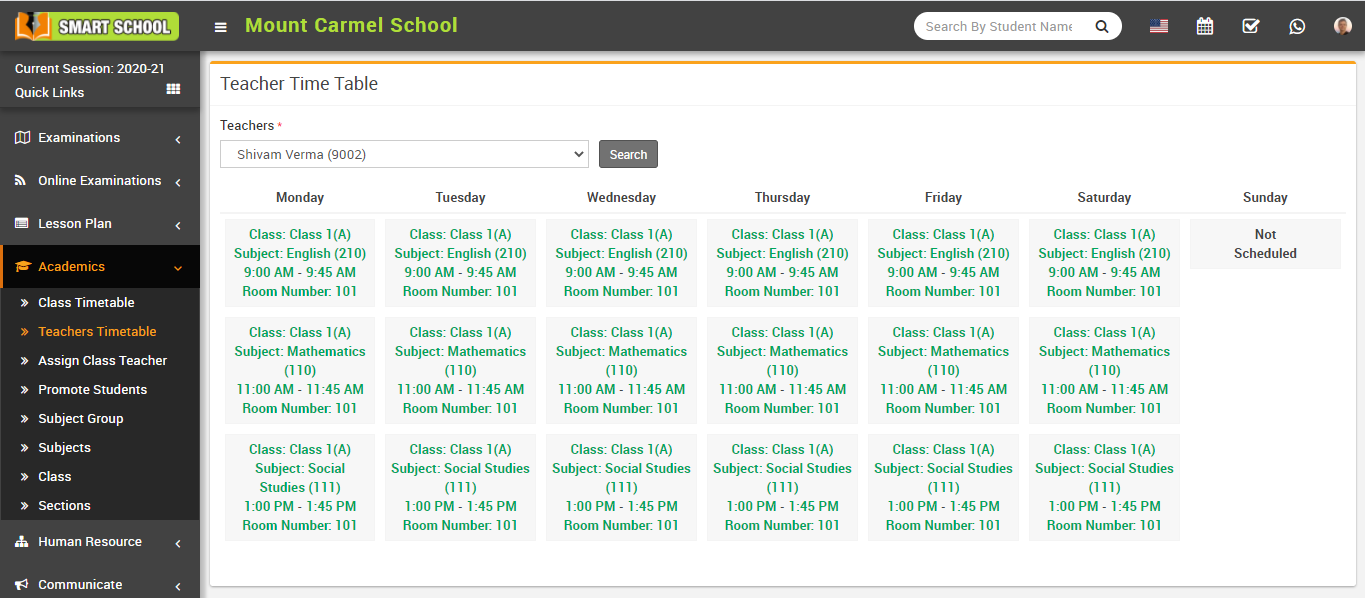
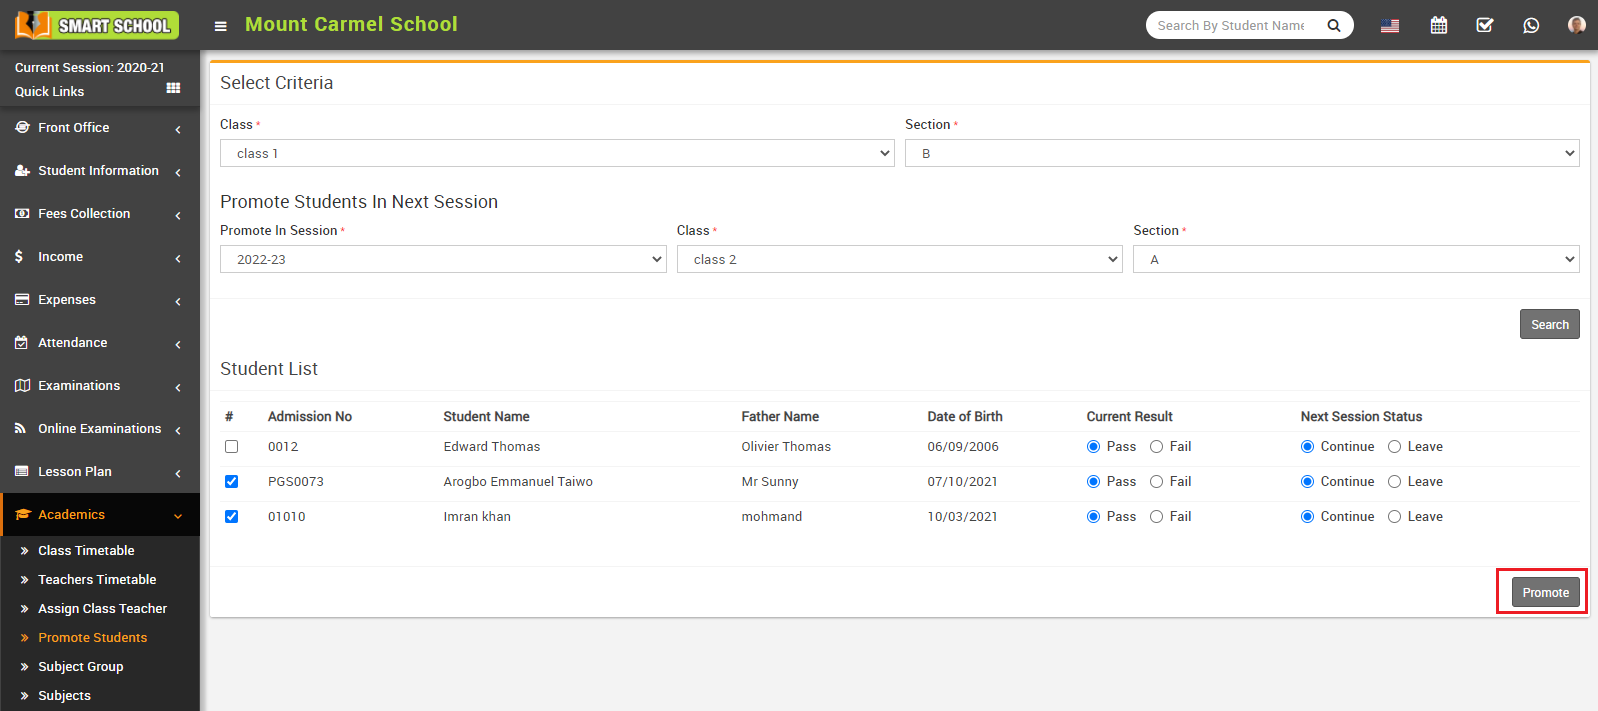
How to Promote Student?
Here you can see the Current Results (pass/fail) and Next Session Status (Continue/Leave) of all the students and then select Promote In Session, Class and Section and click to Promote button.

Note: Promote the student to the next semester and to the class-section, it is seen here that the students have passed / failed in the main examination and the students will be continued in school or not. If student is pass and will continue to school, only then student will be promoted to next session and class-section. If student is fail and continue to school then students will be promoted to next session but class-section will be remain as it is. If student is pass but leaving to student then student will not be promoted to next session not promoted to next class-section. This is the whole mechanism of Promote Student. Smart School automatically manage promotion of session and class-section. To promote student first select Promote In Session, Class, Section and for every student select Current Result pass or fail and Next Session Status continue or leave and click on Promote button.
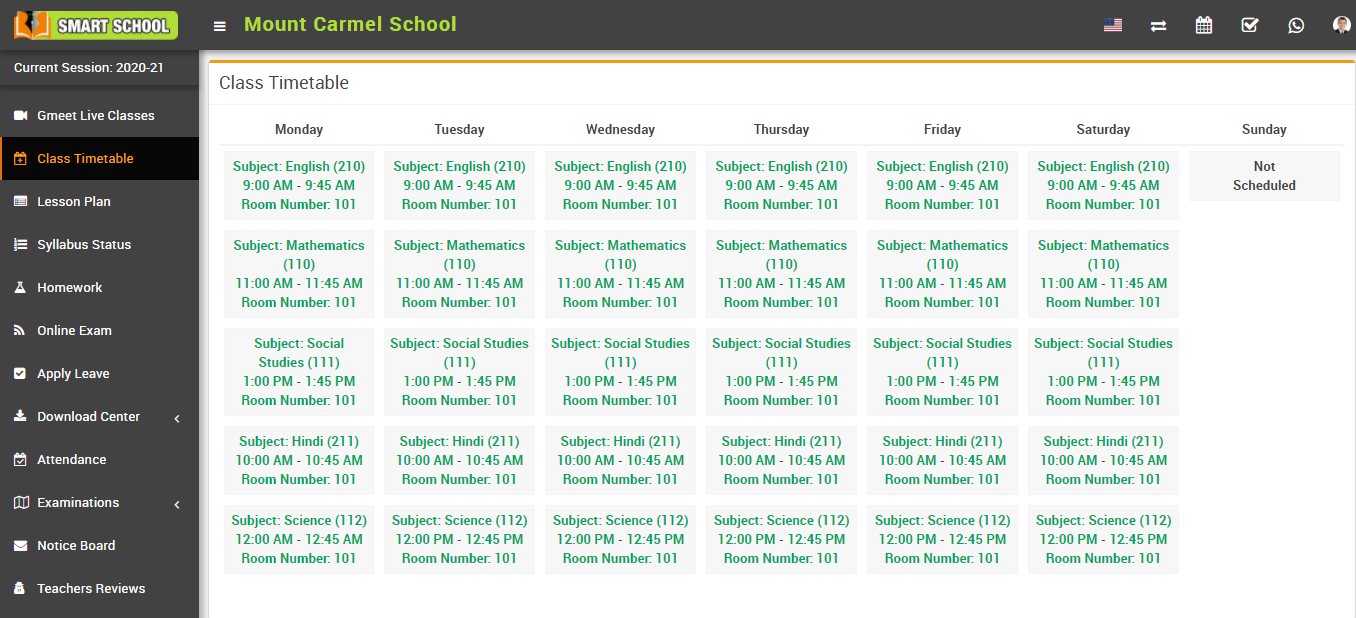
How student can view class timetable?
How to promote students for next session?
Now select the students whom you want to promote in next session then finally click on the Promote button present in the bottom right corner, after clicking this button students will be promote for the next session.